23
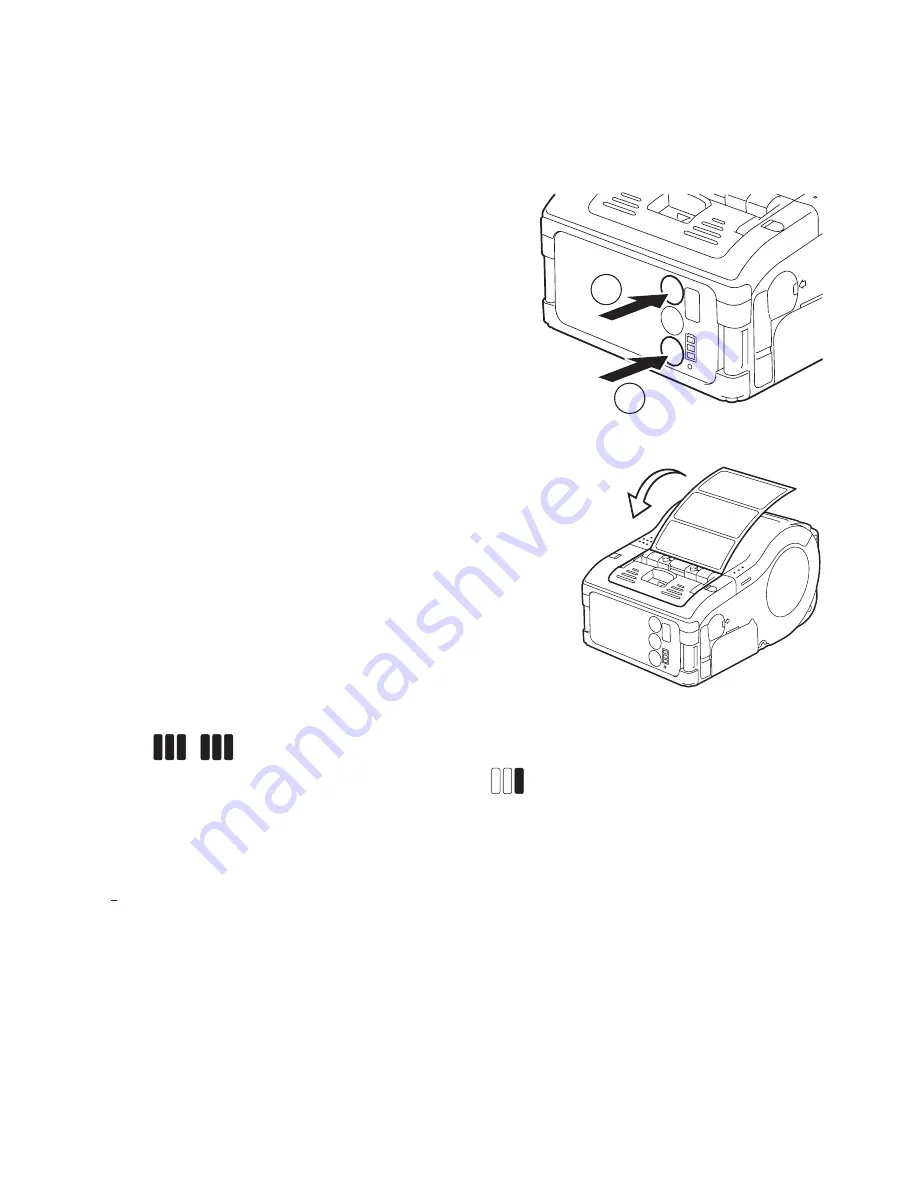
Test Printing
➊
Pressing and holding
the FEED key, set
the POWER key . The
printer enters the test
mode . Press the FEED
key again to start test
printing .
➋
Verify the following using
the output of the test
printing .
• There is no chipped
character .
• Print condition is good.
In the test printing, the battery residual is indicted by
(
for full charge) .
When the battery indicates
, charge the battery .
* If any fault is detected, contact the store you bought the printer,
dealer, or service center .
Test
Printing
6
30
Using
RS-232C
Interface
7
31
7. Using RS-232C Interface
Use the following procedure to print by connecting to a PC
or a handy terminal through an RS-232C cable option.
1
Open the RS-232C
cover.
2
Plug one end of the
RS-232C cable into the
connector firmly.
Be sure that the arrow mark
on the connector of the RS-
232C cable matches with the
arrow mark by the side of the
printer connector.
3
Plug the other end of
the RS-232C cable to
the connector of the
PC or handy terminal.
For the information on the
connector of the PC or
handy terminal, refer to the
manual supplied with the PC.
RS-232C
cover
RS-232C cable
6. Test Printing
1
Pressing and holding
the FEED key, set the
POWER key . The
printer enters the test
mode. Press the FEED
key again to start test
printing.
2
Verify the following
using the output of the
test printing.
•
There is no chipped
character.
• P
rint condition is
good.
In the test printing, the battery residual is indicted by
� � �
(
� � �
for full charge).
When the battery indicates
� � �
, charge the battery.
* If any fault is detected, contact the store you bought the printer, dealer, or
service center.
Before asking for a repair, please read “Before Asking for a Repair” on
page 58.
POWER
FEED
1
2
123456
7
abcdefg
1234567
abcdefg
123456
7
abcde
fg
Содержание LP441b
Страница 1: ...1 Quick Guide Guide rapide Guía rápida Guia rápido LP440 LP441 ...
Страница 2: ...2 ...
Страница 3: ...3 English 3 Français 39 Español 75 Português 113 ...
Страница 47: ...47 Nom et fonction des commandes ...
Страница 133: ...133 ...
Страница 150: ...150 ...
Страница 151: ...151 ...
Страница 152: ...152 59400002 2010 OKI Data Americas Inc ...


