4-3
CHAPTER 4 REPAIR PROCEDURES
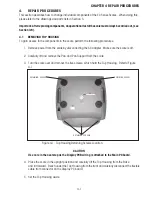
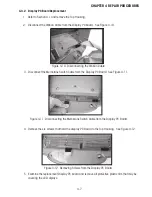
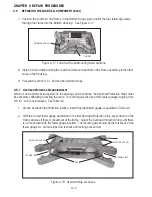
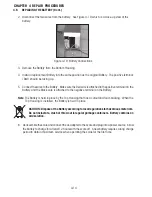
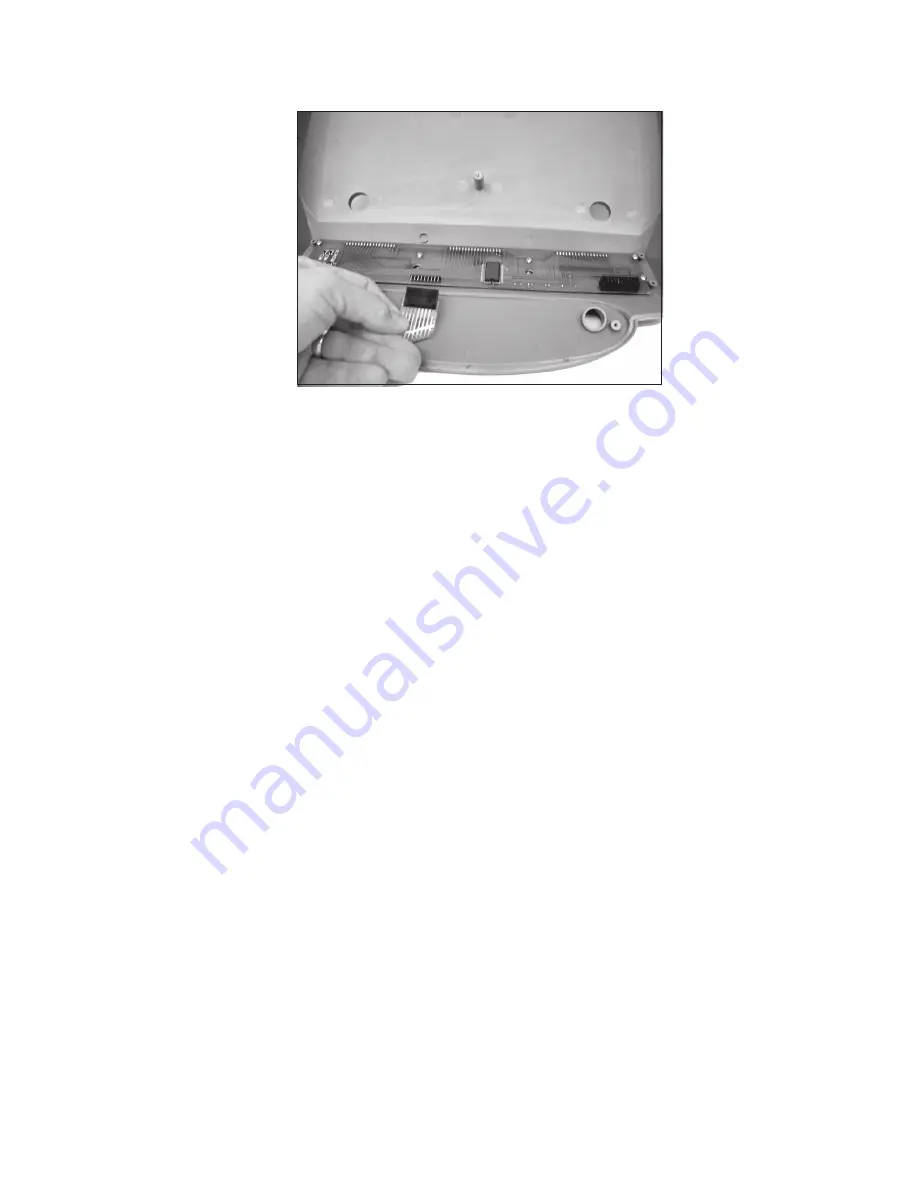
4. Disconnect the Membrane Switch Cable from the Display PCB as shown in Figure 4-4.
4.2
REPLACING THE MEMBRANE SWITCH (Cont.)
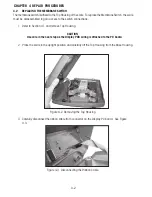
5. On the Top Housing, lift up the defective Membrane Switch (if necessary carefully prying it up with
a knife) and gently peel it off the Top Housing.
6. Carefully clean the Top Housing membrane switch area (removing all traces of adhesive).
The best method is to use a flat razor blade.
7. Insert the cable from the new Membrane Switch through the hole in the Top Housing. Peel
off the protective film from the new Membrane Switch and carefully align and affix to the Top
Housing.
8. Press the Membrane Switch down uniformly. Using your fingers with a cloth, roll from the
center of the Membrane Switch outward towards the edges to remove any air bubbles that may
be trapped.
9. Position the Top Housing in place over the Bottom Housing and connect the flexible cable from the
Main PC Board to Display PC Board.
10. Reassemble the scale by replacing the five screws at the bottom of the scale which secure
the Top housing.
11. Replace the Pan Support and Pan on top of the scale.
Figure 4-4. Disconnecting the Membrane Switch Cable.
Содержание EC Series
Страница 2: ......
Страница 4: ......
Страница 14: ...2 6 CHAPTER 2 DIAGNOSIS...
Страница 30: ...3 16 CHAPTER 3 SCALE TESTING AND CALIBRATION...
Страница 52: ...A 4 APPENDIX A SERVICE MODES...
Страница 55: ......
Страница 56: ...PN 80010584 B SERVICE MANUAL EC SERIES SCALES 80010584...


