Chapter 4 - Understanding the Chart Screen
Page 4-36
961/962 Operations and Reference Manual, Rev. A
4. Press the
CURSOR PAD
to move the cursor and the
waypoint to the desired location.
5. Press the
DONE
key to store the new coordinates in the
waypoint database (or press the
CANCEL
key to cancel).
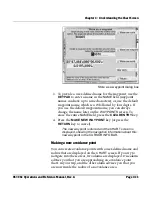
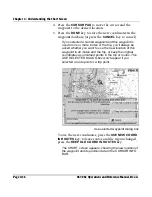
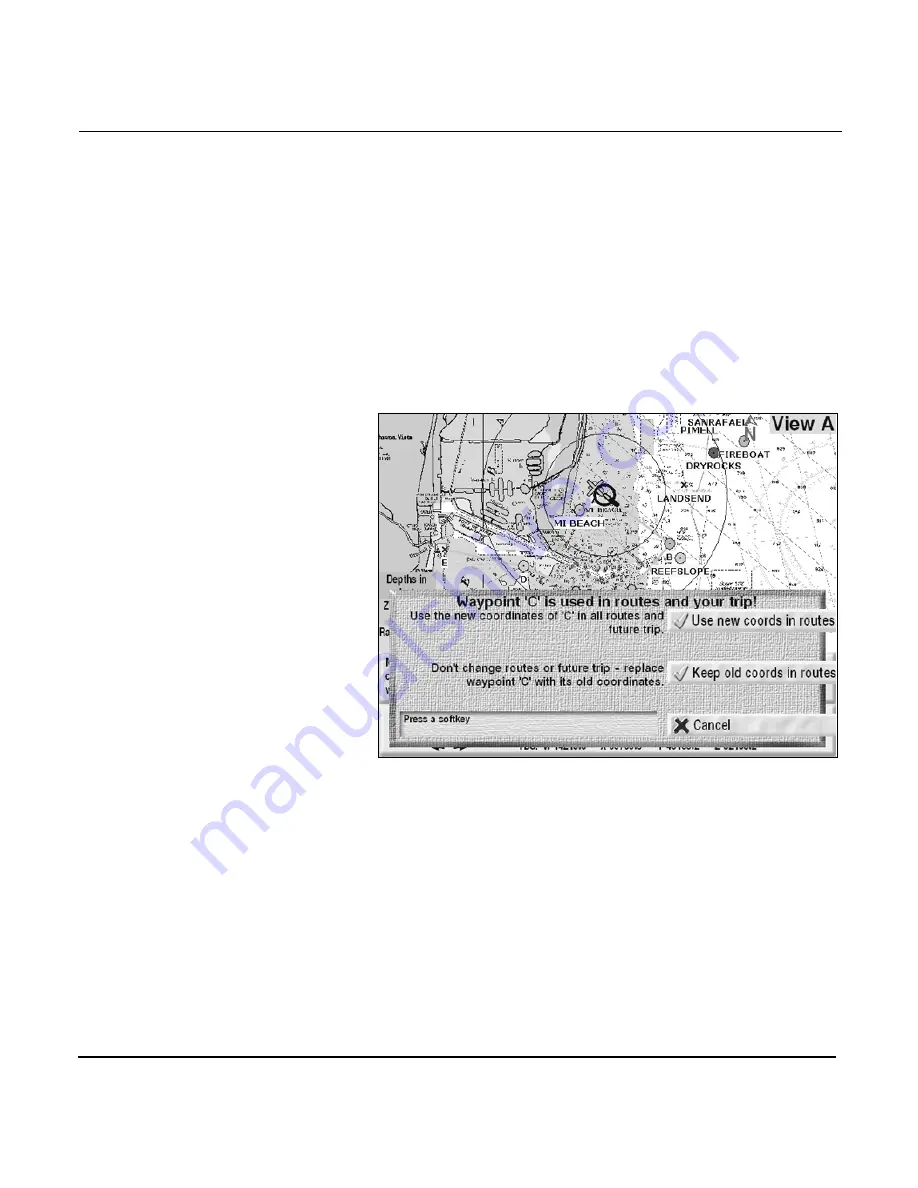
If you selected a named waypoint and this waypoint is
used in one or more routes or the trip, you’ll always be
asked whether you want to use the new location of this
waypoint in all routes and the trip, or keep the original
coordinates as unnamed points in the trip or routes. This
USE SELECTED DIALOG
box won’t appear if you
selected a route point or a trip point.
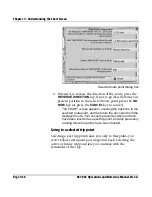
Use selected waypoint dialog box
To use the new coordinates, press the
USE NEW COORD
IN ROUTES
key; to leave routes and the trip unchanged,
press the
KEEP OLD COORD IN ROUTES
key.
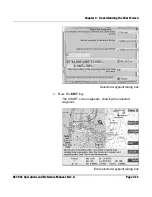
The
CHART
screen appears, showing the new location of
the waypoint and its position data in the
CURSOR INFO
BAR
.
Содержание 961
Страница 6: ...Page viii 961 962 Operations and Reference Manual Rev A ...
Страница 8: ...Page x 961 962 Operations and Reference Manual Rev A ...
Страница 14: ...Page xvi 961 962 Operations and Reference Manual Rev A ...
Страница 92: ...Chapter 3 Using the Controls Page 3 34 961 962 Operations and Reference Manual Rev A ...
Страница 142: ...Chapter 5 Understanding Position Coordinates Page 5 12 961 962 Operations and Reference Manual Rev A ...
Страница 160: ...Chapter 6 Creating Waypoints Page 6 18 961 962 Operations and Reference Manual Rev A ...
Страница 176: ...Chapter 7 Creating Avoidance Points Page 7 16 961 962 Operations and Reference Manual Rev A ...
Страница 202: ...Chapter 8 Creating Routes Page 8 26 961 962 Operations and Reference Manual Rev A ...
Страница 344: ...Chapter 13 Customizing Setup Functions Page 13 74 961 962 Operations and Reference Manual Rev A ...
Страница 380: ...Glossary Page G 8 961 962 Operations and Reference Manual Rev A ...


