Chapter 4 - Understanding the Chart Screen
Page 4-32
961/962 Operations and Reference Manual, Rev. A
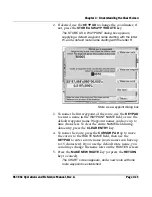
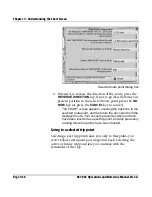
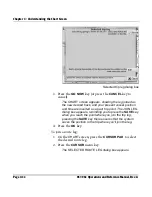
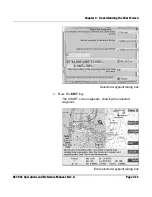
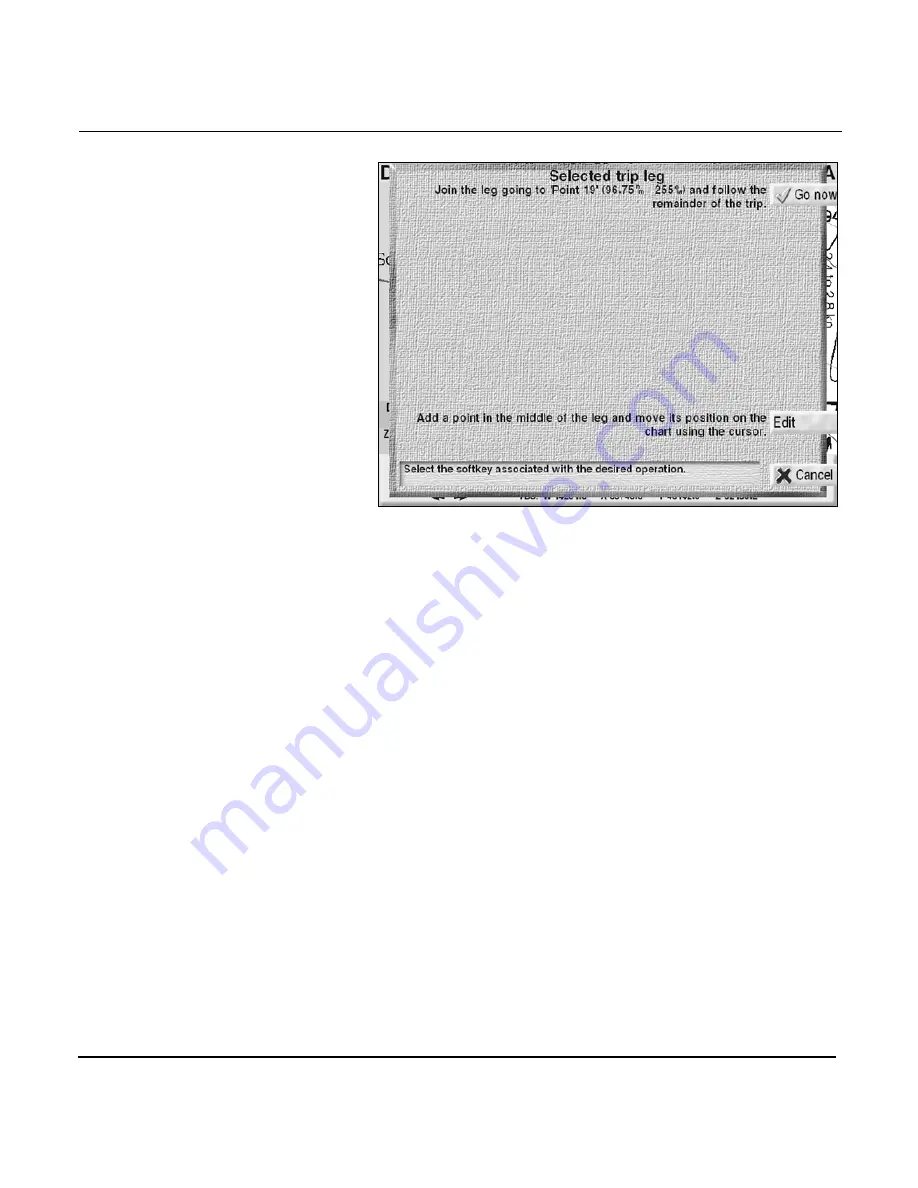
Selected trip leg dialog box
3. Press the
GO NOW
key (or press the
CANCEL
key to
cancel).
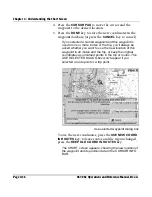
The
CHART
screen appears, showing the leg joined as
the new desired track, and your present vessel position
and time are inserted as a past trip point. The
JOIN LEG
dialog box appears, reminding you to press the
SAVE
key
when you reach the point where you join the trip leg;
pressing the
SAVE
key there ensures that the system
saves the position in the trip where you’ll join the leg.
4. Press the
OK
key.
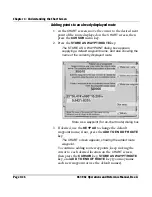
To join a route leg:
1. On the
CHART
screen, press the
CURSOR PAD
to select
the desired route leg.
2. Press the
CURSOR
menu key.
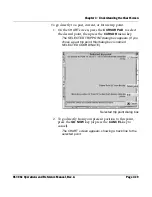
The
SELECTED ROUTE LEG
dialog box appears.
Содержание 961
Страница 6: ...Page viii 961 962 Operations and Reference Manual Rev A ...
Страница 8: ...Page x 961 962 Operations and Reference Manual Rev A ...
Страница 14: ...Page xvi 961 962 Operations and Reference Manual Rev A ...
Страница 92: ...Chapter 3 Using the Controls Page 3 34 961 962 Operations and Reference Manual Rev A ...
Страница 142: ...Chapter 5 Understanding Position Coordinates Page 5 12 961 962 Operations and Reference Manual Rev A ...
Страница 160: ...Chapter 6 Creating Waypoints Page 6 18 961 962 Operations and Reference Manual Rev A ...
Страница 176: ...Chapter 7 Creating Avoidance Points Page 7 16 961 962 Operations and Reference Manual Rev A ...
Страница 202: ...Chapter 8 Creating Routes Page 8 26 961 962 Operations and Reference Manual Rev A ...
Страница 344: ...Chapter 13 Customizing Setup Functions Page 13 74 961 962 Operations and Reference Manual Rev A ...
Страница 380: ...Glossary Page G 8 961 962 Operations and Reference Manual Rev A ...

