RV Series Automated Dispensing Systems
129
www.nordsonefd.com [email protected]
+1-401-431-7000 Sales and service of Nordson EFD dispensing systems are available worldwide.
Importing a DXF File
PREREQUISITES
If the tip or any element of the Z axis head was changed, repeat system setup and calibration using the Robot
Initial Setup wizard. Refer to “Setting Up the System Using the Robot Initial Setup Wizard” on page 48.
The system is in the correct mode (Tip or CCD).
The DXF file for the workpiece is located on the DispenseMotion controller.
The actual workpiece is properly positioned on the fixture plate.
#
Click
Step
Reference Image
1
• Click DXF.
The DXF screen appears in the Primary
View screen.
2
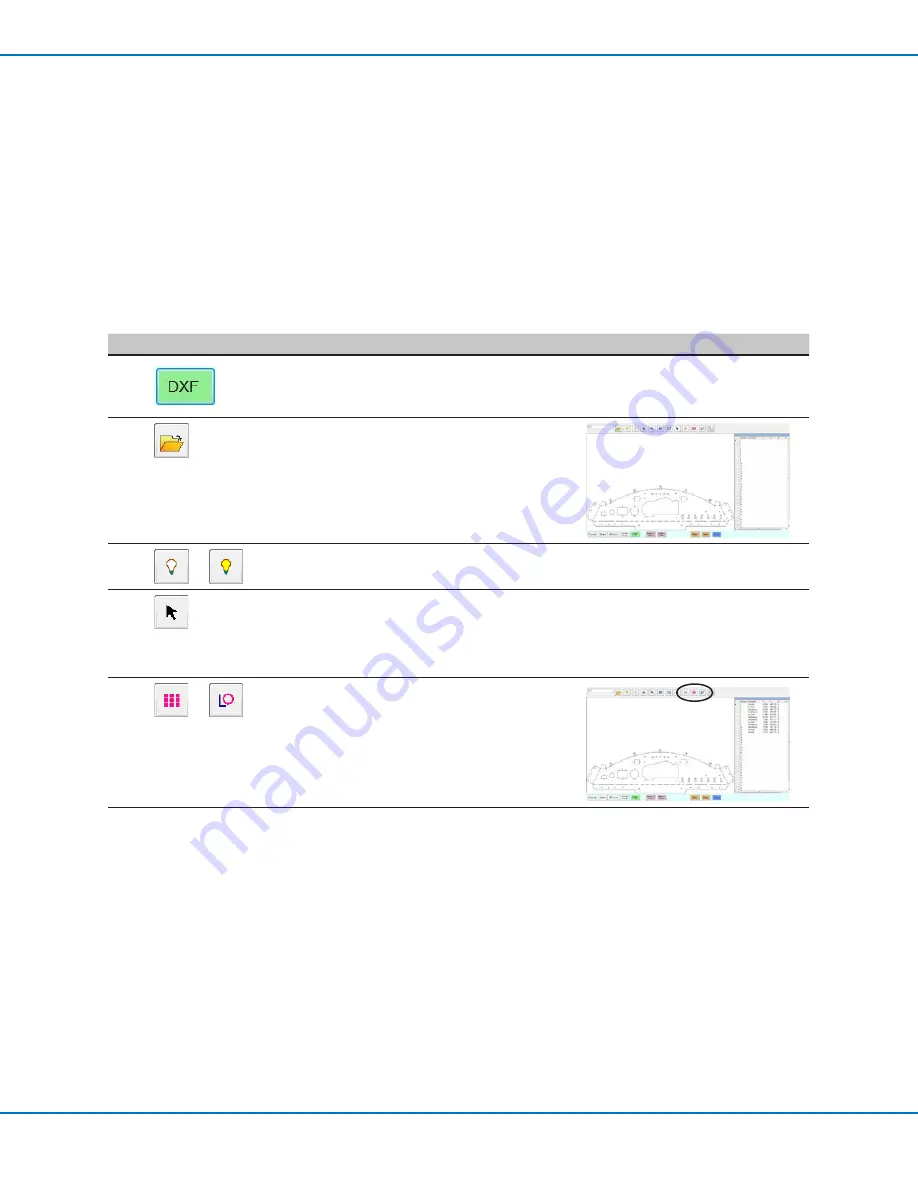
• Open the DXF file you want to convert
to a program.
The file appears in the Primary View
screen.
3
or
• To hide or show layers, click HIDE ALL
LAYERS or SHOW ALL LAYERS.
4
• Select the points and / or lines onto
which you want to dispense material.
Refer to “Overview of the DXF Screen”
on page 127 for an explanation of all
the selection icons.
5
or
• Click POINT DISPENSE (for dispense
dots) or LINE DISPENSE (for lines, arcs,
and circles).
The system generates the program
commands that will create the selected
pattern.
Continued on next page
Appendix C, DXF File Import (continued)


