Pro-Meter V2K
6. Be sure to tighten the stroke adjustment screw jam nut.
7. Add material to the gravity tanks.
CAUTION:
Ensure the manual ball valves located just below the gravity tanks are CLOSED. When the ball
valves are CLOSED, the handles are horizontal.
Fill each tank with at least a gallon of pourable material.
If you have a gravity tank system, the dispense material should be pourable. If the material is
particularly viscous, wait several hours to allow ingested air to emerge.
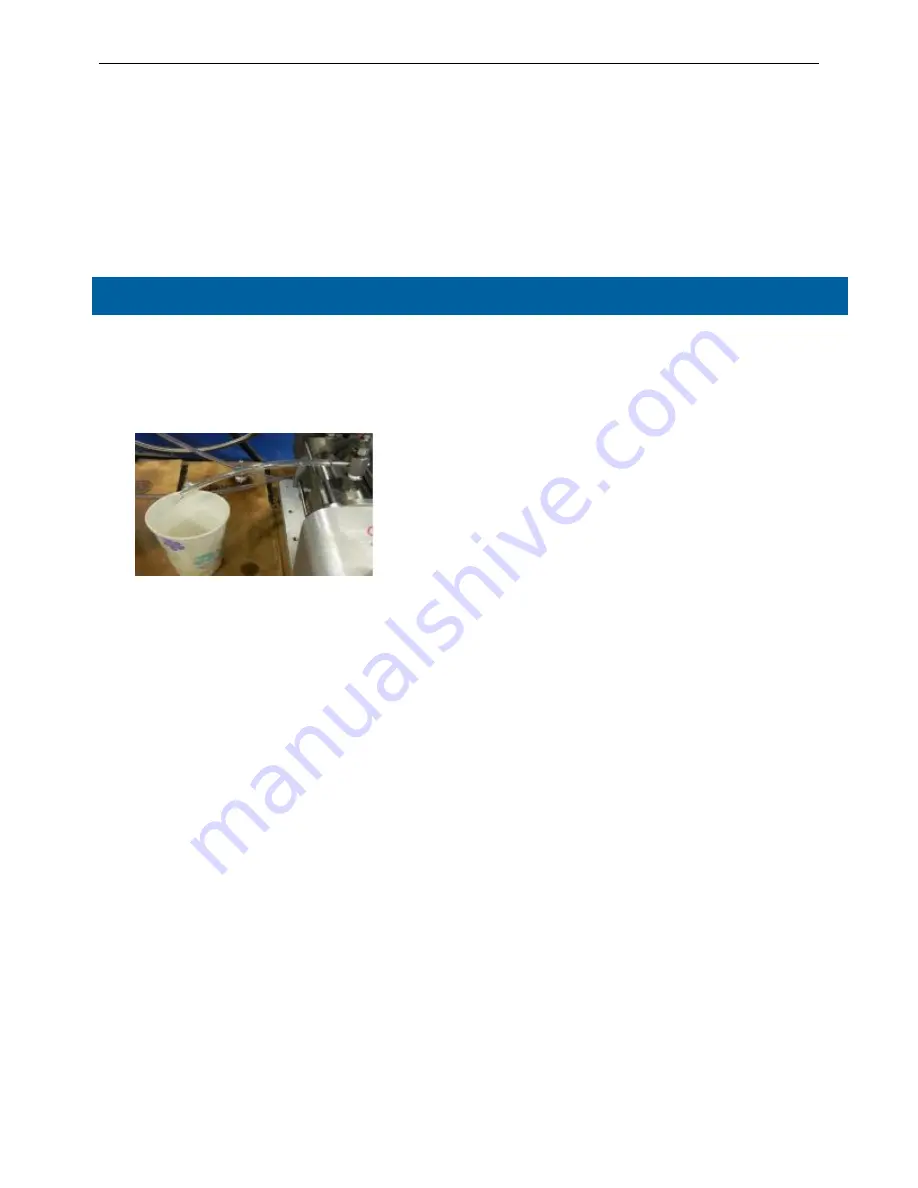
1. Install 6 to 8 inches (15 to 20 cm) of ¼ inch clear tubing to the bleed valve located on the high and low
volume metering cartridge assembly.
CAUTION:
Utilize a cup, or suitable container, to collect bled material.
NOTE:
It is possible to add bled material back into the tank(s).
2. Utilizing the HMI pendant, proceed to the
Level 1 Setup
Screen and then to the
Valve Setup
Screen.
Place the carriage in the METER FULL POSITION.
Select
Open Inlet Valves
pushbutton
.
Select the Return Rods pushbutton to place the carriage in the METER FULL POSITION.
3. Position the ball valves located just below the gravity tanks to the OPEN position.
NOTE:
When the ball valves are OPEN, the handles are vertical.
4. Open bleed valves located on the metering cartridge assemblies.
CAUTION:
Bleed one side of the meter before proceeding to the next.
NOTE:
Open the bleed ports with a 7/16 inch wrench or a screwdriver.
5. Allow material to flow until air bubbles are no longer observed in the clear tubing.
Bleed Procedure
NOTE:
It may take longer to bleed viscous material.
6. Close bleed valves located on the metering cartridge assemblies.
7. Proceed to the
Dispense 1
Screen and note the following:
CAUTION:
Utilize a cup, or suitable container, to collect bled material.
Select
Manual Mod
e pushbutton.
Dispense material via the dispense valve until air is no longer observed.
Proceed to
Valve Setup
Screen.
Place carriage in METER FULL POSITION. See Step 2.
8. Repeat steps 2 through 7 until air is fully bled from system.
9. Run a series of shots through material through the dispense valve to eliminate remaining air pockets.
17
Содержание 7440272
Страница 20: ...APPENDIX A 20...


