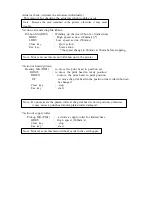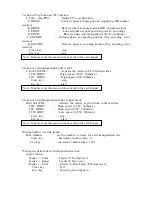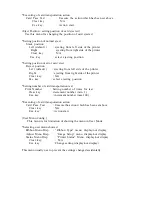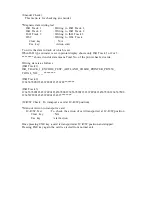
5.2.3 Adjustment of Print Density
When the main board is replaced, check and adjust the print density in the following
procedure after adjusting print position and print uniformity.
?
Adjustment of Image and Protective Layer
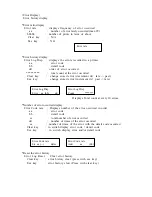
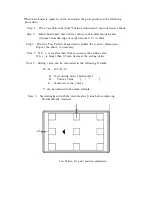
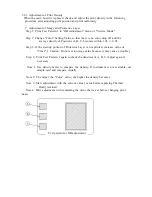
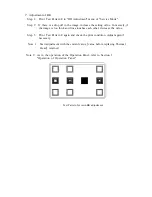
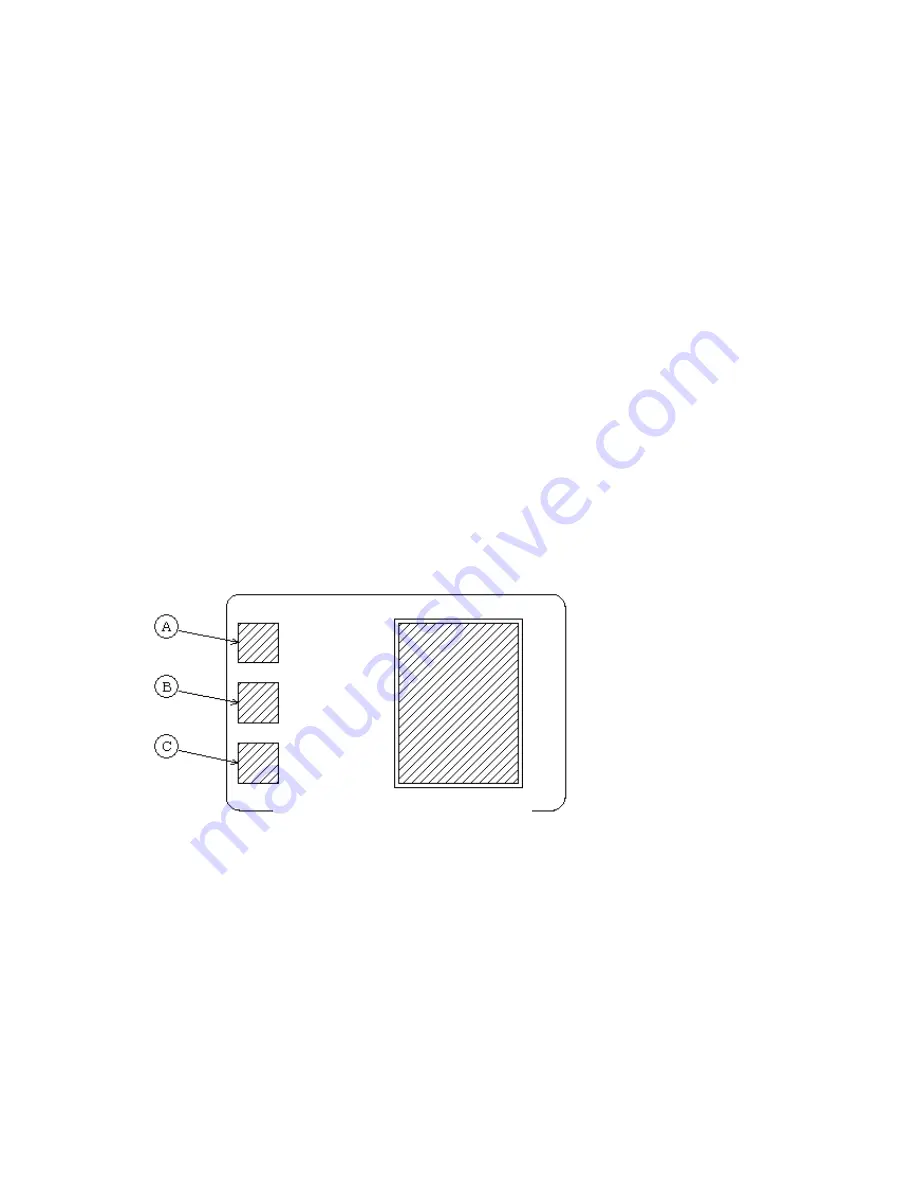
Step 1: Print Test Pattern J in "OD Adjustment" menu of "Service Mode".
Step 2: Change "Color" Setting Value so that there is no color drop off and the
average density of Positions A, B, C, becomes within 1.65 +/-0.05.
Step 3: If the starting portion of Protective Layer is not printed, increase value of
"Clear".
(
Caution: Do not set too large value because it may cause a trouble.
)
Step 4: Print Test Pattern J again to check the densities of A, B, C. Adjust again if
necessary.
Note 1: Use density meter to compare the density, If instrument is not available, use
sample card and compare visually.
Note 2: The larger the "Color" value, the higher the density becomes.
Note 3: Start adjustment with the current value
(
value before replacing Thermal
Head
)
retained.
Note 4: Start adjustment with remaining the value that is set before changing print
head
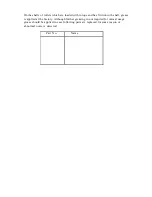
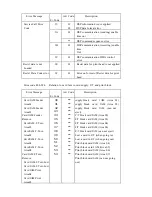
Test pattern for OD adjustment
Содержание PR5350
Страница 1: ...DIRECT CARD PRINTER PR5350 Service Manual Ver 1 0 Aug 05...
Страница 57: ...Card JAM Print Area06 Card JAM Print Area07 Card JAM Print Remove...
Страница 96: ......

