MENU DESCRIPTION
0. FLAT - NO PROTN. Y001
[4 ch amplifier]
~
~
Changing Cabinet Family
In order to prevent end-user changing between different NEXO systems set-ups during
use, the following procedure is recommended. This procedure has been purposely designed
to avoid any mistakes. It is nevertheless very easy to change set-up among the same
family or between families (see further, “System config”).
42. GeoD PA WB
Back1-3 Front2-4 OK
~
~
Depressing
A
&
B
buttons while the NXAMP is starting (this last 2 seconds). At the end of
the boot time, the above screen should appear, while the amplifier part itself starts up (this
last around 11 seconds, and ends when you hear the output relays moving and see the
“Amp Protect” LED shutting down). Please note that you don’t need to wait for the
amplifier to start for choosing your cabinet setup.
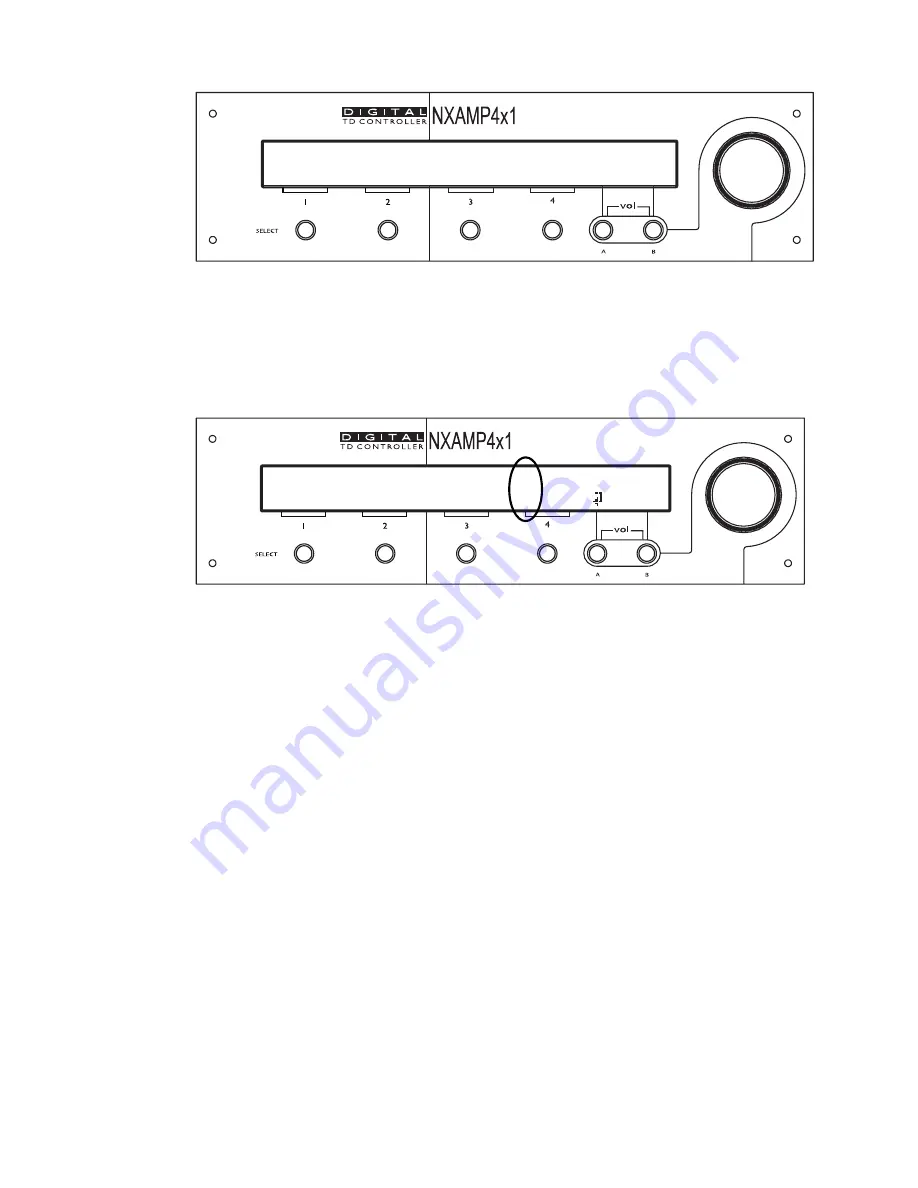
You should then see the two up and down arrows surrounded in the above drawing. This
means that you can change the speaker setup by turning the wheel. Select the appropriate
setup by pressing
‘OK’
(button
B
) or press the button
A
to go back to current setup
without changes.
N.B.: You can reset the unit without powering off by simultaneously repressing buttons
A
,
B
&
SELECT CH1
at the same time for at least 3 seconds.
The setup number is blinking when the currently displayed setup is different from the one
running into the DSP at the moment. Selecting a new family will set all parameters to
factory default settings.
N.B.: The setup number 0 “FLAT –NO PROTN.” is the default setup; it means no EQ (Flat)
and no protection (No Protn.) for the speakers but of course amplifier protections will still
work.
PAGE 43 OF 140
Содержание NXAMP4X1
Страница 2: ......
Страница 110: ...DMU DIGITAL METERS UNIT FOR NXAMP PAGE 110 OF 140 ...
Страница 118: ...DPU DIGITAL PATCHING UNIT FOR NXAMP SPK8 To STM Stack SPK4 Link between DPUs PAGE 118 OF 140 ...
Страница 125: ...NXWIN4 SOFTWARE FOR NXAMP FIRMWARE UPGRADE PAGE 125 OF 140 ...
Страница 139: ...ROHS CERTIFICATE ROHS certificate PAGE 139 OF 140 ...


