Hearing Screening Systems (Technical Manual)
70
In case the installation disk is missing, you can always download all the
necessary components and last version of the program distributive from
our site: http://www.neurosoft.ru/eng/soft/. To get an access to the files, en-
ter the name and the password which you can obtain in the commercial de-
partment of Neurosoft Ltd.
Insert the disk into the disk driver of your computer. As soon as the menu appears on
the screen, choose “
Neuro-Audio-Screen Manager
” item in it.
If the menu hasn’t appeared, open the disk content using Windows Explorer and start
AUTORUN.EXE
file.
After the installation, the shortcuts for “
Neuro-Audio-Screen Manager”
start will
appear on the desktop and in the “Start” menu. You can use any of them.
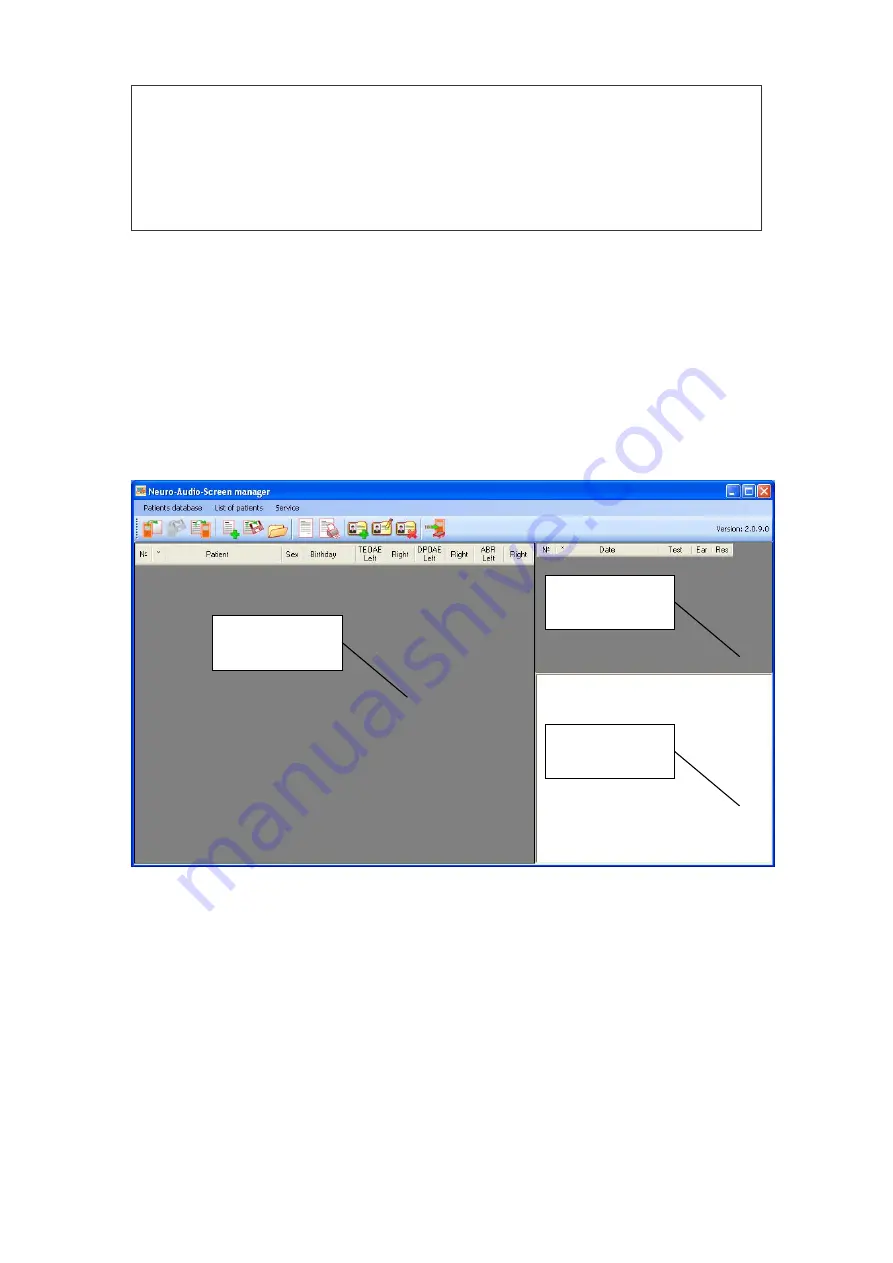
After the program start, the main window will appear on the screen (Fig. 46).
Fig. 46.
Neuro-Audio-Screen manager
main window.
Using the program, you can carry out the transfer of patient list and performed exams
from the device to the computer, generate the list of patients for the exam performing,
print the results of the performed exams and update the device firmware.
The main window consists of the following parts: the menu, the toolbar, the patients
list, the exams list and report area.
The toolbar is intended for quick access to the most frequently used program
functions.
The list of patients is represented as the table with the following areas:
List of patients
List of exams
Report area


