Scanner Appliance Tour
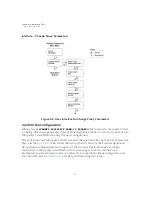
Ethernet Port Configuration
44
5
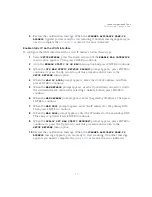
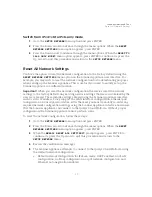
When the
REALLY SET LAN TO <value>
prompt appears, press ENTER to store
the configuration setting. Go to Step 9 unless WAN port configuration is necessary
for split network configuration.
Split Network Configuration: When the Scanner Appliance has a split network
configuration, you have the option to configure the WAN port link setting. To do
this, follow the steps below.
6
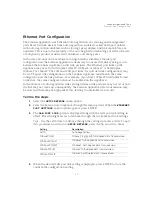
Press the Down arrow one time. The
WAN PORT LINK
option is displayed along
with the WAN port link setting in effect.
7
Press the Right arrow to advance through the available port link settings.
Tips - Use the Left arrow to advance through the settings in reverse order. To quit
this procedure and return to
SETUP NETWORK
, press the Up arrow two times.
8
When the desired WAN port link setting is displayed, press ENTER to confirm the
configuration setting.
9
When the
REALLY SET WAN TO <value>
prompt appears, press ENTER to store
the configuration setting.
10
Return to
SETUP NETWORK
.
A change to an Ethernet port setting takes effect right away.
Setting
Description
AUTO
Auto negotiation
1GbaseT/Full
1GbaseT (1 gigabit) full-duplex data transmission
100baseT/Full
100baseT full-duplex data transmission
100baseT/Half
100baseT half-duplex data transmission
10baseT/Full
10baseT full-duplex data transmission
10baseT/Half
10baseT half-duplex data transmission
Содержание QGSA-5120-A1
Страница 1: ...Scanner Appliance User Guide December 20 2021 ...
Страница 4: ...Contents 4 Appendix A Product Specifications Appendix B Software Credits Appendix C Safety Notices ...
Страница 6: ...Preface 6 ...
Страница 58: ...Troubleshooting Where can I find the model number and serial number 58 ...
Страница 60: ...Appendix A Product Specifications 60 ...
Страница 62: ...Appendix B Software Credits 62 ...
Страница 64: ...Appendix C Safety Notices 64 ...


