Disassembly and Reassembly 3-23
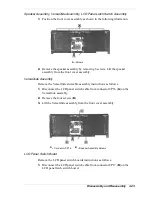
Speaker Assembly, VersaGlide Assembly, LCD Panel Latch Switch Assembly
1.
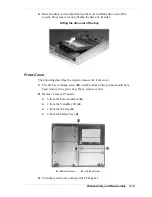
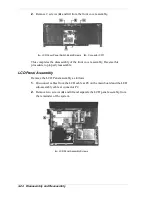
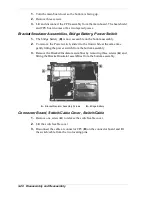
Position the front cover assembly as shown in the following illustration.
A – Screws
2.
Remove the speaker assembly by removing 6 screws. Lift the speaker
assembly from the front cover assembly.
VersaGlide Assembly
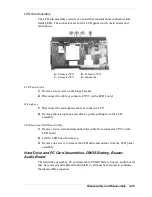
Remove the VersaGlide and cable assembly instructions as follows.
1.
Disconnect the LCD panel switch cable from connector CP16 (
A
) on the
VersaGlide assembly.
2.
Remove the four screws (
B
).
3.
Lift the VersaGlide assembly from the front cover assembly.
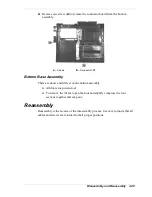
A – Connector CP16
B – Speaker Assembly Screws
LCD Panel Switch Board
Remove the LCD panel switch boards instructions as follows.
1.
Disconnect the LCD panel switch cable from connector CP17 (
B
) on the
LCD panel latch switch board.
Содержание Versa LX
Страница 1: ...NEC Versa LX Notebook Computer VERSA LX S E R V I C E A N D R E F E R E N C E M A N U A L...
Страница 57: ...3 Disassembly and Reassembly Required Tools and Equipment Disassembly Reassembly...
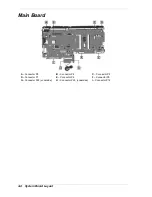
Страница 86: ...4 System Board Layout Audio Board Connector Board LCD Panel Switch Board LED Status Board Main Board...
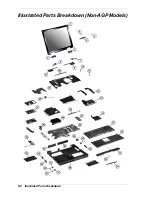
Страница 91: ...5 2 Illustrated Parts Breakdown Illustrated Parts Breakdown Non AGP Models...
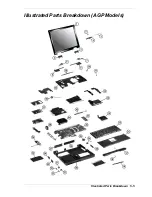
Страница 94: ...Illustrated Parts Breakdown 5 5 Illustrated Parts Breakdown AGP Models...
Страница 102: ...7 Troubleshooting Quick Troubleshooting Helpful Questions...
Страница 112: ...9 Specifications System Components Pin Assignments Connector Locations Memory Map Interrupt Controllers...
Страница 138: ...NEC Computer Systems Division Packard Bell NEC Inc 1 Packard Bell Way Sacramento CA 95828 0903 819 200064 000 3 99...

