


Disassembly and Reassembly 3-13
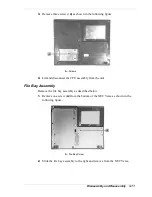
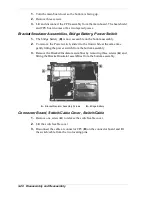
4.
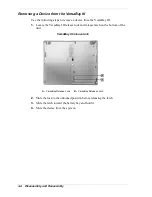
Once the drive is disconnected, use the lever to lift the drive out of the
system. Once removed, only handle the drive by its sides.
Lifting the drive out of the bay
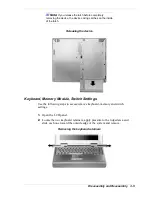
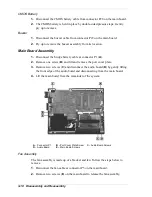
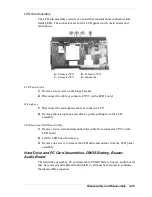
Front Cover
The following describes the steps to remove the front cover.
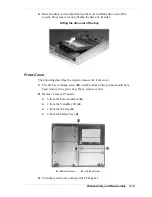
1.
The file bay retaining screw (
B
) on the bottom of the system should have
been removed in a prior step. If not, remove it now.
2.
Remove a total of 9 screws.
5 from the bottom surface (
A
)
1 from the VersaBay III (
A
)
1 from the file bay (
A
)
2 from the battery bay (
A
)
A – Bottom Screws
B – File Bay Screw
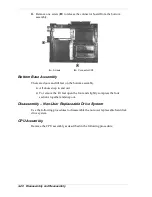
3.
Turn the system over and open the LCD panel.
Содержание Versa LX
Страница 1: ...NEC Versa LX Notebook Computer VERSA LX S E R V I C E A N D R E F E R E N C E M A N U A L...
Страница 57: ...3 Disassembly and Reassembly Required Tools and Equipment Disassembly Reassembly...
Страница 86: ...4 System Board Layout Audio Board Connector Board LCD Panel Switch Board LED Status Board Main Board...
Страница 91: ...5 2 Illustrated Parts Breakdown Illustrated Parts Breakdown Non AGP Models...
Страница 94: ...Illustrated Parts Breakdown 5 5 Illustrated Parts Breakdown AGP Models...
Страница 102: ...7 Troubleshooting Quick Troubleshooting Helpful Questions...
Страница 112: ...9 Specifications System Components Pin Assignments Connector Locations Memory Map Interrupt Controllers...
Страница 138: ...NEC Computer Systems Division Packard Bell NEC Inc 1 Packard Bell Way Sacramento CA 95828 0903 819 200064 000 3 99...


