Disassembly and Reassembly 3-17
Microphone
1.
Disconnect the microphone cable at connector CP11.
2.
Remove the microphone and cable by gently pulling from the LCD
assembly.
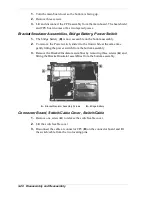
LED Board and LED Board Cable
1.
Remove two screws and disconnect the cable from connector CP12 on the
LED board.
2.
Lift the LED board to remove.
3.
Remove one screw to release the LED cable and anchor from the LCD panel
assembly.
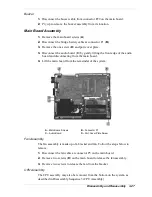
PC Card Assembly, CMOS Battery, Buzzer, and
Audio Board
The PC card assembly, CMOS battery, buzzer, and audio board may be
removed and replaced individually if need be, but all must be removed to
continue the disassembly sequences to the next level.
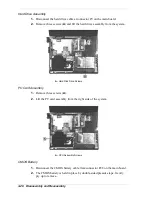
PC Card Assembly
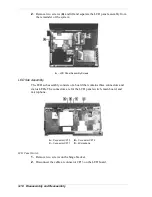
1.
Remove three screws (
A
).
2.
Lift and disconnect the PC card assembly from connector P14 on the main
board. Start by lifting on the right side of the PC card assembly and slide to
the right.
A – PC Card Assembly Screws
Содержание Versa LX
Страница 1: ...NEC Versa LX Notebook Computer VERSA LX S E R V I C E A N D R E F E R E N C E M A N U A L...
Страница 57: ...3 Disassembly and Reassembly Required Tools and Equipment Disassembly Reassembly...
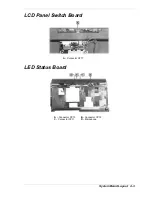
Страница 86: ...4 System Board Layout Audio Board Connector Board LCD Panel Switch Board LED Status Board Main Board...
Страница 91: ...5 2 Illustrated Parts Breakdown Illustrated Parts Breakdown Non AGP Models...
Страница 94: ...Illustrated Parts Breakdown 5 5 Illustrated Parts Breakdown AGP Models...
Страница 102: ...7 Troubleshooting Quick Troubleshooting Helpful Questions...
Страница 112: ...9 Specifications System Components Pin Assignments Connector Locations Memory Map Interrupt Controllers...
Страница 138: ...NEC Computer Systems Division Packard Bell NEC Inc 1 Packard Bell Way Sacramento CA 95828 0903 819 200064 000 3 99...


