3-12 Disassembly and Reassembly
Hard Disk Drive Assembly
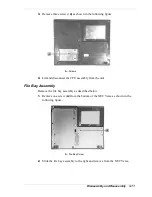
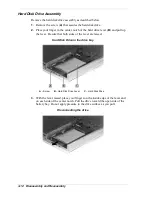
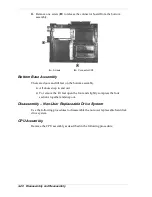
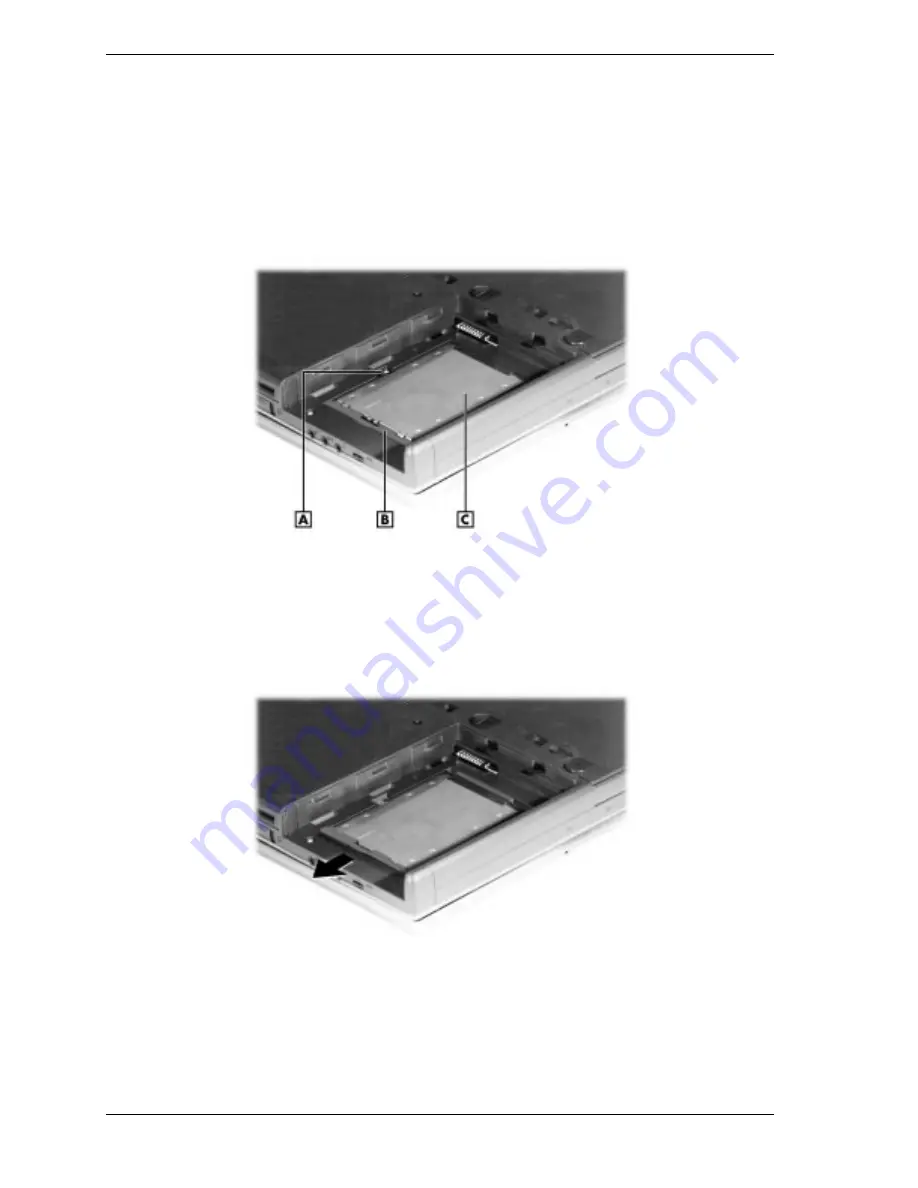
Remove the hard disk drive assembly as described below.
1.
Remove the screw (
A
) that secures the hard disk drive.
2.
Place your finger in the center notch of the hard drive lever (
B
) and pull up
the lever. Be sure that both sides of the lever are raised.
Hard Disk Drive in the drive bay
A – Screw
B – Hard Disk Drive Lever
C – Hard Disk Drive
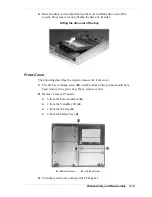
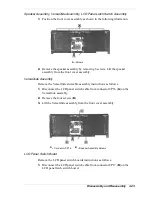
3.
With the lever raised, place your fingers on the inside edge of the lever and
on each side of the center notch. Pull the drive toward the open side of the
battery bay. Do not apply pressure to the drive surface as you pull.
Disconnecting the drive
Содержание Versa LX
Страница 1: ...NEC Versa LX Notebook Computer VERSA LX S E R V I C E A N D R E F E R E N C E M A N U A L...
Страница 57: ...3 Disassembly and Reassembly Required Tools and Equipment Disassembly Reassembly...
Страница 86: ...4 System Board Layout Audio Board Connector Board LCD Panel Switch Board LED Status Board Main Board...
Страница 91: ...5 2 Illustrated Parts Breakdown Illustrated Parts Breakdown Non AGP Models...
Страница 94: ...Illustrated Parts Breakdown 5 5 Illustrated Parts Breakdown AGP Models...
Страница 102: ...7 Troubleshooting Quick Troubleshooting Helpful Questions...
Страница 112: ...9 Specifications System Components Pin Assignments Connector Locations Memory Map Interrupt Controllers...
Страница 138: ...NEC Computer Systems Division Packard Bell NEC Inc 1 Packard Bell Way Sacramento CA 95828 0903 819 200064 000 3 99...


