52
ADJUSTMENT
4) For alignment, hold down the CTL button, then use the
CURSOR buttons to align the pattern. For convergence, hold
down the CTL button and then use the CURSOR buttons to
align the Red or Blue pattern with the Green pattern.
NOTE:
For more accurate convergence correction on edges,
perform the amplitude and linearity adjustments before the
POINT convergence adjustment.
R E T U R N U S E R M O D E ?
Y E S
N O
6
To end this adjustment, press the END button.
• Whenever the END button is pressed, the menus will sequence
in this order:
“ALIGNMENT” menu
→
“ADJUST” menu
→
Source screen
• If the “RETURN USER MODE?” menu appears, use the
CURSOR
or
button to select either “YES” or “NO” and
then press ENTER. This will exit the ADJUST mode.
Items to select
• YES ......... When you try to enter the ADJUST mode again,
you will need to re-enter your passcode.
• NO ........... When you try to enter the ADJUST mode again,
you will not need to re-enter your passcode.
Items to select
• COARSE .............. Coarse adjustment. Number of adjust-
ment zones is 3 x 3.
• MEDIUM .............. Number of adjustment zones is 7 x 7.
• FINE ..................... Fine adjustment. Number of adjustment
points is 13 x 16.
3) Use the CURSOR
or
buttons to move the cursor mark to
the point to be adjusted.
• Pressing the CURSOR
button moves the cursor to the right.
Pressing the CURSOR
button moves the cursor to the left.
Pressing the CURSOR
button moves the cursor to the top.
Pressing the CURSOR
button moves the cursor to the
bottom.
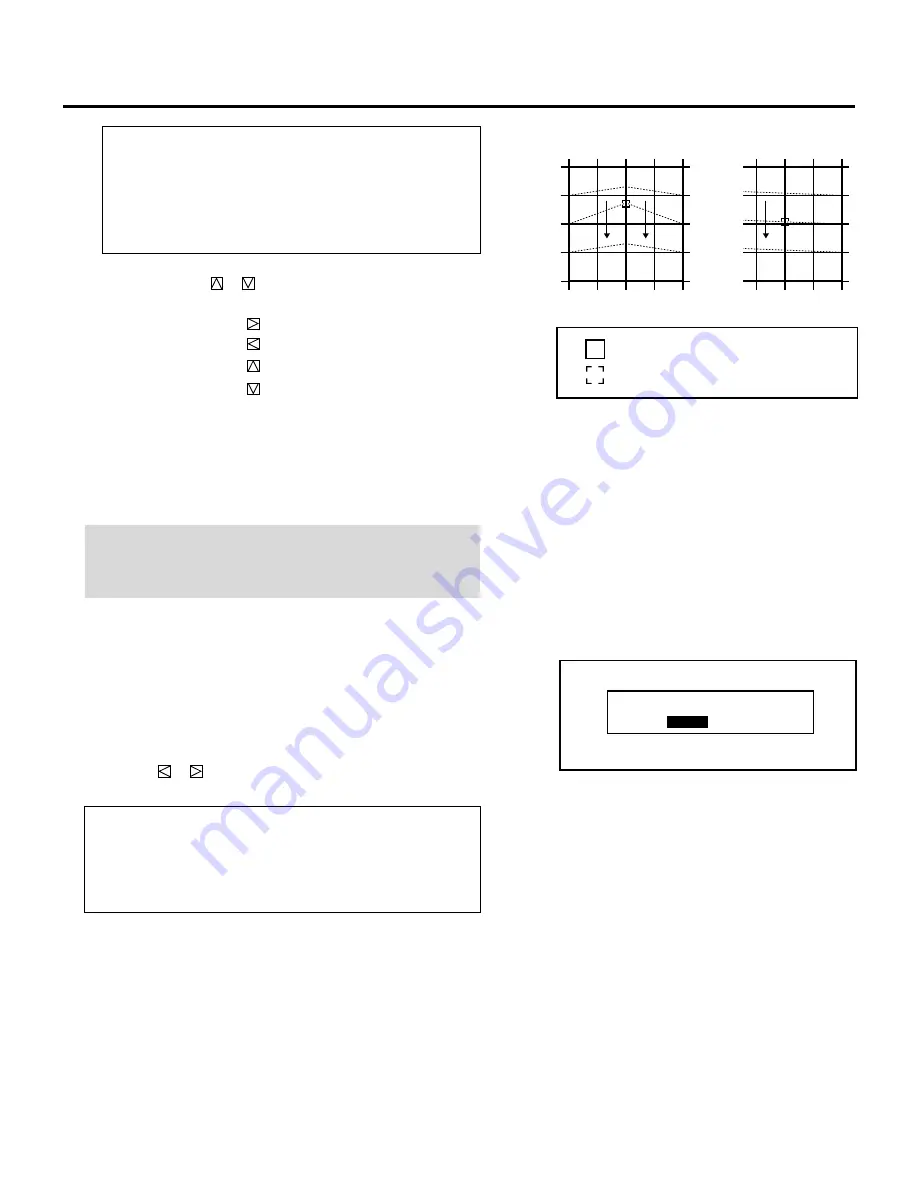
When the adjustment area
frame is a box type.
When the adjustment area
frame is a box with one side
open.
When FINE is selected, the adjustment area frame is not displayed.
: adjustment area frame
: adjustment
Содержание MultiSync XG-1352C
Страница 2: ...2 ...
Страница 16: ...16 ...
Страница 142: ...NEC Corporation Printed in Japan 78409591 ...


