The factory default setting is the Complete phonebook. The first time that you press
(Phonebook), the Complete phonebook displays with “List empty.”
*
Press
(Phonebook) until the preferred phonebook displays. (See Flag.) The name of the phonebook type displays at the top of the list in the title bar. After
contact entries are added, the phone number type icon and phone number of the highlighted name displays at the lower bottom of the screen.
The next time you press
(Phonebook) from the Idle screen, the phonebook that displays is the last one used and exited.
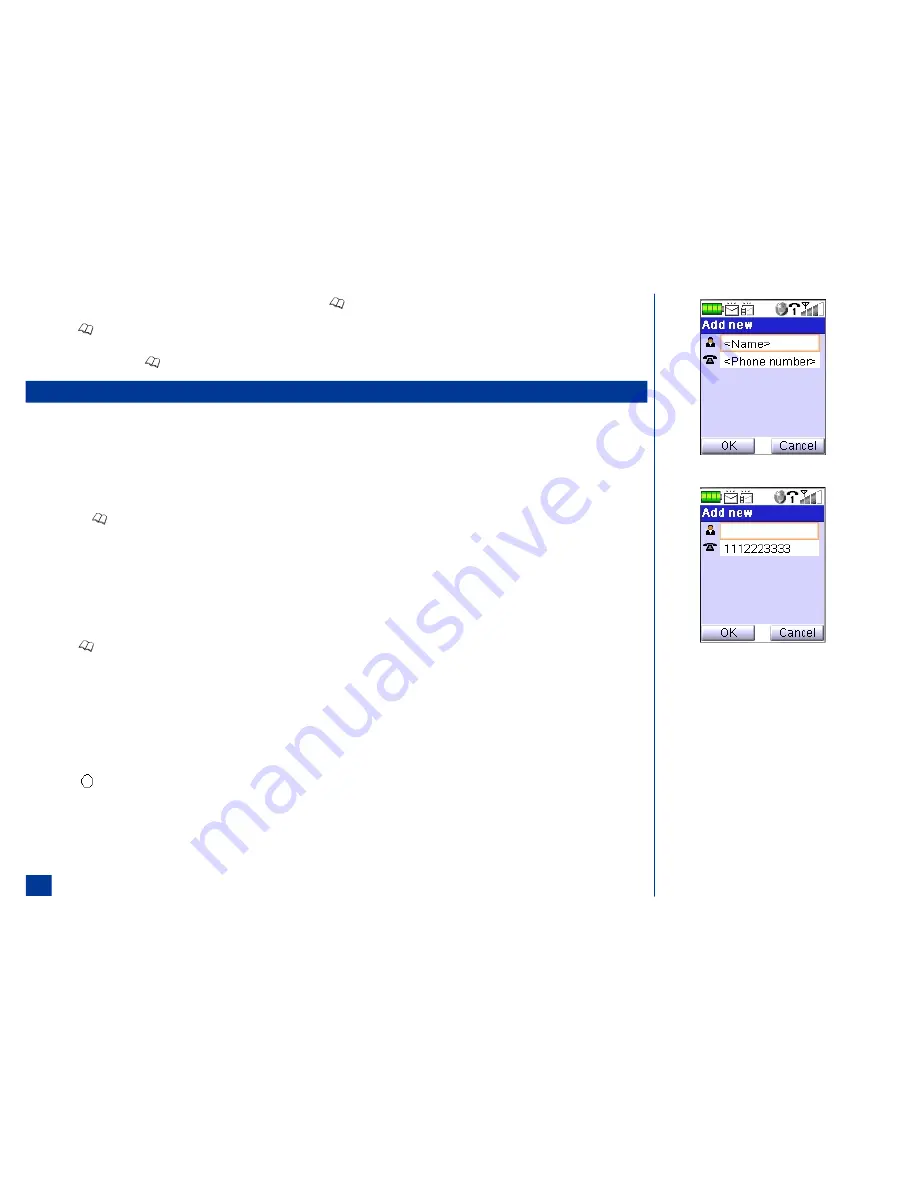
Number Entry Screens
There are two methods that a phone number may be entered to the Add new screen:
l
Blank
l
Number pre-loaded
Blank Entry Screen
To display the Add new screen with blank fields (no number is entered in the Number field), proceed as follows:
*
Press the
(Phonebook) until the preferred phonebook displays.
Press
Softkey 2
(Add new) to display the Add new screen. Continue with the instructions provided in “Storing Numbers and Names in Phonebook, Adding a New
Name/Number” on page 101.
Number Pre-loaded Entry Screen
To input a number at the Idle screen and save it to a phonebook:
*
Input the phone number at the Idle screen.
Press
(Phonebook) to display the Add New screen with the phone number in the number field. Continue with the instructions provided in “Storing Numbers
and Names in Phonebook, Adding a New Name/Number” on page 101.
A number can be pre-loaded into the Add new screen from the Call Record Logs (Missed calls, Received calls, and Dialed calls). To highlight a call record and select it to add
to a phonebook:
*
Press
MENU
(Main) and
7
to display the Call records menu.
Input the appropriate number:
2
for Missed calls log,
3
for Received calls log , or
4
for the Dialed calls log. The respective call type log screen displays.
Scroll and highlight an item in the list.
Press (Select).
Press
MENU
(Options Menu) and
2
to copy the selected number to the Phone phonebook. The Add new screen displays with the phone number in the number
field. Continue with the instructions provided in “Storing Numbers and Names in Phonebook, Adding a New Name/Number” on page 101.
100
Содержание MDview 232
Страница 35: ...27 ...
Страница 62: ...54 ...
Страница 79: ...71 ...
Страница 80: ...72 ...
Страница 97: ...89 ...
Страница 106: ...98 ...
Страница 167: ...159 ...
Страница 175: ...167 ...


