INE-
DZB-712
Portable
Multi-parameter
Analyzer
20
The figure with tick means this standard buffer solution has been selected while no tick on figure
means the solution has not been selected. Reversed color means current STD is operational.
Press the figure with reversed color once more, you can select or delete current STD. The
relevant STD range will be shown under the window.
Press ‘←→’ or ‘↑ ↓’ to move cursor to needed STD then select or delete the selection.
For example
if you want to select 3.557pH STD buffer solution, press F1 to move cursor at
3.557pH STD and then press ‘SETUP’(F3), the figure indicates 3.56pH is ticked which means it
has been selected.
To avoid duplication of pH value among STD, you should select the STD which you actually need
and clear all the other STD which you don’t need.
When selection finishes, press ‘ENTER’ key to exit “Set Custom Group” and return to View pH
Calibrated Data mode.
4.6.2. View pX Measurement Parameter(View pX Para)
In starting state, press F1 to move cursor at ‘PARA’ by pressing F3, let cursor move to ‘View pX
Para’ by pressing F2, then press ‘ENTER’ key to enter into view pX measurement parameter
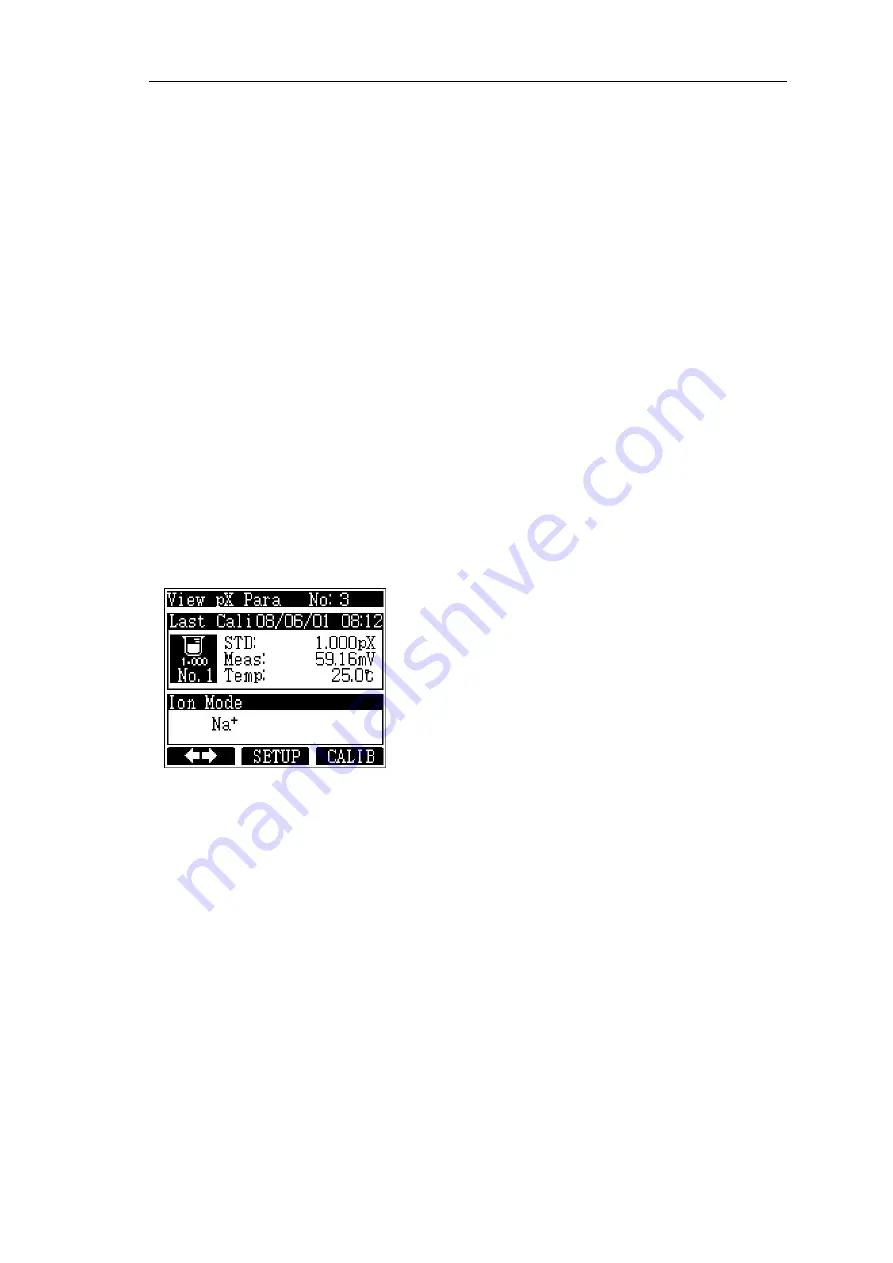
mode. Displayed as follows:
On top of the screen is previous calibrated data
including calibrated time(Last Cali), calibrated points
and calibrated data in correspondence to STD .
At the bottom is the Current Setting Ion Mode(Ion
Mode), i.e. all above pX Measurement Data are in
correspondence to this ion mode.
If previous calibration is multi-points calibration, you can press ‘←→’ to show detailed data of
each STD point.
Re-calibrate electrode slope in here (please refer to calibration chapter for detailed calibration
procedure), print out calibrated data and setup new STD group, etc. If you want to print current
calibration data, you can connect computer through USB connecting line, press ‘ENTER’ key and
select ‘Print Cali.Data’ to print out calibrated data.
Press ‘CANCEL’ key to exit view pX Calibrated Data mode.
4.6.3. View Conductive Measurement Parameter(View COND Para)
Under starting state, press ‘START’(F1), and then press F3 to move cursor at “PARA” to select
‘View COND Para’ by pressing F2, then press ‘ENTER’ key to view conductive measurement
parameter which displayed as follows.


