Chapter 2: Network Setup
24
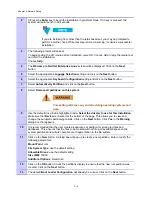
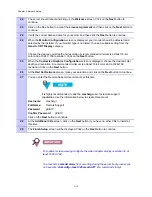
The server should reboot and bring up the
Welcome
screen. Click on the
Next
button to
continue.
25
Click on the
Yes
button to accept the
License Agreement
and then click on the
Next
button to
continue.
26
Verify the correct date and time for your server and then click the
Next
button to continue.
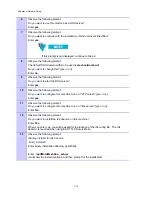
24
When the
Monitor Configuration
screen is displayed, your monitor should be detected and
selected by the installer. If your monitor type is not listed, choose a suitable setting from the
Generic CRT Display
category.
Choose the desired color depth and resolution. A recommended minimum is at least 16-bit
color and a 1024 X 768 resolution. Click on the
Next
button.
25
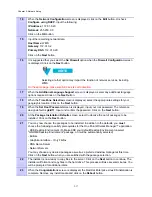
When the
Customize Graphics Configuration
screen is displayed, choose the desired color
depth and resolution. A recommended minimum is at least 16-bit color and a 1024x768
resolution. Click on the
Next
button.
26
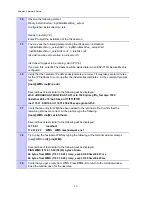
At the
Red Hat Network
screen, make your selection and click on the
Next
button to continue.
27
You can enter the Remote Support User Account at this time.
It is highly recommended to add the
meshmgr
user for remote support
capabilities. Use the information below to create this account.
Username
: meshmgr
Full Name
: Remote
Support
Password
: g0ld10
Confirm Password
: g0ld10
Click on the
Next
button to continue.
28
At the
Additional CDs
screen, click on the
Next
button if you have no other CDs to install at
this time.
29
The
Finish Setup
screen will be displayed. Click on the
Next
button to continue.
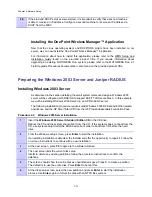
For optimal screen viewing configure the video adapter display resolution to at
least 1024 X 768.
To prevent the
smartd alarm
from occurring during the server boot process you
can execute "
chkconfig --level 345 smartd off
" at a command prompt.
2-18
Содержание 2.1
Страница 2: ...This page intentionally left blank ii ...
Страница 4: ...This page intentionally left blank iv ...
Страница 10: ...This page intentionally left blank x ...
Страница 12: ...This page intentionally left blank xii ...
Страница 14: ...This page intentionally left blank xiv ...
Страница 59: ...Chapter 3 MOTOMESH Duo Hardware This page intentionally left blank 3 12 ...
Страница 86: ...Chapter 5 Customer Information This page intentionally left blank 5 7 ...
Страница 123: ......
Страница 131: ...Appendix A Figure 9 39 General Settings Tab in the Web User Interface 9 30 ...

