EN-49
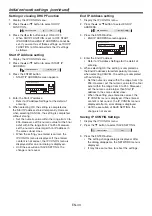
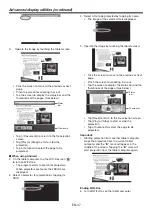
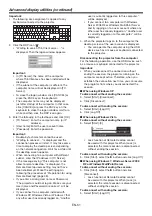
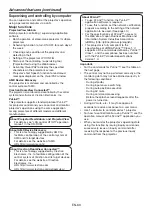
7. Click [Add...].
• The “Select Users” window is displayed.
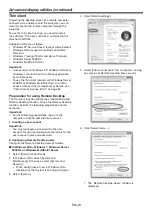
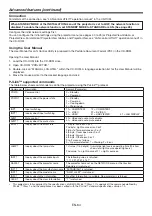
8. Enter the user account name confi gured in the
“1. Creating a user account” (see page 48) in the
textbox and click [OK].
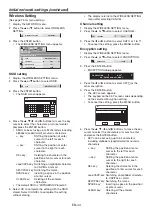
• The “Remote Desktop Users” window is
displayed.
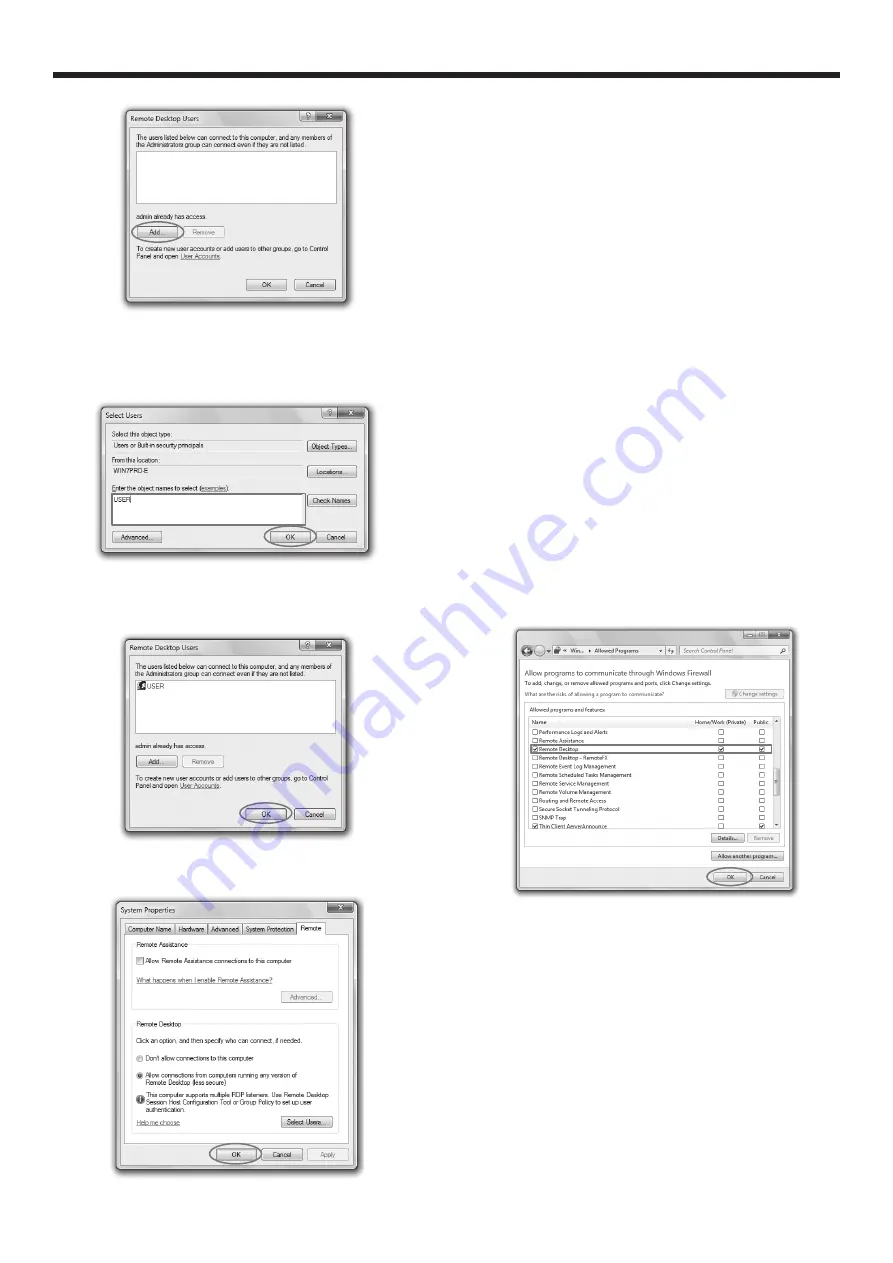
9. Click [OK].
• The “System Properties” window is displayed.
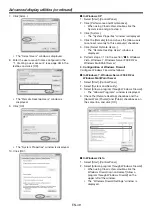
10. Click [OK].
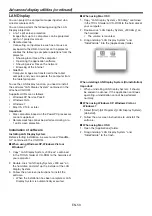
In Windows XP
1. Select [Start]-[Control Panel].
2. Click [Performance and Maintenance].
• When using Classic View, double-click the
System icon and go to step 4.
3. Click [System].
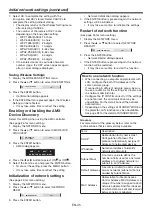
• The “System Properties” window is displayed.
4. Click the [Remote] tab and check the [Allow users
to connect remotely to this computer] checkbox.
5. Click [Select Remote Users...].
• The “Remote Desktop Users” window is
displayed.
6. Perform steps 7-10 in the section “
In Windows
Vista, Windows 7, Windows Server 2008 R2 or
Windows MultiPoint Server.”
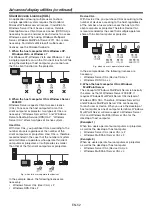
3. Confi guration of Windows Firewall
Confi gure Windows Firewall as follows.
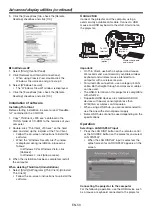
In Windows 7, Windows Server 2008 R2 or
Windows MultiPoint Server
1. Select [Start]-[Control Panel].
2. Select [System and Security].
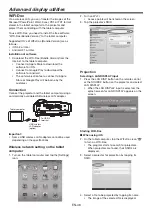
3. Select [Allow a program through Windows Firewall].
• The “Allowed Programs” window is displayed.
4. Check the [Remote Desktop] checkbox and the
[Home/Work (Private)] and [Public] checkboxes on
the same line, and click [OK].
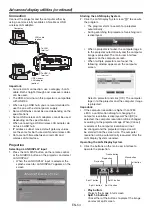
In Windows Vista
1. Select [Start]-[Control Panel].
2. Select [Allow a program through Windows Firewall].
• When using Classic View, double-click the
Windows Firewall icon and select [Allow a
program through Windows Firewall] on the
upper left of the window.
• The “Windows Firewall Settings” window is
displayed.
Advanced display utilities (continued)

