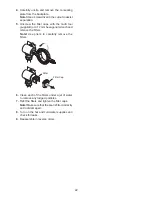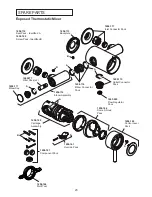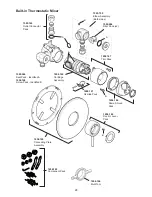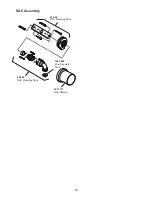
10
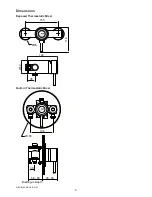
Built-in Thermostatic Mixer
Solid Wall or Stud Partition Fixing
using Rear Mountings
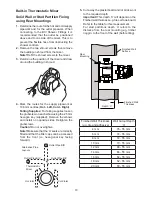
1.
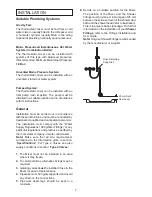
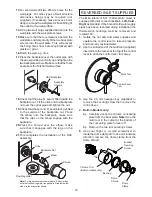
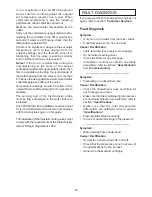
Determine the route for the hot and cold supply
pipework and for the outlet pipework. When
connecting to the BIV Shower Fittings it is
recommended that the outlet be positioned
above and to one side of the mixer. This is to
prevent the flexible hose from obstructing the
shower controls.
2.
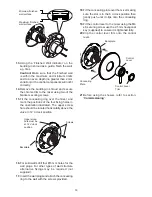
Remove the two shroud screws then remove
the building-in shroud from the mixer.
Note!
Refit the shroud screws to the mixer.
3.
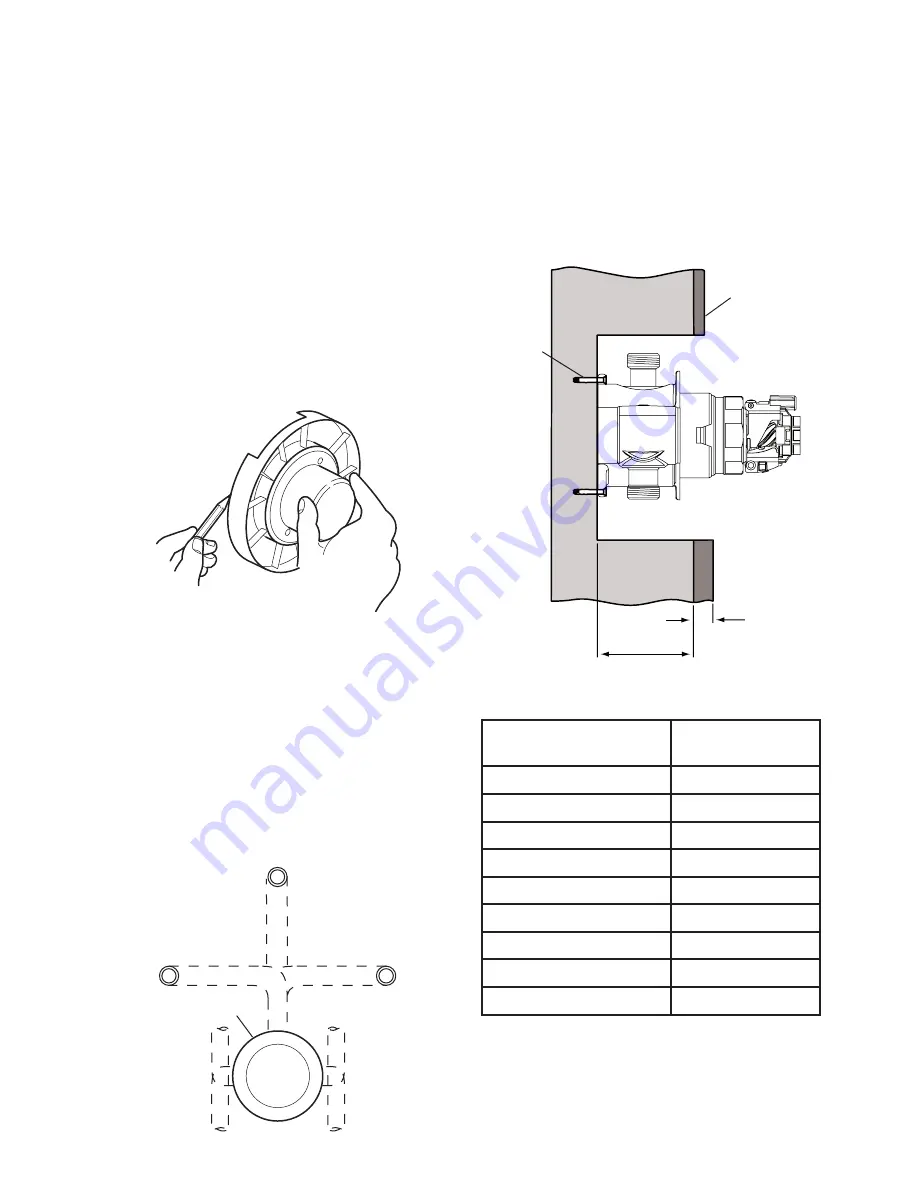
Determine the position of the mixer and draw
around the building-in shroud.
4.
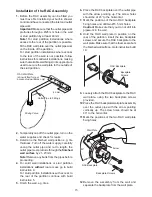
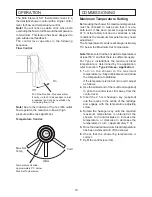
Mark the routes for the supply pipework at
108 mm centres (
Hot - Left, Cold - Right
).
Falling Supplies:
For falling supplies loosen
the grubscrew on each elbow using the 2.5 mm
hexagon key (supplied). Remove the elbows
and install on opposite sides. Retighten the
grubscrews.
Caution!
Do not overtighten.
Note!
Make sure that the ‘O’ seals are correctly
fitted and that the filter caps can be accessed
from the front (i.e. hexagonal key facing
forward).
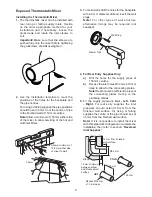
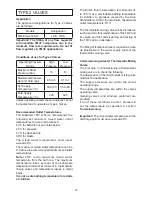
Finished Wall
Surface
Finished Wall
Thickness
Depth ‘X’
Rear
Mounting
Finished Wall Thickness
(e.g. tile and adhesive)
Wall Cutout Depth
‘X’
4 mm
76 - 55 mm
6 mm
74 - 55 mm
8 mm
72 - 55 mm
10 mm
70 - 55 mm
12 mm
68 - 55 mm
14 mm
66 - 55 mm
16 mm
64 - 55 mm
18 mm
62 - 55 mm
20 mm
60 - 55 mm
5.
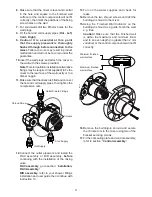
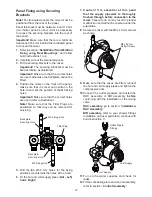
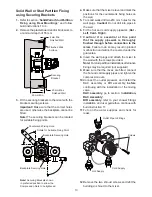
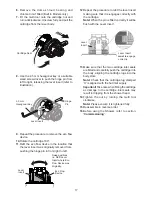
Cut away the plasterboard and/or brick work
to the required depth.
Important!
This depth ‘X’ will depend on the
finished wall thickness e.g. tiles or facia board.
Refer to the table for this measurement.
For stud partitions depth ‘X’ refers to the
distance from the rear mounting e.g. timber
noggin, to the front of the wall (before tiling).
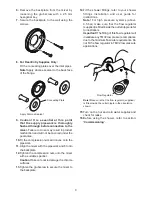
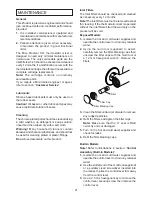
Outlet Pipe BIR
Outlet Pipe BIV
Outlet Pipe BIV
Cold Inlet
Hot Inlet
Thermostatic
Mixer
Alternative Pipe
Layouts
Содержание Element SLT
Страница 27: ...27 NOTES...


