5. Commissioning
MiR500 User guide (en) 09/2019 - v.1.3 ©Copyright 2018-2020: Mobile Industrial Robots A/S.
83
6.
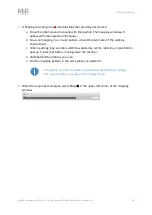
Select
OK
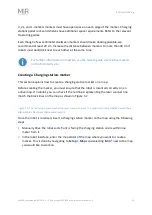
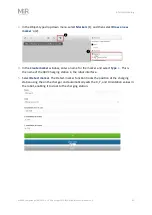
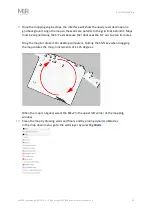
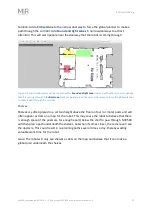
to create the marker. A new marker icon (2) represented by a lightning
symbol is now visible on the map in front of the robot (1) and is ready to be used in
missions.
If the robot is too far from the charging station, a message that the robot
failed to locate the marker is displayed. Try moving the robot closer to the
charging station, and ensure that the front safety laser scanner is
positioned in front of the of the charging station.
Creating a robot position
This section explains how to create a robot position on a map.
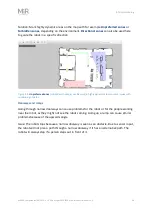
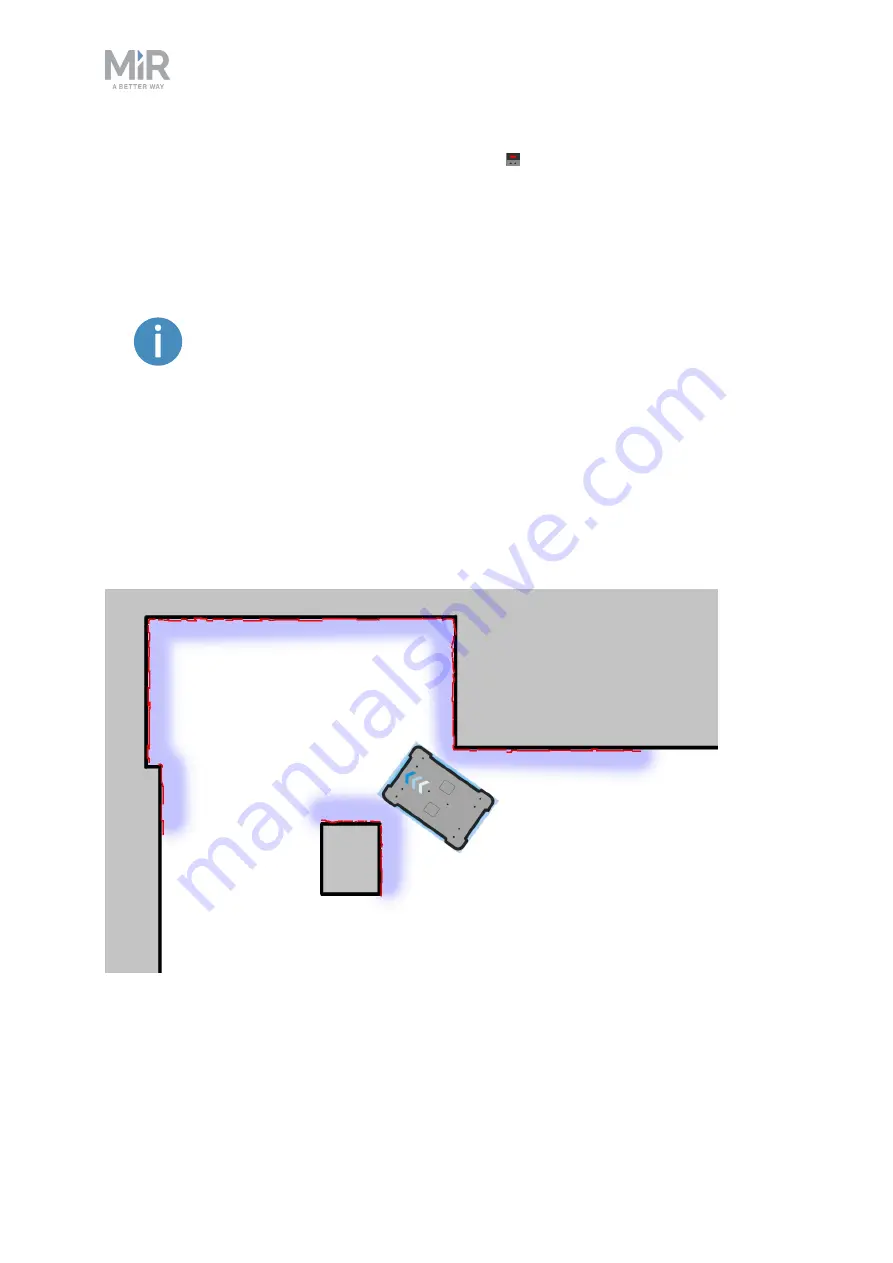
Before creating the position, you must ensure that the robot is localized correctly on an
active map. If in doubt, you can check if the red lines representing the laser scanner line
match the black lines on the map, as shown in
Figure 5.2. The red lines represent the obstacles the laser scanners detect. The robot is localized correctly
when the red lines align with the black lines that represent walls.
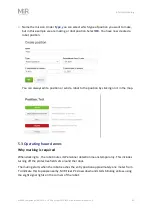
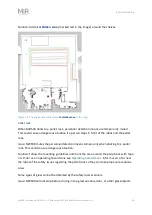
Once the robot is localized, you can insert a position on the map.

