DX-2200
– SD/HD-SDI Text & Graphics Inserter – User Manual
Page 90 of 103
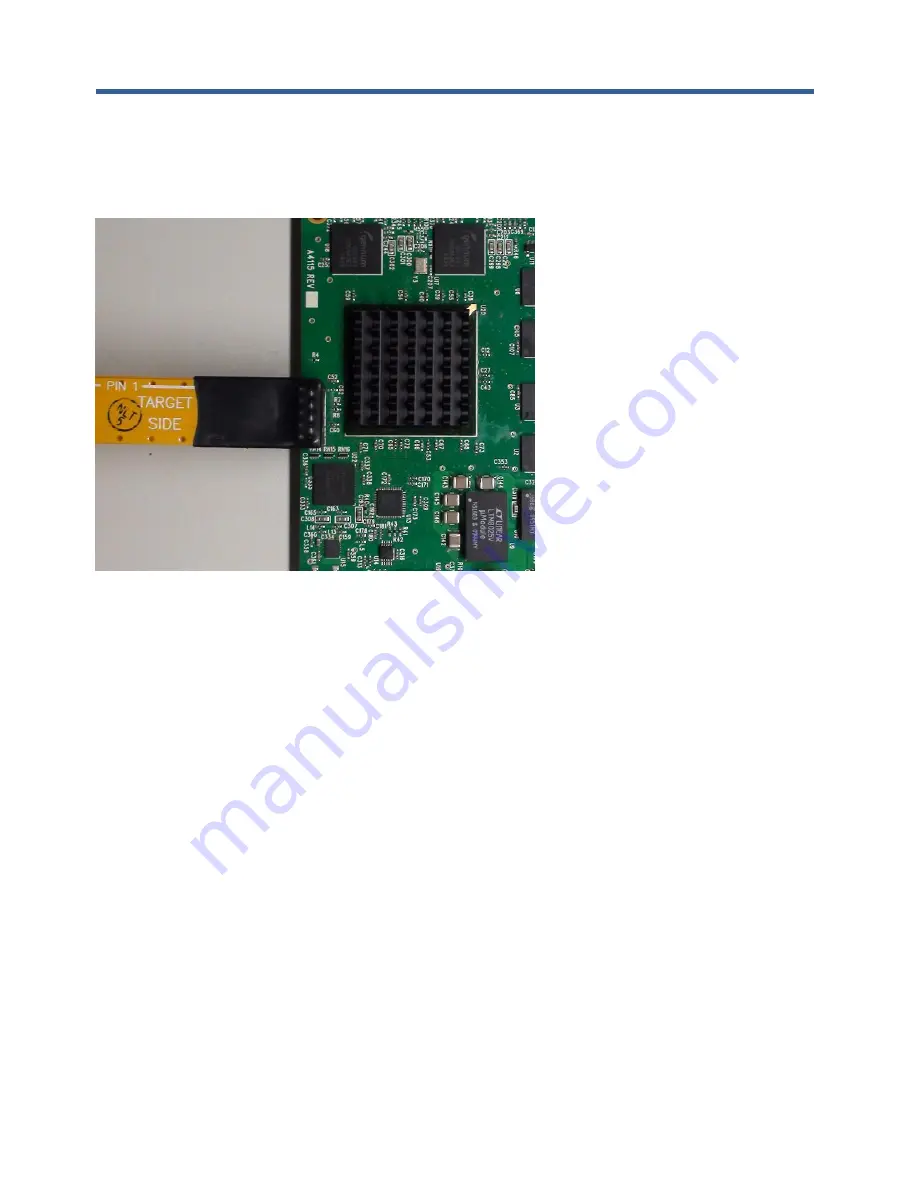
flash configuration device through the JTAG Interface. This requires the use of suitably configured PC with
an Altera or Terasic USB Byte Blaster (available for optional purchase) connected to the JTAG connector
(J1) as shown in the following figure.
Figure 26: JTAG Cable Connection
A.4.1 JTAG Firmware Upload Procedure
The steps to upgrade the firmware using the JTAG port are as follows:
1) Start Quartus II on the PC. Note that Quartus must be version 12.1 or later to load the JIC
programming files for the DX-2200-TI.
2) From the
Tools
menu, select
Programmer
.
3) Click Auto Detect.
4) A dialog box may appear with a selection for EP3C120 or EP4CE115. Select
EP3C120
, click
Close
.
5) Select the line in the programmer window containing the EP3C120 device.
6) Click
Change File…
and browse to the .jic file to load. Select it and click
Open
.
7) Check the Program/Configure box.
8) Click
Start
to program the FPGA.
A.5 Reset Pushbutton SW1
The Reset pushbutton (SW1) is not available if the unit is in the enclosure. It is used to reset the FPGA and
restart the switcher.
A.6 Board Mechanical Dimensions
The board mechanical dimensions are shown in Figure 27 below.
Содержание DX-2200
Страница 87: ...DX 2200 SD HD SDI Text Graphics Inserter User Manual Page 87 of 103 ...
Страница 92: ...DX 2200 SD HD SDI Text Graphics Inserter User Manual Page 92 of 103 ...
Страница 96: ...DX 2200 SD HD SDI Text Graphics Inserter User Manual Page 96 of 103 Figure 31 PuTTY Serial Port Settings ...
Страница 97: ...DX 2200 SD HD SDI Text Graphics Inserter User Manual Page 97 of 103 ...
Страница 100: ......
Страница 101: ......
Страница 102: ......
Страница 103: ......


