Q u i c k S t a r t G u i d e
15
General Guidelines
To recall your new default snapshot:
• Make sure the SNAPSHOT button in the
Transport Section is on.
• Enter the two-digit number you used to store
your default snapshot with the number
buttons (for this example, enter “05”).
• Press the ENTER button. The snapshot is
now loaded into the console.
You can store and recall up to 100
snapshots from the console surface (00–99),
and up to 150 from the screen.
Note:
Snapshots are stored with the current
session and cannot be copied from one session
to another.
Obviously, there’s a lot more to using the
Digital 8•Bus, and we’ll get into a little more
depth further on in the Quick Start Guide. The
purpose of this exercise is to show you the
fundamentals of getting signal to the tape
recorder and back.
4. General Guidelines
Three Things to Keep in Mind
(Reprise)
This is a reminder, that as you become
familiar with the Digital 8•Bus, you’ll find it
helpful to keep these three questions in mind
at all times:
1. What Fader Bank is selected?
2. What channel is selected?
3. What is the V-Pot assignment?
In 90% of the cases, if something isn’t work-
ing like you expect, it is because one of these
three settings isn’t where you intend it to be.
Setting Levels
Input Sensitivity Adjustment
Procedure for Channels 1–24
(–15 dB FS on the meter is equivalent to
+5 dBu analog)
The input sensitivity adjustment procedure
is similar to that of an analog mixing console
because the input section for channels 1–24 is
the same as our analog large-format consoles.
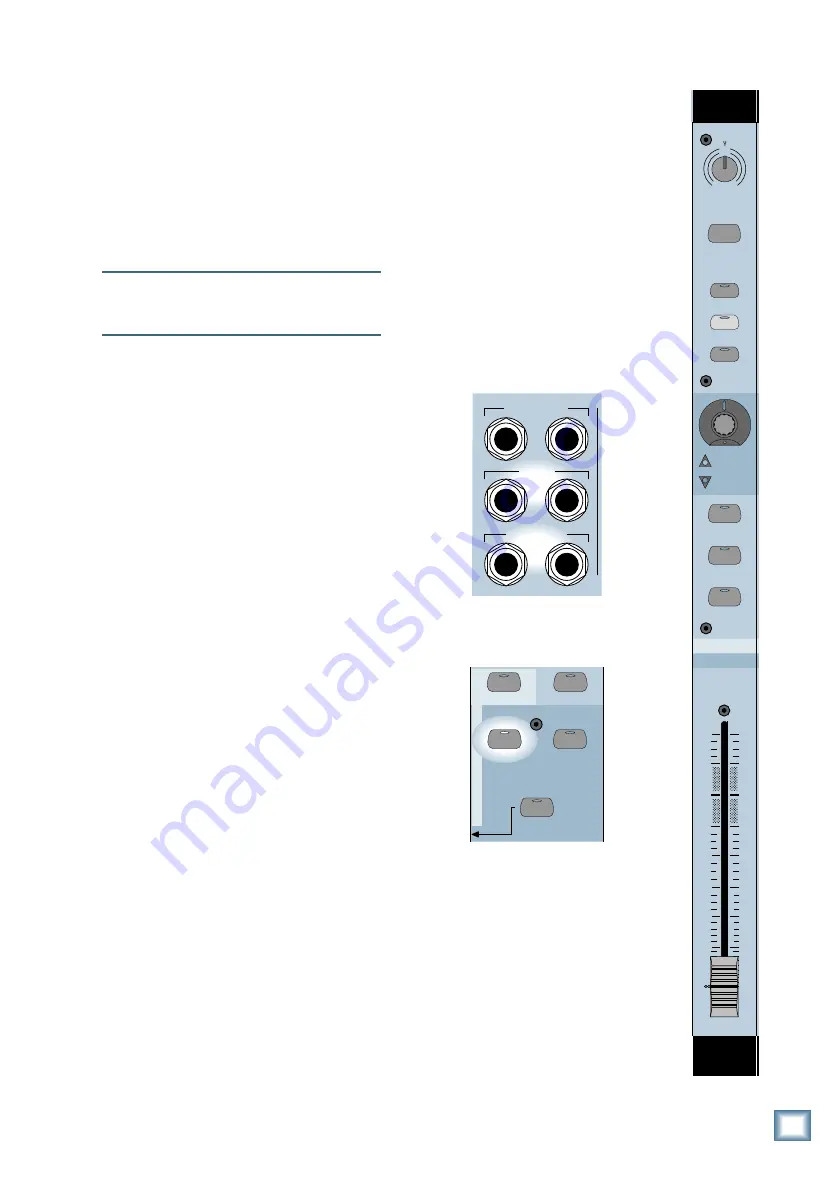
FOLLOW THIS SENSITIVITY ADJUSTMENT
PROCEDURE FOR EACH CHANNEL IN USE
(Channels 1–24):
1. If you’re starting out from scratch, it’s a
good idea to normal the console (also
called “zeroing”) to some starting point,
such as all level controls down, and EQ
and pan controls centered. Snapshot 00 is
pre-programmed with our default factory
settings—our version of a “normalled”
console. You can reprogram Snapshot 00
so that it resets the console to your
preferred “normal state,” or keep the
factory default settings and save your own
settings to another snapshot (Snapshot
01, for example). See “Creating a Default
Snapshot” in the previous section.
2. Connect a signal to a channel.
• If the channel is used with a microphone,
the MIC switch should be down.
• If the channel is used with a line input,
the MIC switch should be up.
3. Connect the Control Room output to your
control room amplifier/speaker
combination, so you can monitor the signal.
MASTER OUT
CR
MAIN
CR
NEAR FIELD
L R
L R
L R
4. Select Fader Bank 1 by pressing the MIC/
LINE (1–24) button.
SHIFT
MASTERS
1
-
24
25
-
48
49
-
72
(TRACK)
(MONITOR)
BANK SELECT
EFFECTS
MIC/LINE
TAPE IN
5. Set the channel strip controls as follows:
TRIM controls all the way counter-
clockwise (–20 dB), and all the faders to
their “U” (unity) markings. Turn the
MASTER L-R fader all the way down.
TRIM
12
12
36
12
36
10
dB
30
20
10
40
5
5
U
60
50
FX 12
MIDI 4
MIC
0
60
-
20dB +40dB
LINE
ASSIGN
WRITE
MIC
REC/RDY
SELECT
MUTE
SOLO


