D i g i t a l 8 • B u s
10
Turn on the power switch on the front panel
of the Remote CPU, then turn on the power to
all your peripheral equipment. The Digital
8•Bus takes a few moments to load the Mackie
Real Time OS (Operating System) and initialize
the DSPs. When the Vacuum Fluorescent Display
in the Fat Channel Section indicates EQ settings
for channel 1, the console is ready to use.
Now we’ll look at some of the basics like
setting up system options, creating a session,
and creating a default snapshot.
Start-up
System Options
The system options are found in the
General Setup menu. You should confirm
that all the system settings are correct for
your configuration and application. Go here
to set the language, surround mode, MIDI
settings, Auto Save settings, and Aux
Pre/Post Fader setting.
Note:
If you’re using a digital Tape I/O card,
you’ll need to do some additional software
setups. See the section called “Configuring
Digital I/O” in Chapter 3 of the Digital
8•Bus Owner’s Manual.
• Press the GENERAL button in the Setup
Section.
GROUP
GENERAL
PLUG INS
DIGITAL I/O
SAVE
SAVE AS...
NEW
LOAD
SETUP
A menu of options appears in the Fat
Channel Display.
• Press the SELECT button below the option
you want to change and a new menu
appears related to that specific option.
• In general, use the SELECT buttons to scan
through available options, and use the V-Pots
to adjust parameters (where applicable). Use
the PREVIOUS and NEXT buttons to page
over to more options (if available).
Refer to Chapter 3 (“Start-Up”) in the
Digital 8•Bus Owner’s Manual for more details
on each option.
Downloading Plug-Ins
Before beginning a session, you can
download the effects algorithms of your choice
to the internal FX cards.
Loading Effects with Console Controls:
• Press the PLUG INS button in the Setup
Section.
GROUP
GENERAL
PLUG INS
DIGITAL I/O
SAVE
SAVE AS...
NEW
LOAD
SETUP
A menu of options appears in the Fat
Channel Display.
• Press the SELECT button below the card
you want to configure. The basic console
ships with one FX card installed (CARD A).
You can purchase and install up to three more
cards to provide more simultaneous effects.
• Use the SELECT buttons below the arrows
in the Fat Channel Display to scan through
available Plug-Ins. When the Plug-In you
want appears, press the SELECT button
below Transmit to download the algorithm
to the selected FX Card.
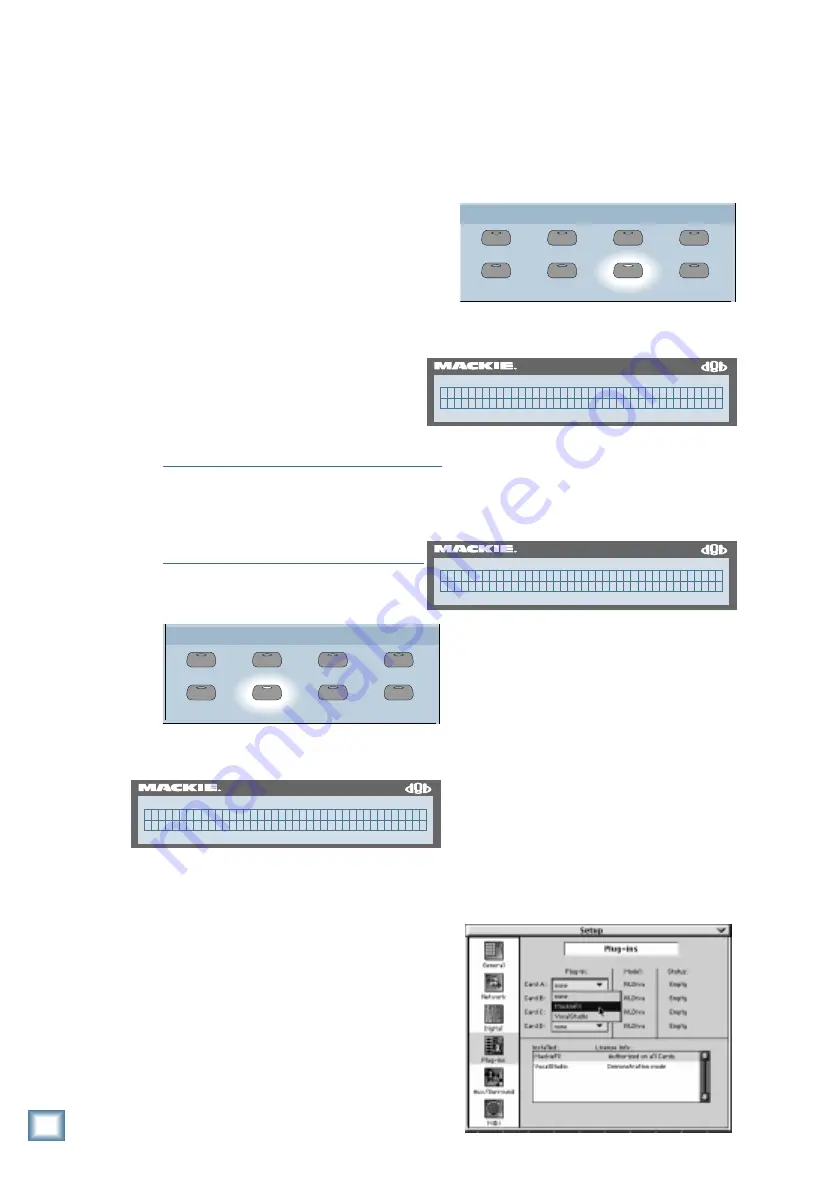
Loading Effects with Mouse and Monitor:
• Click on the “Setup” button in the lower
menu bar. The Setup dialog box window
appears on the screen.
• Click on “Plug-Ins” on the left side of the
setup window.
• Click on the box next to CARD A and select
Mackie FX from the drop-down menu. As
soon as it’s selected, the algorithm is
downloaded to the FX Card.
56 INPUT / 72 CHANNEL DIGITAL MIXER
D8B
( G E N E R A L S E T U P P g 1 - > )
L a n g u a g e S u r r o u n d M I D I A u t o S a v e
56 INPUT / 72 CHANNEL DIGITAL MIXER
D8B
P i c k a C a r d t o s e t u p : ( P L U G I N S E T U P )
C a r d A C a r d B C a r d C C a r d D
56 INPUT / 72 CHANNEL DIGITAL MIXER
D8B
M a c k i e F X ( P L U G I N - C A R D 1 )
< < > > C a n c e l T r a n s m i t
Tutorial Hookup — Let’s Get It Working


