61
User Manual
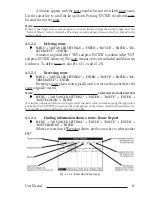
A window appears with the route number list and the related route name.
Use the cursor key to scroll the list up/down. Pressing 'ENTER' the selected route
becames the current route.
Note
If there is the Target in the current route, it is not possible to change the current route. So if the
"Current Route" item is selected, a Warning window appears because Go-To is placed in the
current route.
4.1.2.2
Deleting route
'MENU' + "ADVANCED SETTINGS" + 'ENTER' + "ROUTE" + 'ENTER' + "DE-
LETE ROUTE" + 'ENTER'
A window is opened: select "YES" and press 'ENTER' to confirm (select "NO"
and press 'ENTER' otherwise). The route remains on the screen shaded until the screen
is redrawn. To delete route see also Par. 4.1.1.4 and 4.1.2.5).
4.1.2.3
Reversing route
'MENU' + "ADVANCED SETTINGS" + 'ENTER' + "ROUTE" + 'ENTER' + "RE-
VERSE ROUTE" + 'ENTER'
Reversing a route plan is most typically used to return to the point where the
route originally started.
Note
FOR COLOR CHARTPLOTTER
'MENU' + "ADVANCED SETTINGS" + 'ENTER' + "ROUTE" + 'ENTER' +
"ROUTE COLOR" + 'ENTER'
A window is opened: use the cursor keys to select the route color you want among the eight colors
available. Press 'ENTER' to confirm. The route appears on the screen colored by the selected color.
It is possible to select a different color for any route.
4.1.2.4
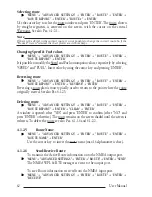
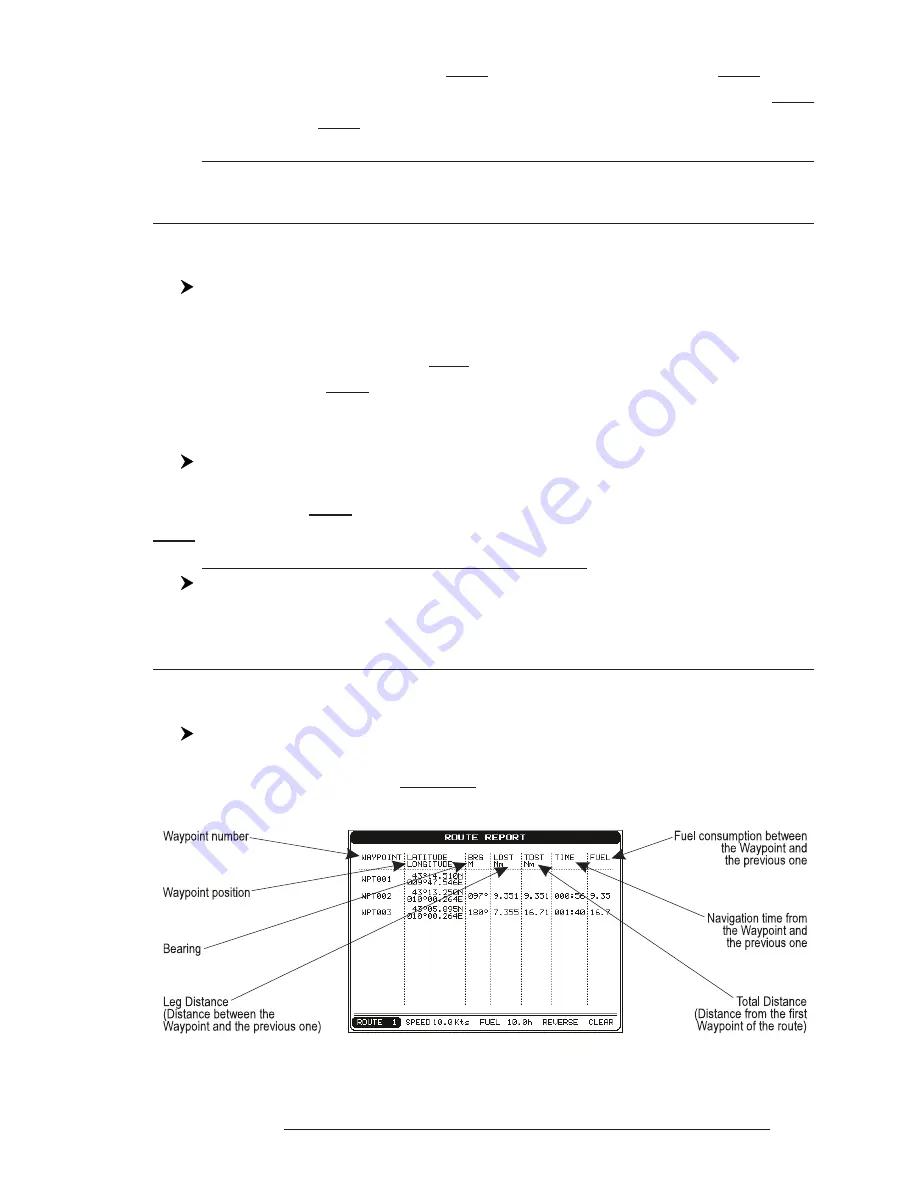
Finding information about a route: Route Report
'MENU' + "ADVANCED SETTINGS" + 'ENTER' + "ROUTE" + 'ENTER' +
"ROUTE REPORT" + 'ENTER'
If there are more than 8 Waypoints shown, use the cursor key to select another
page.
Fig. 4.1.2.4 - Route Data Report page
Содержание Compact 7 Plus
Страница 14: ...16 User Manual...
Страница 19: ...21 User Manual Fig 2 5 1 GPS Connection on Port 3...
Страница 50: ...52 User Manual...
Страница 87: ...89 User Manual 6 For the Technician 6 1 DIMENSIONS Fig 6 1 EXCALIBUR models Dimensions...
Страница 92: ...94 User Manual Fig 6 4a GPS Connection on Port 3 for chartplotter with external GPS receiver...
Страница 98: ...100 User Manual...

