71
Editing
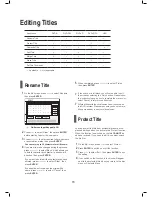
Overwrite Title
When you apply the function to a title, it will be
overwritten when you record new title/program next
time.
1
On the Edit menu, press
to select ‘Overwrite’.
2
Press
ENTER
to switch on or off the function.
3
Press
to select ‘Exit’, then press
ENTER
to
exit the setting.
4
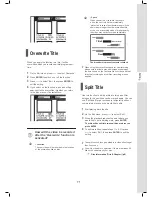
If you switch on the function, a pen icon will ap-
pear next to the overwritten title when you return
to the disc menu or Contents Menu.
How will the video be recorded
after the ‘Overwrite’ function is
activated?
• Location
The new video will be recorded in the location
of the overwritten title on disc.
• Space
When you set the ‘Overwrite’ function to
a title, the next title will be immediately
‘protected’ in case of accidental erasure. If the
new video is longer than the overwritten title,
or you use a recording mode of higher quality,
the video may not be recorded completely.
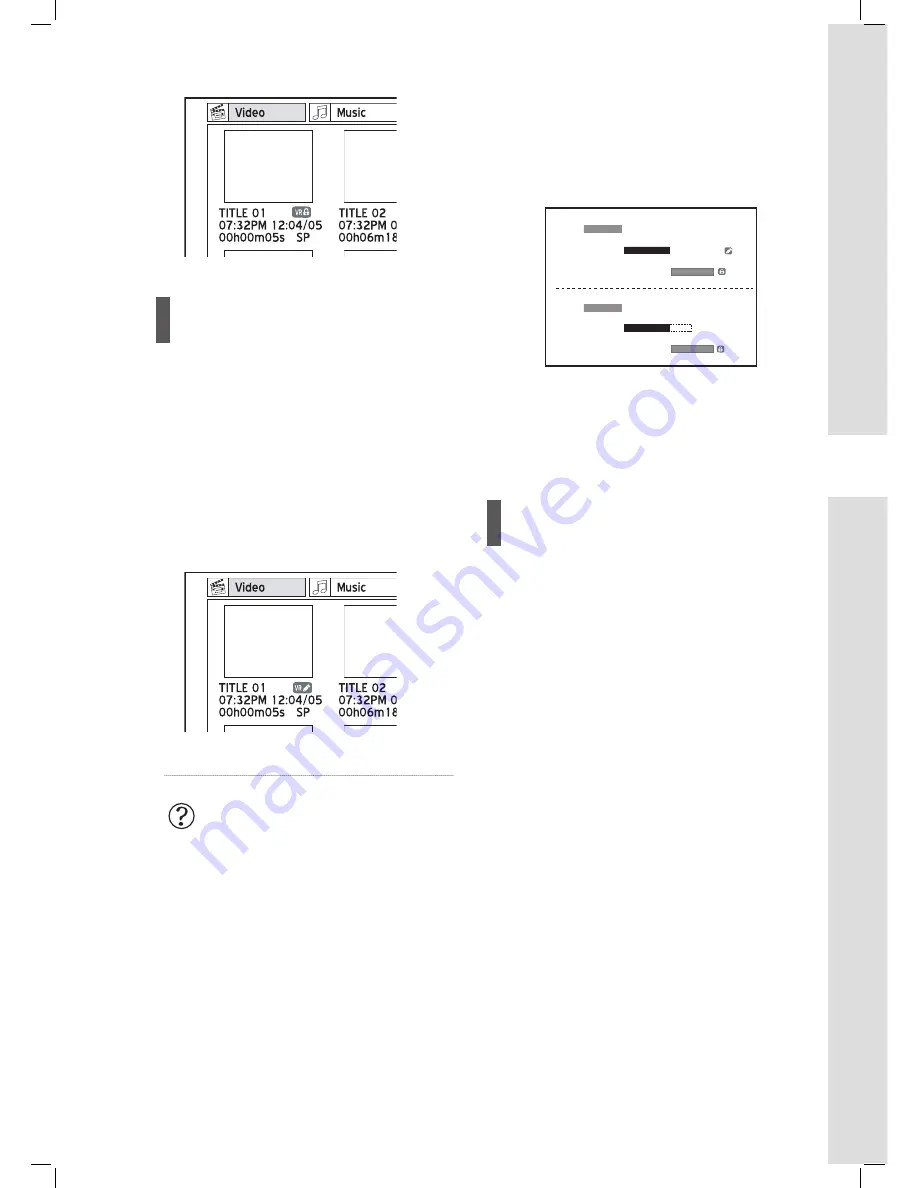
Title 1
Title 2
Title 3
Title 1
New
Title 3
Overwrite
The black bars represent contents recorded.
When using the overwritten space for new recording,
please note that there may be discrepancy between
the time shown on the Contents Menu screen and that
for actual recording due to diffrent recording modes
applied.
Split Title
Use this function to divide a title into two parts. After
being split, the new titles can be merged again. You can
use ‘Split’ and ‘Merge’ functions to temporarily edit out
commercials or scenes you would like to skip.
1
Start playing back the title.
2
On the Edit menu, press
to select ‘Split’.
3
When the playback reaches the point where you
would like to set a dividing mark, press
ENTER
.
The title will be split into two new titles at where you
press ENTER.
4
To split more titles, repeat steps 1 to 4. Or press
to select ‘Exit’, then press
ENTER
to exit the
setting.
The split function is only applicable to video titles longer
than 6 seconds.
You will not be able to split titles, if there are already 49
titles or 99 chapters on your disc.
Disc Information (Title & Chapter) (p.8)

