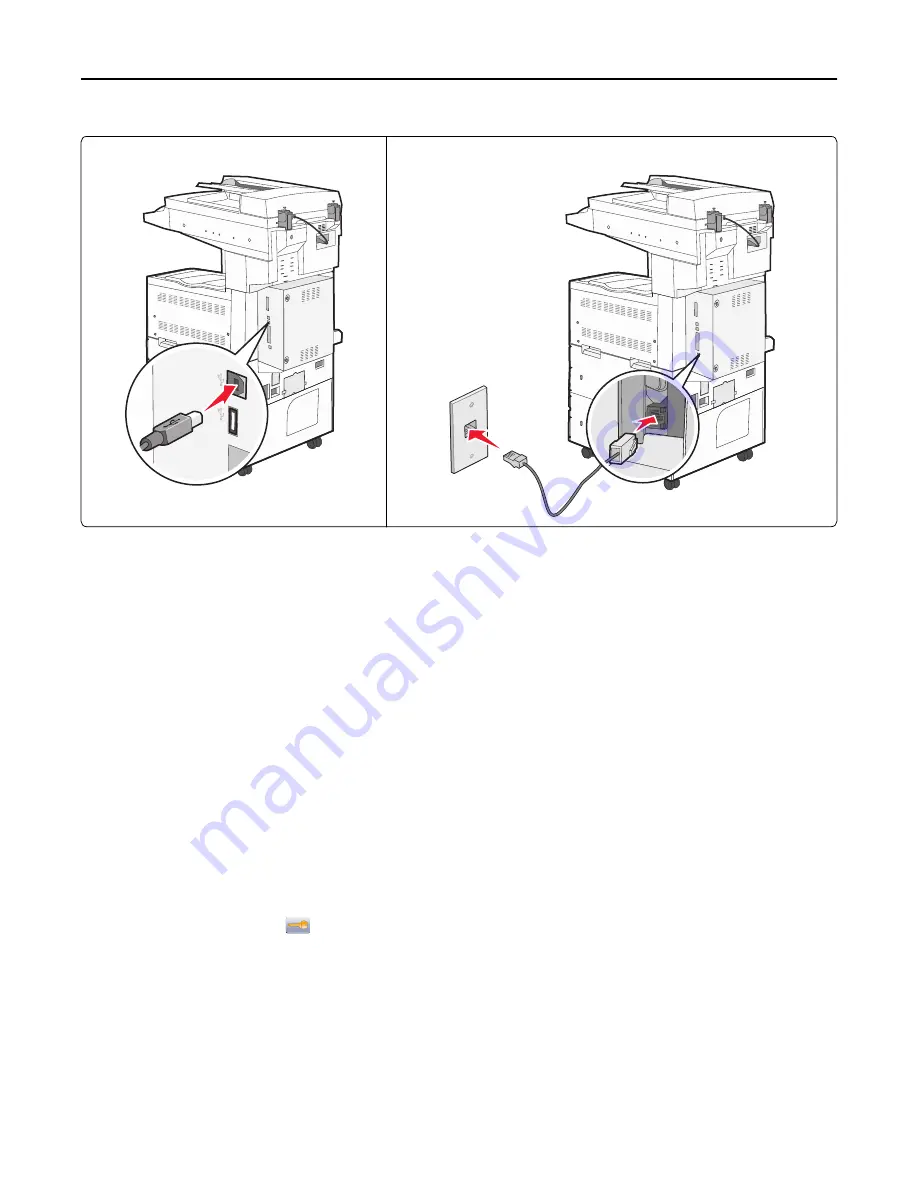
USB port
Ethernet port
Verifying printer setup
•
Print a menu settings page to verify that all printer options are installed correctly. A list of installed options appears
toward the bottom of the page. If an option you installed is not listed, then it is not installed correctly. Remove the
option and install it again.
•
Print a network setup page to verify that your printer is correctly connected to the network. This page also provides
important information that aids network printing configuration.
Printing a menu settings page
Print a menu settings page to review the current menu settings and to verify printer options are installed correctly.
Note:
If you have not made any menu item settings changes yet, then the menu settings page lists all the factory
default settings. Once you select and save other settings from the menus, they replace the factory default settings as
user default settings
. A user default setting remains in effect until you access the menu again, choose another value,
and save it. To restore the factory default settings, see “Restoring the factory default settings” on page 216.
1
Make sure the printer is on and
Ready
appears.
2
On the home screen, touch
.
3
Touch
Reports
.
4
Touch
Menu Settings Page
.
The menu settings page prints and the printer returns to the home screen.
Additional printer setup
37
Содержание X860de
Страница 6: ...Edition notice 287 Power consumption 291 Index 304 Contents 6 ...
Страница 211: ...3 Place the tray into the printer 4 Remove the cable cover Maintaining the printer 211 ...
Страница 239: ...3 Pull the jam up 4 Close Door E 5 Close Door A 230 paper jam 1 Open Door D Troubleshooting 239 ...
Страница 242: ...231 paper jam 1 Open Door D 2 Remove the jam D D 3 Close Door D Troubleshooting 242 ...
Страница 250: ...282 paper jam 1 Open Door F 2 Remove the jam 3 Close Door F Troubleshooting 250 ...
Страница 254: ...28x paper jam 284 paper jam 1 Open Door F 2 Remove the jam 3 Close Door F Troubleshooting 254 ...
Страница 255: ...4 Open Door G 5 Remove the jam 6 Close Door G 7 Lift Door H 8 Remove the jam 9 Close Door H Troubleshooting 255 ...
Страница 256: ...285 286 paper jams 1 Lift Door H 2 Remove the jam 3 Close Door H 287 288 paper jams 1 Open Door F Troubleshooting 256 ...


