


Wireless menu
Use the following menu items to view or configure the wireless internal print server settings.
Note:
This menu is available only for models connected to a wireless network.
This menu is available from the Network/Ports menu:
Network/Ports
>
Network <x>
>
Net <x> Setup
>
Wireless
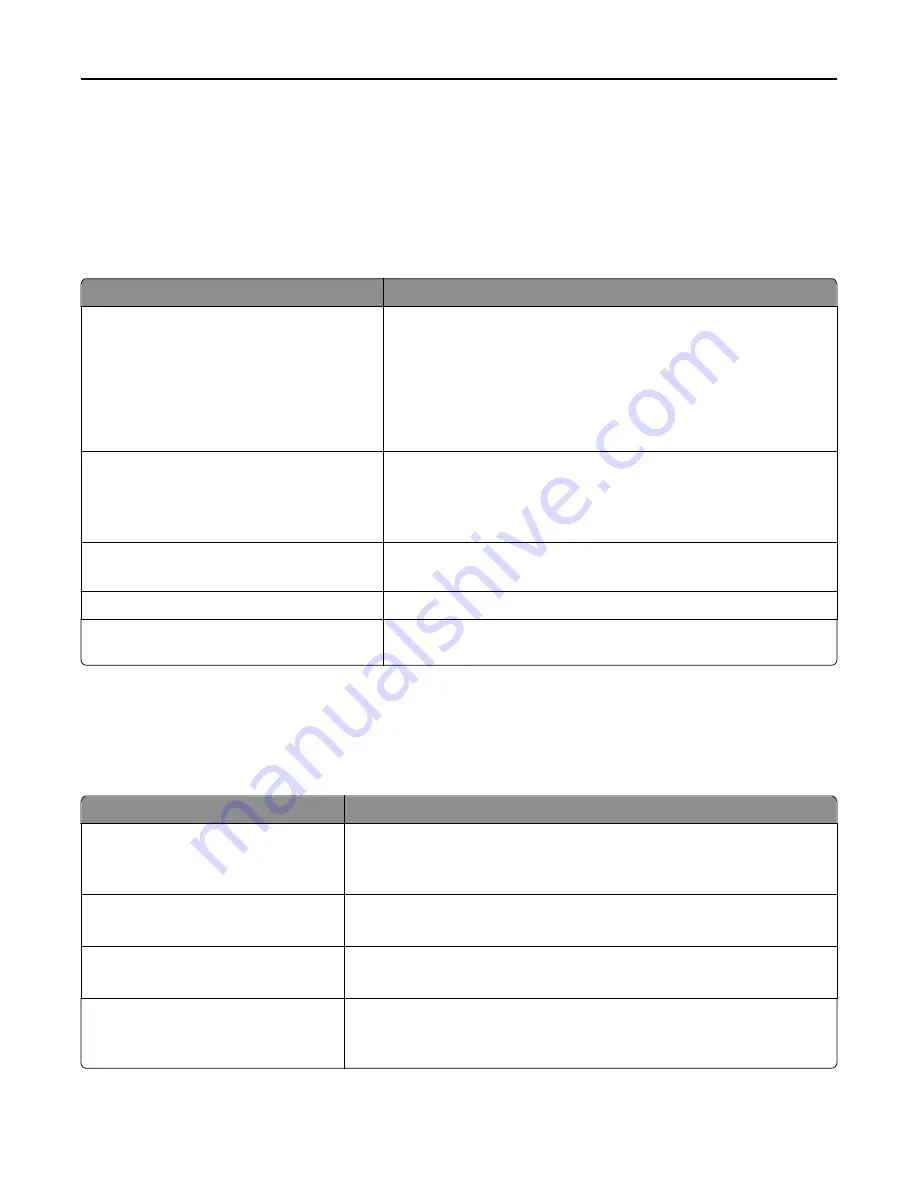
Menu item
Description
Network Mode
Infrastructure
Ad hoc
Specifies the network mode
Notes:
•
Infrastructure mode lets the printer access a network using an
access point.
•
Ad hoc is the factory default setting. Ad hoc mode configures the
printer for wireless networking directly between it and a computer.
Compatibility
802.11n
802.11b/g
802.11b/g/n
Specifies the wireless standard for the wireless network
Choose Network
<list of available networks>
Lets you select an available network for the printer to use
View Signal Quality
Lets you view the quality of the wireless connection
View Security Mode
Lets you view the encryption method for the wireless connection.
“Disabled” indicates that the wireless network is not encrypted.
AppleTalk menu
This menu is available from the Network/Ports menu:
Network/Ports
>
Standard Network
or
Network <x>
>
Std Network Setup
or
Net <x> Setup
>
AppleTalk
Menu item
Description
Activate
Yes
No
Activates AppleTalk support
Note:
Yes is the factory default setting.
View Name
Shows the assigned AppleTalk name
Note:
The name can be changed only from the Embedded Web Server.
View Address
Shows the assigned AppleTalk address
Note:
The address can be changed only from the Embedded Web Server.
Set Zone
<list of zones available on the
network>
Provides a list of AppleTalk zones available on the network
Note:
The default setting is the default zone for the network. If no default
zone exists, the zone marked with an * is the default setting.
Understanding printer menus
148
Содержание X860de
Страница 6: ...Edition notice 287 Power consumption 291 Index 304 Contents 6 ...
Страница 211: ...3 Place the tray into the printer 4 Remove the cable cover Maintaining the printer 211 ...
Страница 239: ...3 Pull the jam up 4 Close Door E 5 Close Door A 230 paper jam 1 Open Door D Troubleshooting 239 ...
Страница 242: ...231 paper jam 1 Open Door D 2 Remove the jam D D 3 Close Door D Troubleshooting 242 ...
Страница 250: ...282 paper jam 1 Open Door F 2 Remove the jam 3 Close Door F Troubleshooting 250 ...
Страница 254: ...28x paper jam 284 paper jam 1 Open Door F 2 Remove the jam 3 Close Door F Troubleshooting 254 ...
Страница 255: ...4 Open Door G 5 Remove the jam 6 Close Door G 7 Lift Door H 8 Remove the jam 9 Close Door H Troubleshooting 255 ...
Страница 256: ...285 286 paper jams 1 Lift Door H 2 Remove the jam 3 Close Door H 287 288 paper jams 1 Open Door F Troubleshooting 256 ...


