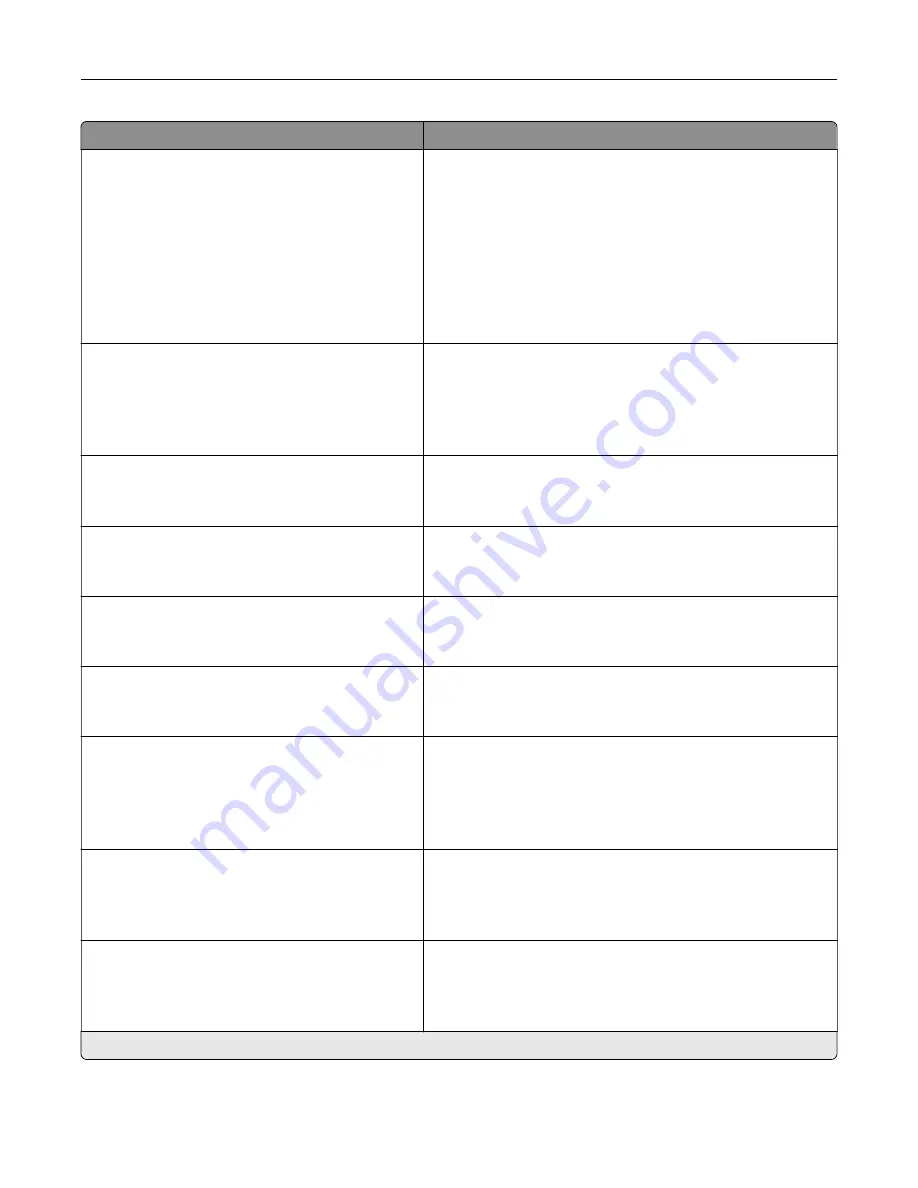
Menu item
Description
E
‑
mail Alerts Setup
E
‑
mail Setup
User
‑
Initiated E
‑
None
Use Device SMTP Credentials
Use Session User ID and Password
Use Session E
‑
mail address and
Password*
Prompt user
Set whether credentials are required for user
‑
initiated e
‑
mails.
Note:
This menu item appears only in some printer models.
E
‑
mail Alerts Setup
E
‑
mail Setup
Use Active Directory Device Credentials
Off*
On
Enable user credentials and group designations to connect to
the SMTP server.
Note:
This menu item appears only in some printer models.
E
‑
mail Alerts Setup
E
‑
mail Setup
Device Userid
Specify the user ID to connect to the SMTP server.
Note:
This menu item appears only in some printer models.
E
‑
mail Alerts Setup
E
‑
mail Setup
Device Password
Specify the password to connect to the SMTP server.
Note:
This menu item appears only in some printer models.
E
‑
mail Alerts Setup
E
‑
mail Setup
Kerberos 5 REALM
Specify the realm for the Kerberos 5 authentication protocol.
Note:
This menu item appears only in some printer models.
E
‑
mail Alerts Setup
E
‑
mail Setup
NTLM Domain
Specify the domain name for the NTLM security protocol.
Note:
This menu item appears only in some printer models.
E
‑
mail Alerts Setup
E
‑
mail Setup
Disable “SMTP server not set up” error
Off*
No
Disable an SMTP setup error message to appear on the
display.
Note:
This menu item appears only in some printer models.
Error Prevention
Jam Assist
Off
On*
Set the printer to flush blank pages or pages with partial prints
automatically after a jammed page has been cleared.
Error Prevention
Auto Continue
Off
On* (5 seconds)
Let the printer continue processing or printing a job
automatically after clearing certain printer conditions that
require user intervention.
Note:
An asterisk (*) next to a value indicates the factory default setting.
Understanding the printer menus
49
Содержание MX-B557P
Страница 1: ...LASER PRINTER MX B557P MX B707P User s Guide October 2021 Machine type 4064 Models 29H 69H ...
Страница 5: ...Upgrading and migrating 176 Hardware 176 Software 200 Firmware 202 Notices 204 Index 213 Contents 5 ...
Страница 90: ...For non touch screen printer models press to navigate through the settings Understanding the printer menus 90 ...
Страница 103: ...5 Insert the pick roller 6 Close the multipurpose feeder 7 Turn on the printer Maintaining the printer 103 ...
Страница 109: ...2 Unlock the fuser 3 Remove the used fuser 4 Unpack the new fuser Maintaining the printer 109 ...
Страница 110: ...5 Insert the new fuser until it clicks into place 6 Lock the fuser 7 Close the door Maintaining the printer 110 ...
Страница 114: ...3 Remove the used hot roll fuser wiper Maintaining the printer 114 ...
Страница 120: ...2 Remove the used pick roller 3 Unpack the new pick roller Maintaining the printer 120 ...
Страница 121: ...4 Install the new pick roller 5 Close the multipurpose feeder Maintaining the printer 121 ...
Страница 142: ...2 Remove the staple cartridge holder 3 Remove the loose staples Clearing jams 142 ...
Страница 146: ...5 Insert the staple cartridge holder until it clicks into place 6 Close the door Clearing jams 146 ...
Страница 193: ...b Insert the tabs of the guide bar into the output expander Upgrading and migrating 193 ...


