Loading paper and specialty media
Setting the size and type of the specialty media
The trays automatically detect the size of plain paper. For specialty media like labels, card stock, or envelopes,
do the following:
1
From the home screen, navigate to:
Settings
>
Paper
>
Tray Configuration
>
Paper Size/Type
> select a paper source
2
Set the size and type of the specialty media.
Configuring Universal paper settings
1
From the control panel, navigate to:
Settings
>
Paper
>
Media Configuration
>
Universal Setup
For non-touch-screen printer models, press
to navigate through the settings.
2
Configure the settings.
Loading the 250
‑
or 550
‑
sheet tray
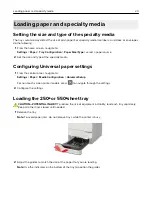
CAUTION—POTENTIAL INJURY:
To reduce the risk of equipment instability, load each tray separately.
Keep all other trays closed until needed.
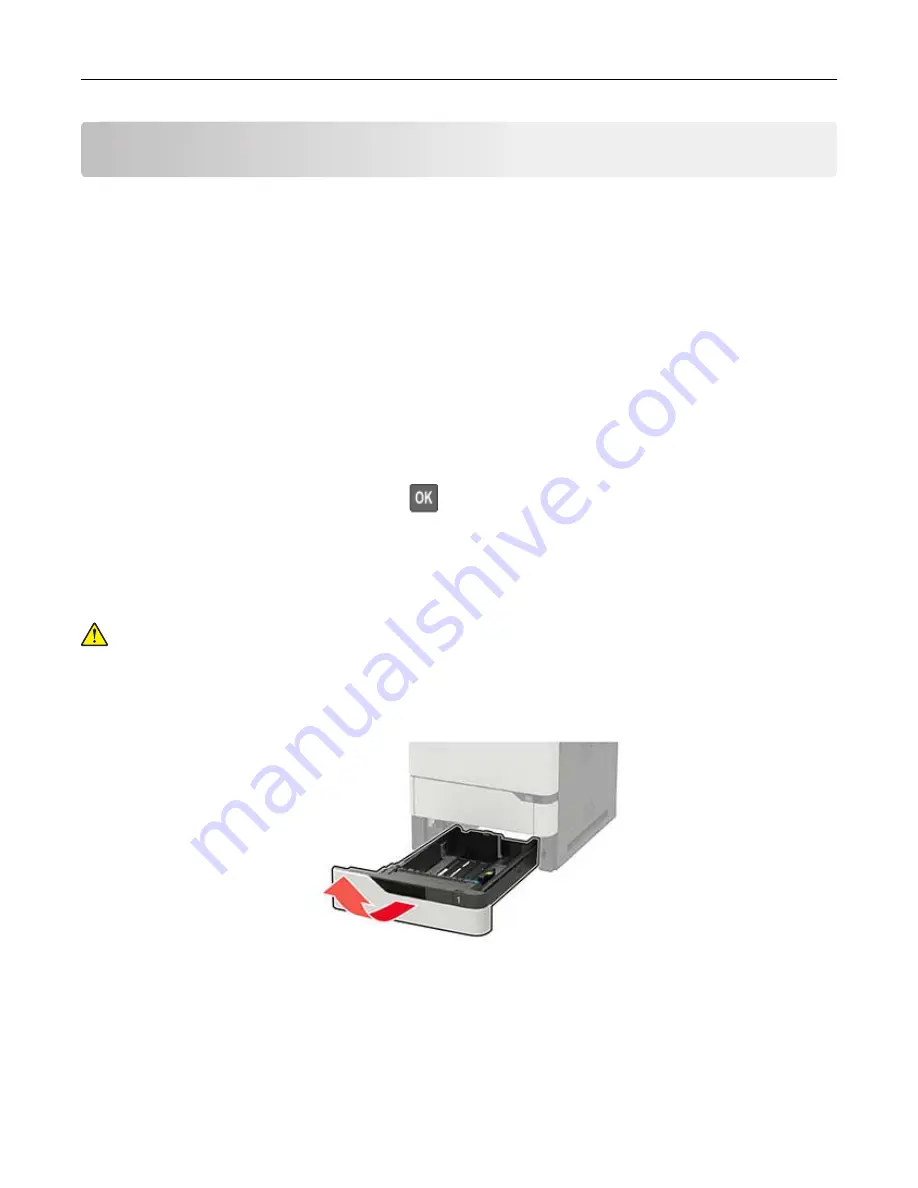
1
Remove the tray.
Note:
To avoid paper jams, do not remove trays while the printer is busy.
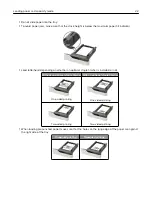
2
Adjust the guides to match the size of the paper that you are loading.
Note:
Use the indicators on the bottom of the tray to position the guides.
Loading paper and specialty media
20
Содержание MX-B557P
Страница 1: ...LASER PRINTER MX B557P MX B707P User s Guide October 2021 Machine type 4064 Models 29H 69H ...
Страница 5: ...Upgrading and migrating 176 Hardware 176 Software 200 Firmware 202 Notices 204 Index 213 Contents 5 ...
Страница 90: ...For non touch screen printer models press to navigate through the settings Understanding the printer menus 90 ...
Страница 103: ...5 Insert the pick roller 6 Close the multipurpose feeder 7 Turn on the printer Maintaining the printer 103 ...
Страница 109: ...2 Unlock the fuser 3 Remove the used fuser 4 Unpack the new fuser Maintaining the printer 109 ...
Страница 110: ...5 Insert the new fuser until it clicks into place 6 Lock the fuser 7 Close the door Maintaining the printer 110 ...
Страница 114: ...3 Remove the used hot roll fuser wiper Maintaining the printer 114 ...
Страница 120: ...2 Remove the used pick roller 3 Unpack the new pick roller Maintaining the printer 120 ...
Страница 121: ...4 Install the new pick roller 5 Close the multipurpose feeder Maintaining the printer 121 ...
Страница 142: ...2 Remove the staple cartridge holder 3 Remove the loose staples Clearing jams 142 ...
Страница 146: ...5 Insert the staple cartridge holder until it clicks into place 6 Close the door Clearing jams 146 ...
Страница 193: ...b Insert the tabs of the guide bar into the output expander Upgrading and migrating 193 ...


