Fixing print quality issues
Initial print quality check
Before troubleshooting print problems, perform the following:
•
Make sure that the printer is located in an area that follows the recommended operating environment
and power requirement specifications.
•
Check the status of supplies. Replace supplies that are low or empty.
•
Load 20
‑
lb (75-80 g/m
2
) plain letter or A4 paper. Make sure that the paper guides are properly set and
locked. From the control panel, set the paper size and type to match the paper loaded in the tray.
•
From the control panel, navigate to
Settings
>
Troubleshooting
>
Print Quality Test Pages
.
•
Print and keep the Menu Settings Page. The original page is used to restore the custom settings if
necessary. From the control panel, navigate to
Settings
>
Reports
>
Menu Settings Page
, and then press
OK
.
•
On the Menu Settings page, check if the print resolution is set to 600 dpi and the toner darkness is set
to Normal.
•
Check the toner cartridges for damage, and replace if necessary.
•
Make sure that the correct print driver is used to prevent print problems. If the wrong print driver is
installed, then incorrect characters could print and the copy may not fit the page correctly.
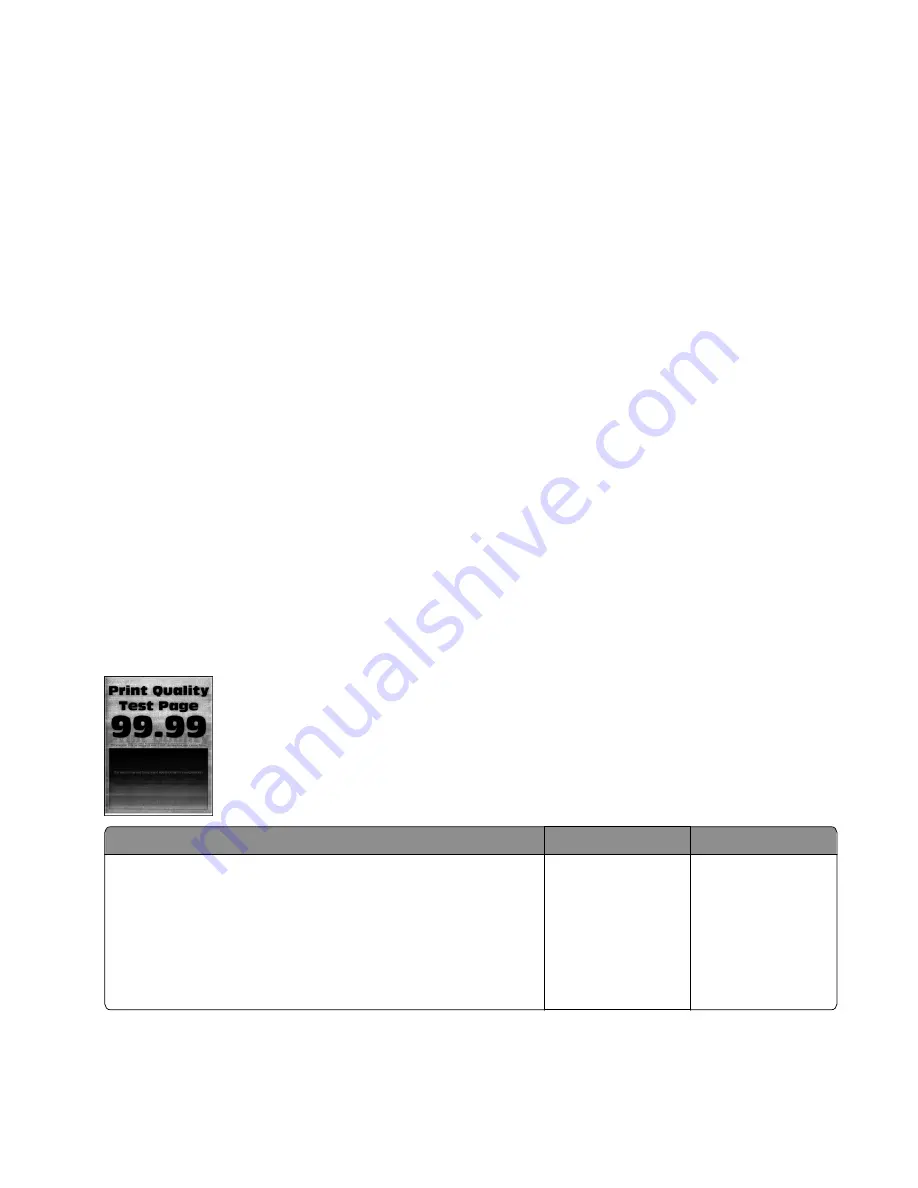
Gray or solid background check
Action
Yes
No
Step 1
a
Make sure that the toner cartridge is supported.
b
Make sure that the toner cartridge and imaging unit are not
empty.
c
Check if the toner cartridge is new.
Is the toner cartridge new?
Go to step 2.
Go to step 3.
3400-48x
Diagnostics and troubleshooting
25
Содержание MB2236
Страница 16: ...3400 48x 16 ...
Страница 18: ...3400 48x 18 ...
Страница 203: ...Scan SE Scanner Info 3400 48x Service menus 203 ...
Страница 204: ...3400 48x 204 ...
Страница 229: ...6 Disconnect all cables 7 Remove the controller board 3400 48x Parts removal 229 ...
Страница 233: ...Right side removals Right cover removal 1 Remove the tray insert 2 Remove the duplex unit 3400 48x Parts removal 233 ...
Страница 239: ...7 Disconnect the cable and then detach the ADF link 3400 48x Parts removal 239 ...
Страница 240: ...8 Remove the control panel 3400 48x Parts removal 240 ...
Страница 241: ...Front door removal 1 Detach the door strap 2 Remove the front door 3400 48x Parts removal 241 ...
Страница 246: ...3400 48x Parts removal 246 ...
Страница 250: ...11 Remove the top cover 3400 48x Parts removal 250 ...
Страница 254: ...3 Place the printer on its rear and then remove the sensor cover 4 Remove the sensor 3400 48x Parts removal 254 ...
Страница 256: ...Pick rollers removal 1 Remove the tray insert 2 Place the printer on its rear 3400 48x Parts removal 256 ...
Страница 258: ...4 Remove the two pick rollers 3400 48x Parts removal 258 ...
Страница 262: ...6 Detach the scanner stand and then remove the fax card cover 3400 48x Parts removal 262 ...
Страница 265: ...11 Remove the ADF scanner from the flatbed scanner 3400 48x Parts removal 265 ...
Страница 266: ...3400 48x 266 ...
Страница 274: ...3400 48x 274 ...
Страница 277: ... Scanner glass Scanner glass pad 3 Close the scanner cover 3400 48x Maintenance 277 ...
Страница 279: ...Assembly 1 Covers 3400 48x Parts catalog 279 ...
Страница 281: ...Assembly 2 Paper path 3400 48x Parts catalog 281 ...
Страница 283: ...Assembly 3 Drive 3400 48x Parts catalog 283 ...
Страница 285: ...Assembly 4 Sensors 3400 48x Parts catalog 285 ...
Страница 287: ...Assembly 5 Electronics 3400 48x Parts catalog 287 ...
Страница 289: ...Assembly 6 Scanner 3400 48x Parts catalog 289 ...
Страница 294: ...3400 48x 294 ...
Страница 312: ...3400 48x Index 312 ...
Страница 314: ...3400 48x Part number index 314 ...
Страница 316: ...3400 48x Part name index 316 ...


