5
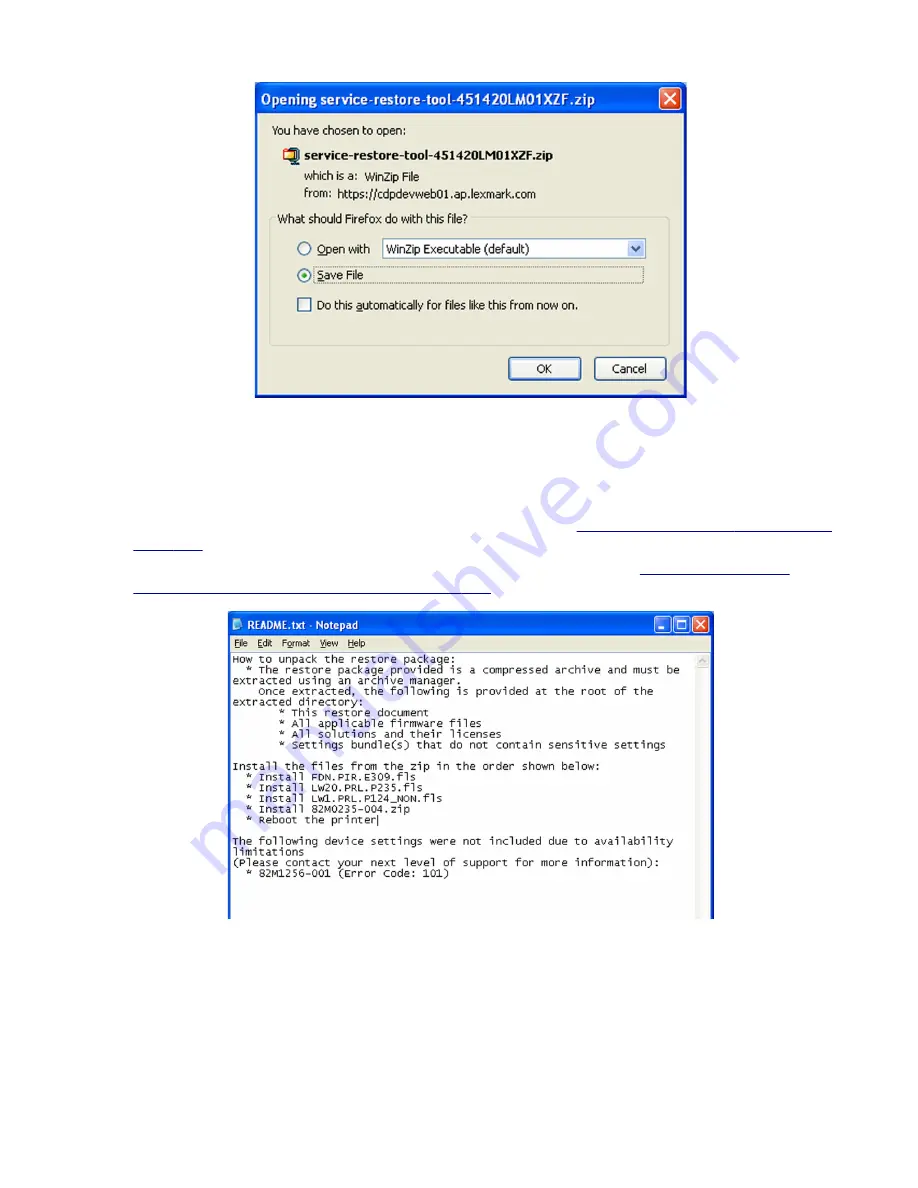
Extract the contents of the zip file, open the
Readme
file, and then follow the instructions in the file.
Notes:
•
Perform the install instructions on the
Readme
file in the exact order shown. Restart the printer only if
the file says so.
•
For more information on how to flash the downloaded files, see
“Updating the printer firmware ” on
•
To load the zip files that are extracted from the Service Restore Tool, see
licenses, and configuration settings” on page 208
6
After performing the installation instructions in the
Readme
file, confirm from the customer if all the eSF
apps have been installed.
Notes:
•
If you are unable to access the administrative menus to verify that the printer is restored, then ask the
customer for access rights.
•
If a 10.00 error appears after you restart the printer, then contact the next level of support.
4514-6xx
Parts removal
207
Содержание M3150
Страница 12: ...Part name index 393 4514 6xx Table of contents 12 ...
Страница 20: ...4514 6xx 20 ...
Страница 38: ...4514 6xx 38 ...
Страница 172: ...4514 6xx 172 ...
Страница 233: ...c Insert the cable into the hole B d Route the cable using the new path 4514 6xx Parts removal 233 ...
Страница 246: ...3 Remove two screws A and then remove the cooling fan mount A 4514 6xx Parts removal 246 ...
Страница 256: ...5 Remove the four screws B and then remove the right front mount B 4514 6xx Parts removal 256 ...
Страница 258: ...Cartridge plunger removal 1 Open the front door 2 Tilt the cartridge plunger 4514 6xx Parts removal 258 ...
Страница 260: ...b Set the spring over the plunger 4514 6xx Parts removal 260 ...
Страница 262: ...Bezel removal MS610dn 1 Open the front door 2 Push the latches A and then remove the bezel A 4514 6xx Parts removal 262 ...
Страница 277: ...3 Squeeze the latches B to release the left and right links B 4514 6xx Parts removal 277 ...
Страница 300: ...3 Place the printer on its rear side 4 Release the sensor flag A 4514 6xx Parts removal 300 ...
Страница 301: ...5 Remove the screw B 6 Remove the sensor flag bracket C 4514 6xx Parts removal 301 ...
Страница 306: ...8 Remove the three screws A A 9 Disconnect the cable from the pick lift motor gearbox 4514 6xx Parts removal 306 ...
Страница 323: ...3 Swing the right cover backward to remove 4 Remove the screw D 4514 6xx Parts removal 323 ...
Страница 333: ...4514 6xx 333 ...
Страница 335: ...Assembly 1 Covers 4514 6xx Parts catalog 335 ...
Страница 338: ...4514 6xx Parts catalog 338 ...
Страница 339: ...Assembly 2 Electronics 1 1 2 3 4 5 7 9 10 11 6 8 12 4514 6xx Parts catalog 339 ...
Страница 342: ...4514 6xx Parts catalog 342 ...
Страница 343: ...Assembly 3 Electronics 2 4 3 2 1 5 6 8 9 7 4514 6xx Parts catalog 343 ...
Страница 345: ...4514 6xx Parts catalog 345 ...
Страница 346: ...Assembly 4 Frame 10 11 12 13 14 9 1 5 6 7 8 4 4 2 3 4514 6xx Parts catalog 346 ...
Страница 349: ...Assembly 5 Option trays 3 4 5 6 1 2 4514 6xx Parts catalog 349 ...
Страница 354: ...4514 6xx Parts catalog 354 ...
Страница 356: ...4514 6xx Parts catalog 356 ...
Страница 364: ...4514 6xx 364 ...
Страница 376: ...4514 6xx 376 ...
Страница 386: ...4514 6xx Index 386 ...
Страница 392: ...4514 6xx Part number index 392 ...
Страница 398: ...4514 6xx Part name index 398 ...


