


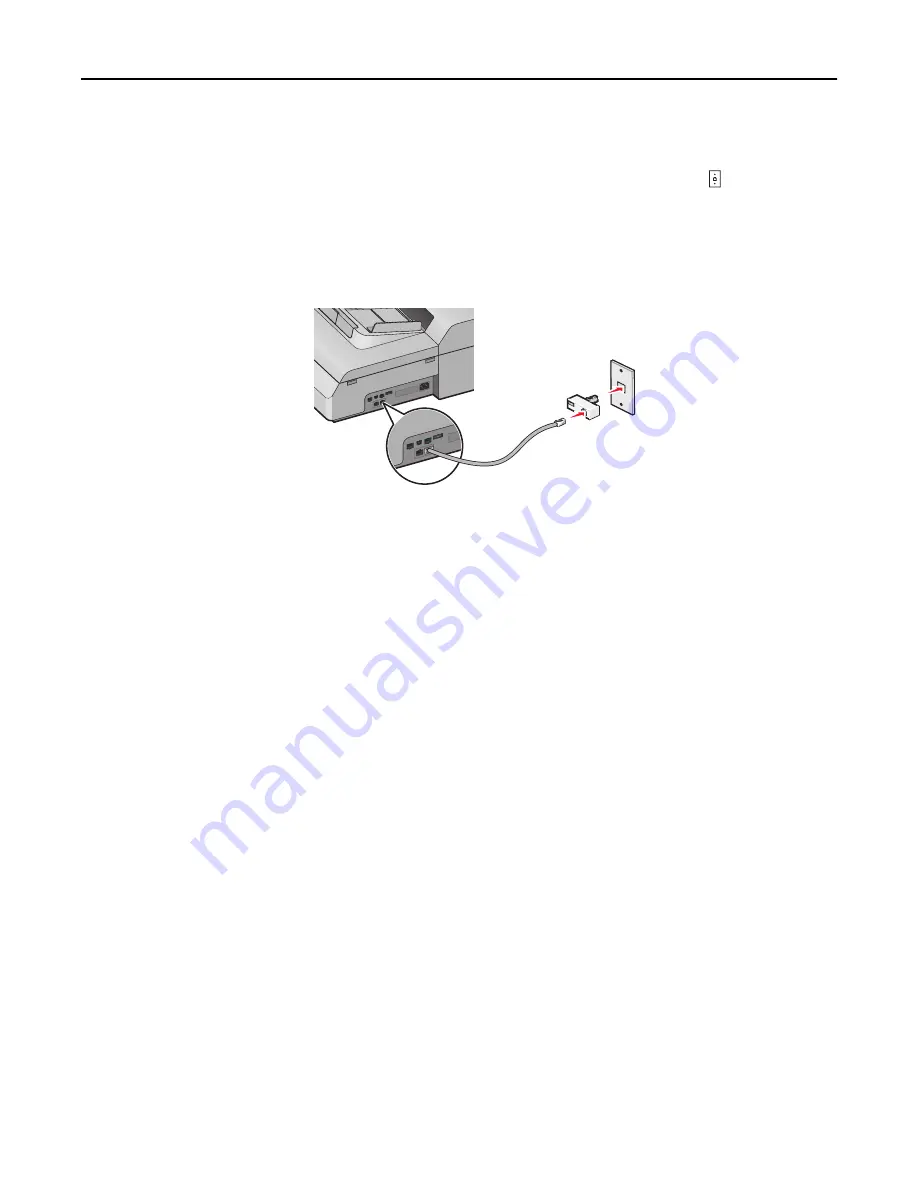
For some countries or regions, a telephone line adapter is included in the box. Use this adapter to connect an answering
machine, telephone, or other telecommunications equipment to the printer.
1
Connect one end of the telephone cable that came with the scanner to the scanner LINE port
2
Connect the other end of the telephone cable to the adapter, and then connect the adapter to the active telephone
wall jack.
Note:
Your telephone adapter may look different than the one shown. It will fit the wall jack used in your
location.
Setting the outgoing fax or station name and number
1
Type the scanner IP address in the address field of your Web browser.
If you do not know the IP address of the scanner, then you can:
•
View the IP address on the scanner control panel in the TCP/IP section under the Networks/Ports menu.
•
Print a network setup page or the menu settings pages and locate the IP address in the TCP/IP section.
2
Click
Settings
>
Fax Settings
>
Analog Fax Setup
.
3
In the Fax Name or Station Name field, enter the name to be printed on all outgoing faxes.
4
In the Fax Number or Station Number field, enter the printer fax number.
5
Click
Submit
.
Setting the date and time
You can set the date and time so that they are printed on every fax you send. If there is a power failure, then you may
have to reset the date and time.
1
Type the scanner IP address in the address field of your Web browser.
If you do not know the IP address of the scanner, then you can:
•
View the IP address on the scanner control panel in the TCP/IP section under the Networks/Ports menu.
•
Print a network setup page or the menu settings pages and locate the IP address in the TCP/IP section.
2
Click
Security
>
Set Date and Time
.
3
In the Set Date & Time field, enter the current date and time.
4
Click
Submit
.
Note:
It is recommended to use the network time.
Faxing
122


