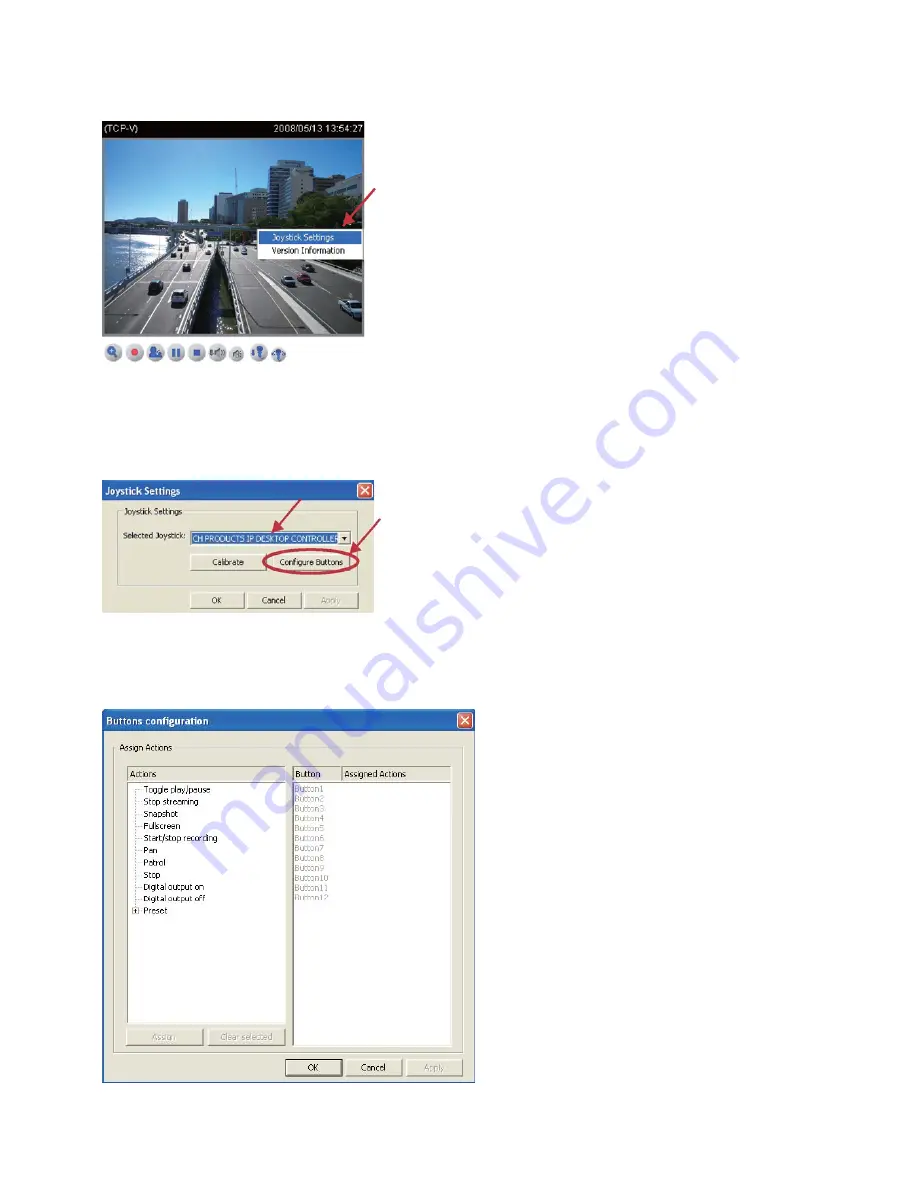
1. Move your mouse cursor on the Live video window in the main page and click once with
your right mouse button, which will pop up a menu of joystick settings. Click Joystick Settings
to open a setting dialog.
2. If your joystick is functioning properly, it will show up on the drop-down list. Select the
joystick you
want to configure for your Network Camera, and then click Configure Buttons to open a
Buttons configuration list to assign actions to the buttons on your joystick.
3. On the Buttons configuration list below, the left column shows the actions you can assign,
and the right column shows the functional buttons and assigned actions. The actions include
Toggle play/pause, Stop streaming, Snapshot, Start/stop recording, Pan, Patrol, Stop, Digital
output on, Digital output off, and Preset. The number of buttons depends on your optional
joystick.
4. Choose one of the actions and then click Assign, which will pop up the Assign Button dialog.
Then you can Assign this action to a button. For example: Assign Snapshot to Button 1


