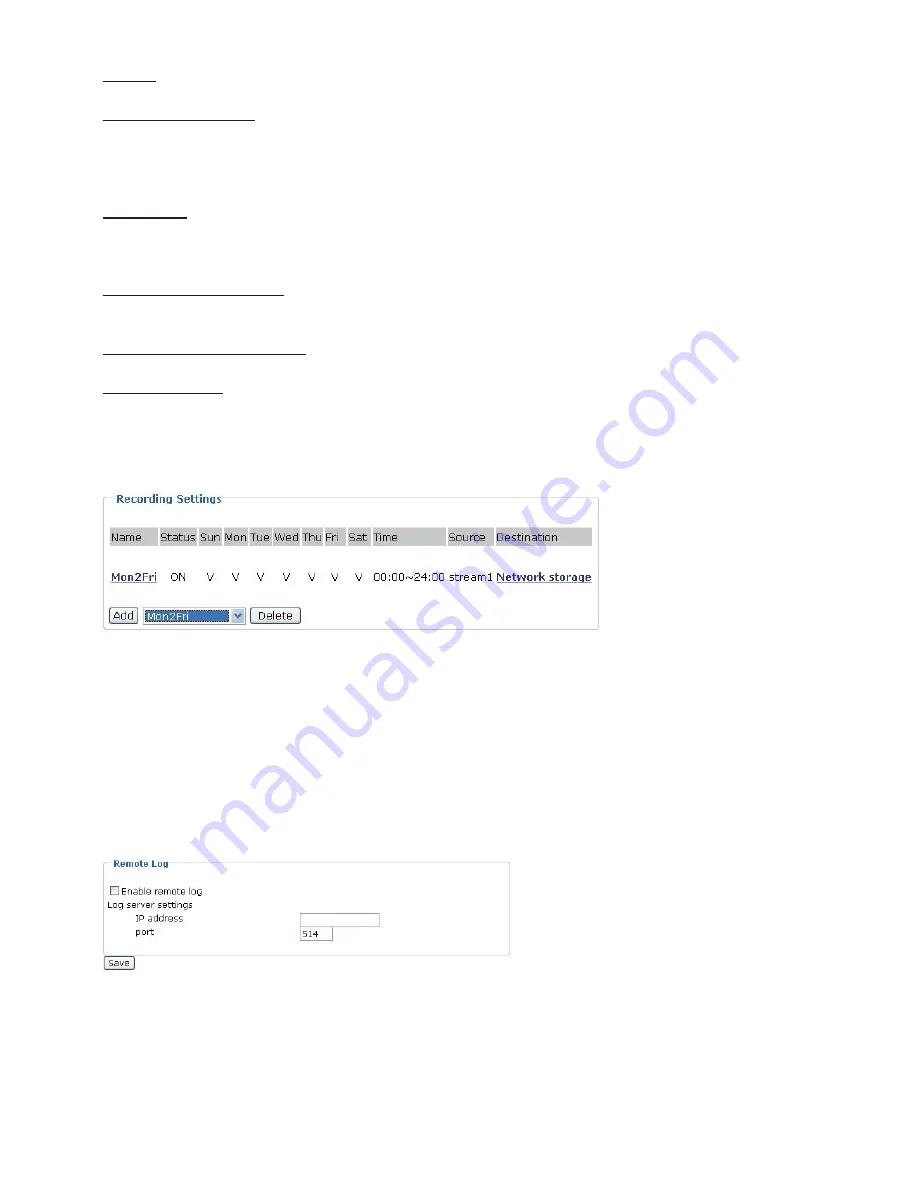
Source: Select the recording source (stream 1 or stream 2).
Recording Schedule: Specify the recording duration.
■
Select the days on weekly basis.
■
Select the time for recording in 24-hr time format.
Destination: Specify a storage destination for the recorded video files. Note that the destination
field is empty by default. Please go to Configuration > Application > Server Settings to set a
Network storage server; please refer to Server Settings section.
Max. recording capacity: Please note that when the maximum capacity is reached, the oldest
file will be overwritten by the latest one.
File size for each recording: Specify the file size for each recording media.
File name prefix: Enter the text that will be put in front of the file name.
When completed, select Enable this recording
.
Click Save to take effect and then click Close to
quit this page
.
The new recording name will appear in the recording drop-down list on the
recording page
.
To remove a recording setting from the list, select a recording name from the
drop-down list then and click Delete.
System log
This section explains how to configure the Network Camera to send system log to remote
server as a backup. It is composed of the following two columns: Remote Log and Current Log.
Remote Log
You can configure the Network Camera to send the system log file to a remote server as a log
backup. Before utilizing this feature, it is suggested to install a log-recording tool to receive
system log messages from the Network Camera
.
For example, a tool -- Kiwi Syslog Daemon
.
Visit
http://www.kiwisyslog.com/kiwi-syslog-daemon-overview/
.


