79
4.
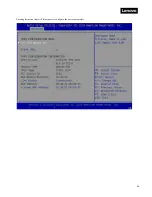
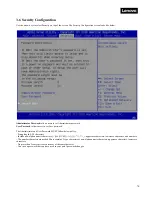
Forbidden Signatures:
This feature allows the user to configure the settings of the Forbidden Signatures. User can update/append it
using value from Factory Defaults or from a file in the file system.
5.
Authorized TimeStamps:
This feature allows the user to configure the settings of the Authorized TimeStamps. User can
update/append it using value from Factory Defaults or from a file in the file system.
6.
OsRecovery Signatures:
This feature allows the user to configure the settings of the OsRecovery Signatures. User can update/append
it using value from Factory Defaults or from a file in the file system.
3.7 Boot
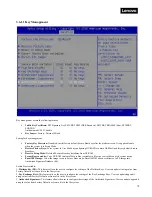
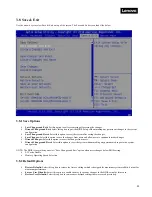
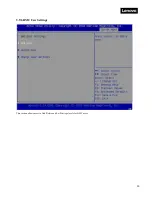
Use the arrow keys to select Boot on top of the screen. The Boot Settings screen looks like below.
Boot Configuration:
Setup Prompt Timeout:
Set the number of seconds to wait for setup activation key. 65535 (0xFFFF) means indefinite
waiting. The default value is 5 seconds
Bootup NumLock State:
Select the keyboard NumLock state when boot. The options are: On and Off
Quiet Boot:
Enables or disables Quiet Boot option. The default value is ‘Enabled’
Boot Option Priorities:
Prioritizes the order of bootable devices that the system boots from. Press <Enter> on each entry
from top to bottom to select devices.
New UEFI OS Boot Option Policy:
Controls the placement of newly detected UEFI boot options. The default value is
‘
Place First
’ so any new OS installed will have highest priority. The options are: ‘Default’, ‘Place First’, ‘Place Last’.
Содержание ThinkSystem HR350A
Страница 37: ...37 ...
Страница 55: ...55 3 4 7 2 PCI Express GEN 2 Settings ...
Страница 59: ...59 ...
Страница 62: ...62 ...
Страница 66: ...66 Entering this menu item will allow users to configure the device parameters ...
Страница 71: ...71 Patrol Scrub Enable disable Patrol Scrub for DDR controller ...
Страница 85: ...85 3 9 3 View FRU Information ...
Страница 89: ...89 ...
Страница 90: ...90 3 9 6 BMC User Settings This section allows users to Add Delete and Set Privilege levels for BMC users ...
Страница 97: ...97 Figure 2 Configuring IE ESC step 2 Figure 3 Configuring IE ESC step 3 ...
Страница 107: ...107 4 9 3 Event Log 4 9 4 Images Redirection This page is used to configure the images into BMC for redirection ...
Страница 115: ...115 4 9 19 Virtual Media 4 9 20 IPMI Configuration 4 10 Remote Control This page is used to launch KVM ...
Страница 118: ...118 3 Select Restore Configuration and upload the downloaded backup files ...
Страница 120: ...120 ...
Страница 123: ...123 Select OK to continue ...


