129
4.
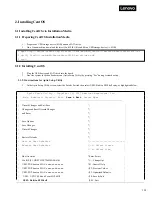
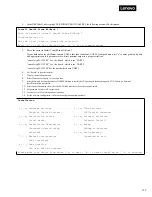
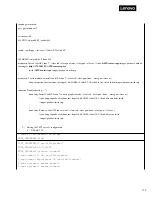
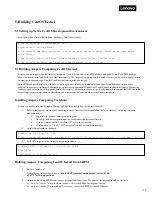
In the UEFI Shell, after typing FS0:\EFI\BOOT\BOOTAA64.EFI, the following menu will be displayed:
5.
Move the cursor to Install CentOS Linux AltArch 7.
If your hardware uses a different console UART other than the default UART0, from grub menu, hit “e” to enter grub config and
add appropriate console parameters to re-direct terminal output to a proper serial line:
“console=ttyS1,115200” for the board which uses UART1
“console=ttyS2,115200” for the board which uses UART2
“console=ttyS3,115200” for the board which uses UART3
6.
Hit “Return” to start the installer.
7.
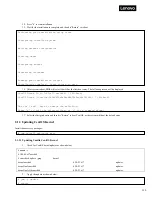
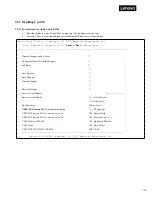
Wait for the installation menu.
8.
Select Timezone settings to set your time zone.
9.
Select Software Selection then choose GNOME Desktop to install the GUI package if the board supports VGA. Otherwise, Minimal
Install installation is preferred.
10.
Select Install Destination, then select the SATA disk which will be used to install CentOS.
11.
Set password for root via Root password.
12.
Create user via User creation options (optional).
13.
Set the network configuration via Network configuration option (optional).
Install CentOS Linux AltArch 7
Test this media & install CentOS Linux AltArch 7
Troubleshooting -->
Use the ↑ and ↓ keys to change the selection.
Press 'e' to edit the selected item, or 'c' for a command prompt.
Installation
1) [x] Language settings
(English (United States))
3) [x] Installation source
(Local media)
5) [x] Installation Destination
(Automatic partitioning
selected)
7) [ ] Network configuration
(Not connected)
9) [ ] User creation
(No user will be created)
2) [x] Time settings
(US/Central timezone)
4) [x] Software selection
(Minimal Install)
6) [x] Kdump
(Kdump is enabled)
8) [x] Root password
(Password is set.)
Please make your choice from above ['q' to quit | 'b' to begin installation | 'r' to refresh]
Содержание ThinkSystem HR350A
Страница 37: ...37 ...
Страница 55: ...55 3 4 7 2 PCI Express GEN 2 Settings ...
Страница 59: ...59 ...
Страница 62: ...62 ...
Страница 66: ...66 Entering this menu item will allow users to configure the device parameters ...
Страница 71: ...71 Patrol Scrub Enable disable Patrol Scrub for DDR controller ...
Страница 85: ...85 3 9 3 View FRU Information ...
Страница 89: ...89 ...
Страница 90: ...90 3 9 6 BMC User Settings This section allows users to Add Delete and Set Privilege levels for BMC users ...
Страница 97: ...97 Figure 2 Configuring IE ESC step 2 Figure 3 Configuring IE ESC step 3 ...
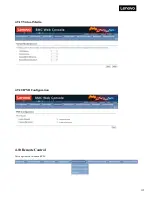
Страница 107: ...107 4 9 3 Event Log 4 9 4 Images Redirection This page is used to configure the images into BMC for redirection ...
Страница 115: ...115 4 9 19 Virtual Media 4 9 20 IPMI Configuration 4 10 Remote Control This page is used to launch KVM ...
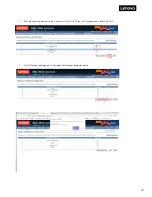
Страница 118: ...118 3 Select Restore Configuration and upload the downloaded backup files ...
Страница 120: ...120 ...
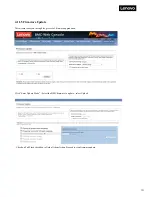
Страница 123: ...123 Select OK to continue ...

