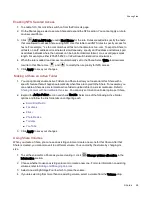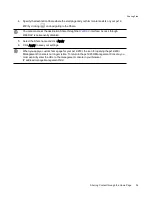
4. Specify the destination Share where the start page and your html content exists on your px12-
450r by clicking
and navigating to the Share.
You cannot access the destination Share through the
interface. Access through
WebDAV is permanently disabled.
5. Select the Share name and click Apply.
6. Click Apply to save your settings.
When you apply a custom home page for your px12-450r, the icon for opening the px12-450r
Management Console is no longer visible. To return to the px12-450r Management Console, you
must explicitly enter the URL to the management console in your browser:
IP address/manage/management.html
Sharing Files
Sharing Content through the Home Page
34
Содержание PX12-450R
Страница 1: ...px12 450r Network Storage with LifeLine 4 0 User Guide ...
Страница 11: ...Setting up Your px12 450r Network Storage Setting up Your px12 450r Network Storage 1 CHAPTER 1 ...
Страница 32: ...Sharing Files Sharing Files 22 CHAPTER 2 ...
Страница 55: ...Storage Pool Management Storage Pool Management 45 CHAPTER 4 ...
Страница 67: ...Drive Management Drive Management 57 CHAPTER 5 ...
Страница 70: ...Backing up and Restoring Your Content Backing up and Restoring Your Content 60 CHAPTER 6 ...
Страница 106: ...Sharing Content Using Social Media Sharing Content Using Social Media 96 CHAPTER 9 ...
Страница 112: ...Media Management Media Management 102 CHAPTER 10 ...
Страница 124: ... Delete a torrent job Click to delete the torrent download Media Management Torrents 114 ...
Страница 133: ...Upgrading Your px12 450r Network Storage Upgrading Your px12 450r Network Storage 123 CHAPTER 12 ...
Страница 138: ...Hardware Management Hardware Management 128 CHAPTER 14 ...
Страница 150: ...Additional Support AdditionalSupport 140 ...
Страница 153: ...Legal Legal 143 ...


