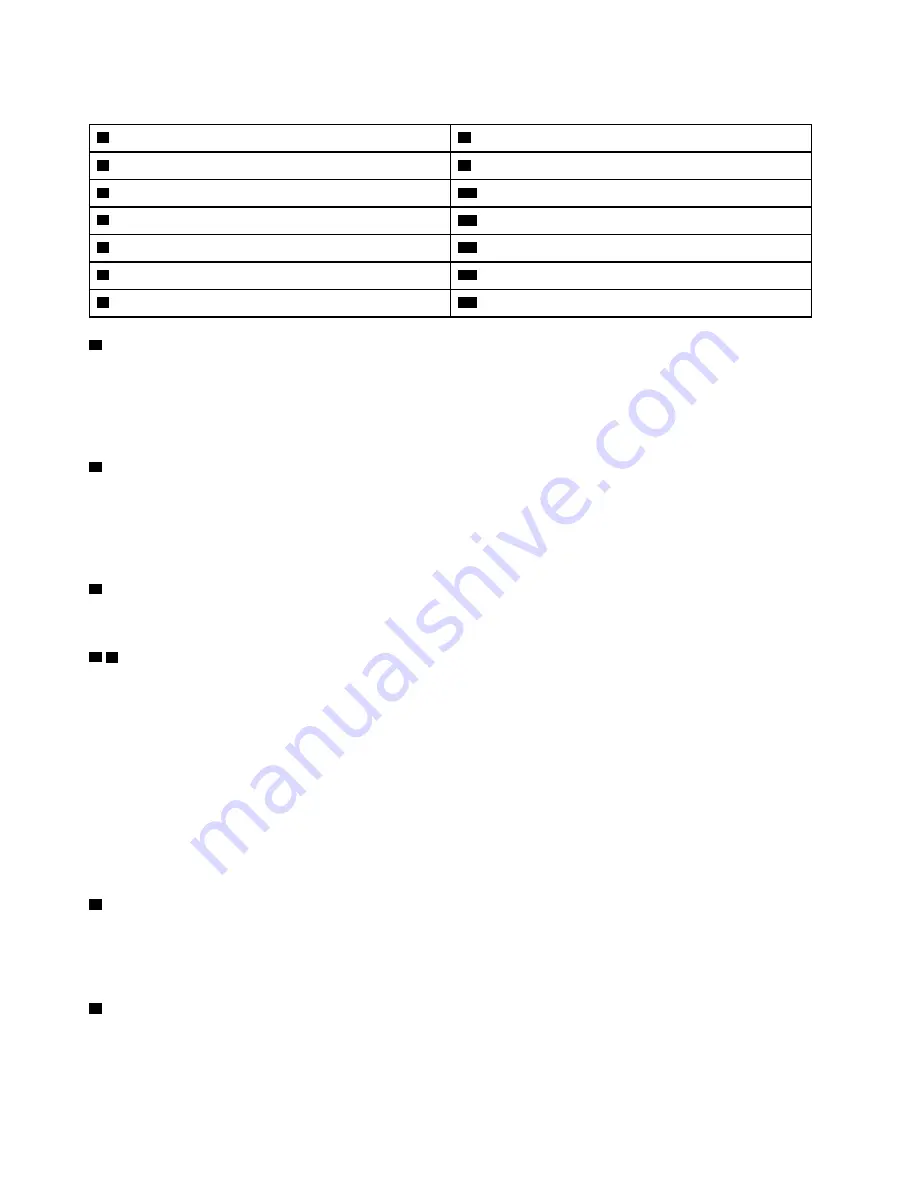
Table 8. Components on the server rear view
1
AC power LED (green)
8
Identification LED (blue)
2
DC power LED (green)
9
USB 4 (USB 3.0)
3
Power supply error LED (yellow)
10
USB 3 (USB 3.0)
4
Power supply unit 2
11
Serial connector
5
Power supply unit 1
12
VGA connector
6
System error LED (yellow)
13
NMI button
7
Identification button
14
Lenovo XClarity Controller network connector
1
AC power LED:
Each hot-swap power supply comes with an AC power LED and a DC power LED. When the AC power LED
is lit, it indicates that sufficient power is being supplied to the power supply through the power cord. During
normal operation, both the AC and DC power LEDs are lit. For more information, see “Lightpath Diagnostics”
in
ThinkSystem SR860 Maintenance Manual
.
2
DC power LED:
Each hot-swap power supply comes with a DC power LED and an AC power LED. When the DC power LED
is lit, it indicates that the power supply is supplying adequate DC power to the system. During normal
operation, both the AC and DC power LEDs are lit. For more information, see “Lightpath Diagnostics” in
ThinkSystem SR860 Maintenance Manual
.
3
Power-supply error LED:
When the power-supply error LED is lit, it indicates that the power supply has failed.
4 5
Power supply units:
Install power supply units to these bays, connect them to power cords. Make sure the power cords are
connected properly. Following are the power supplies supported by this system:
• 750-watt platinum power supply
– input power 115V or 230V ac
• 1100-watt platinum power supply
– input power 115V or 230V ac
• 1600-watt platinum power supply
– input power 230V ac
• 2000-watt platinum power supply
– input power 230V ac
6
System error LED (yellow):
When this yellow LED is lit, it indicates that a system error has occurred. This LED can be controlled by the
Lenovo XClarity Administrator. Information provided from the LCD display of the front operator panel could
also help isolate an error.
7
Identification button:
Press this button to visually locate the server among other servers. This button is functionally equivalent to
the identification button on the front of the server.
22
ThinkSystem SR860 Setup Guide
Содержание 7X69
Страница 1: ...ThinkSystem SR860 Setup Guide Machine Type 7X69 and 7X70 ...
Страница 8: ...vi ThinkSystem SR860 Setup Guide ...
Страница 62: ...54 ThinkSystem SR860 Setup Guide ...
Страница 69: ...Chapter 3 Server hardware setup 61 ...
Страница 82: ...74 ThinkSystem SR860 Setup Guide ...
Страница 108: ...100 ThinkSystem SR860 Setup Guide ...
Страница 162: ...154 ThinkSystem SR860 Setup Guide ...
Страница 166: ...158 ThinkSystem SR860 Setup Guide ...
Страница 170: ...video connector front 15 rear 21 23 W working inside the server power on 57 162 ThinkSystem SR860 Setup Guide ...
Страница 171: ......
Страница 172: ...Part Number SP47A30799 Printed in China 1P P N SP47A30799 1PSP47A30799 ...


