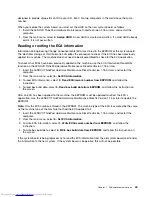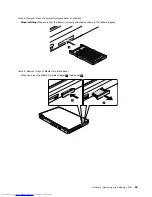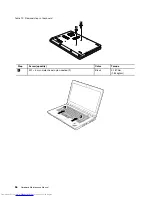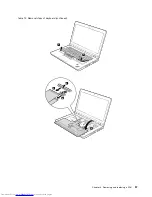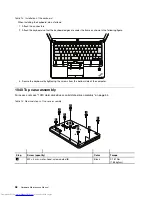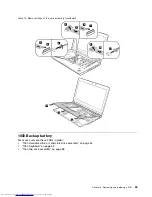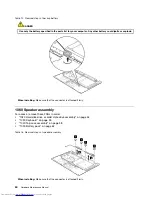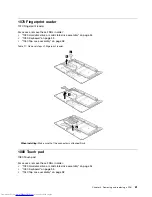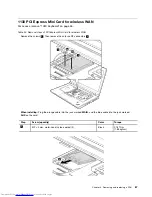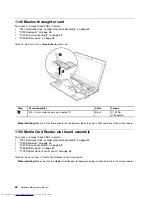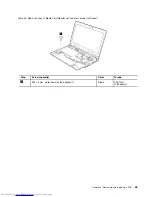
Table 9. Removal steps of Media Card blank bezel (continued)
When installing:
Make sure that the bezel is correctly oriented as shown in the following figure.
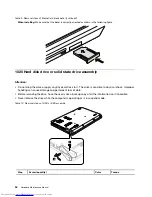
1020 Hard disk drive or solid state drive assembly
Attention:
• Do not drop the drive or apply any physical shock to it. The drive is sensitive to physical shock. Improper
handling can cause damage and permanent loss of data.
• Before removing the drive, have the user make a backup copy of all the information on it if possible.
• Never remove the drive while the computer is operating or is in suspend mode.
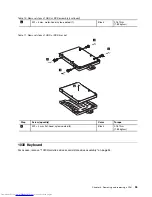
Table 10. Removal steps of HDD or SSD assembly
1
2
Step
Screw (quantity)
Color
Torque
54
Hardware Maintenance Manual
Содержание 440128U
Страница 1: ...Hardware Maintenance Manual ThinkPad Edge E420s ...
Страница 6: ...iv Hardware Maintenance Manual ...
Страница 11: ...DANGER DANGER DANGER DANGER DANGER Chapter 1 Safety information 5 ...
Страница 12: ...DANGER 6 Hardware Maintenance Manual ...
Страница 13: ...PERIGO PERIGO PERIGO Chapter 1 Safety information 7 ...
Страница 14: ...PERIGO PERIGO PERIGO PERIGO PERIGO DANGER 8 Hardware Maintenance Manual ...
Страница 15: ...DANGER DANGER DANGER DANGER DANGER Chapter 1 Safety information 9 ...
Страница 16: ...DANGER DANGER VORSICHT VORSICHT VORSICHT 10 Hardware Maintenance Manual ...
Страница 17: ...VORSICHT VORSICHT VORSICHT VORSICHT VORSICHT Chapter 1 Safety information 11 ...
Страница 18: ...12 Hardware Maintenance Manual ...
Страница 19: ...Chapter 1 Safety information 13 ...
Страница 20: ...14 Hardware Maintenance Manual ...
Страница 21: ...Chapter 1 Safety information 15 ...
Страница 22: ...16 Hardware Maintenance Manual ...
Страница 24: ...18 Hardware Maintenance Manual ...
Страница 25: ...Chapter 1 Safety information 19 ...
Страница 26: ...20 Hardware Maintenance Manual ...
Страница 27: ...Chapter 1 Safety information 21 ...
Страница 28: ...22 Hardware Maintenance Manual ...
Страница 32: ...26 Hardware Maintenance Manual ...
Страница 56: ...50 Hardware Maintenance Manual ...
Страница 63: ...Table 12 Removal steps of keyboard continued 3 3 4 8 7 5 6 Chapter 8 Removing and replacing a FRU 57 ...
Страница 81: ...Table 30 Removal steps of LCD unit continued 3 4 4 4 4 Chapter 8 Removing and replacing a FRU 75 ...
Страница 90: ...Overall 1 2 4 5 7 9 13 18 14 15 19 8 12 11 17 16 10 6 3 84 Hardware Maintenance Manual ...

