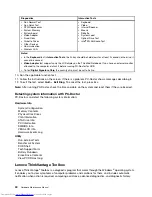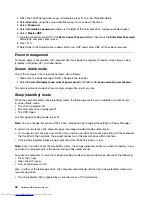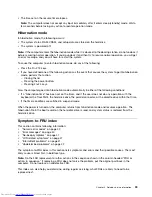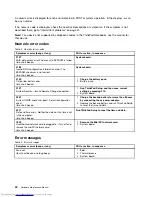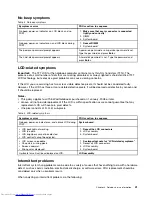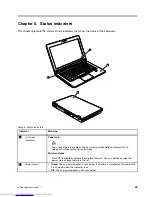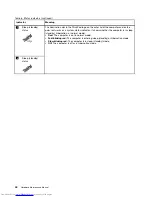
Table 6. Status indicators (continued)
Indicator
Meaning
2
Sleep (standby)
status
4
Sleep (standby)
status
The illumination dot in the ThinkPad logo on the outer lid of the computer and on the
palm rest works as a system-status indicator: it shows whether the computer is in sleep
(standby), hibernation, or normal model.
•
Red:
The computer is on (in normal mode).
•
Fast blinking red:
The computer is entering sleep (standby) or hibernation mode.
•
Slow blinking red:
The computer is in sleep (standby) mode.
•
Off:
The computer is off or in hibernation mode.
44
Hardware Maintenance Manual
Содержание 440128U
Страница 1: ...Hardware Maintenance Manual ThinkPad Edge E420s ...
Страница 6: ...iv Hardware Maintenance Manual ...
Страница 11: ...DANGER DANGER DANGER DANGER DANGER Chapter 1 Safety information 5 ...
Страница 12: ...DANGER 6 Hardware Maintenance Manual ...
Страница 13: ...PERIGO PERIGO PERIGO Chapter 1 Safety information 7 ...
Страница 14: ...PERIGO PERIGO PERIGO PERIGO PERIGO DANGER 8 Hardware Maintenance Manual ...
Страница 15: ...DANGER DANGER DANGER DANGER DANGER Chapter 1 Safety information 9 ...
Страница 16: ...DANGER DANGER VORSICHT VORSICHT VORSICHT 10 Hardware Maintenance Manual ...
Страница 17: ...VORSICHT VORSICHT VORSICHT VORSICHT VORSICHT Chapter 1 Safety information 11 ...
Страница 18: ...12 Hardware Maintenance Manual ...
Страница 19: ...Chapter 1 Safety information 13 ...
Страница 20: ...14 Hardware Maintenance Manual ...
Страница 21: ...Chapter 1 Safety information 15 ...
Страница 22: ...16 Hardware Maintenance Manual ...
Страница 24: ...18 Hardware Maintenance Manual ...
Страница 25: ...Chapter 1 Safety information 19 ...
Страница 26: ...20 Hardware Maintenance Manual ...
Страница 27: ...Chapter 1 Safety information 21 ...
Страница 28: ...22 Hardware Maintenance Manual ...
Страница 32: ...26 Hardware Maintenance Manual ...
Страница 56: ...50 Hardware Maintenance Manual ...
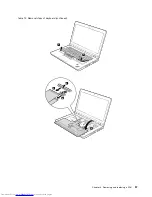
Страница 63: ...Table 12 Removal steps of keyboard continued 3 3 4 8 7 5 6 Chapter 8 Removing and replacing a FRU 57 ...
Страница 81: ...Table 30 Removal steps of LCD unit continued 3 4 4 4 4 Chapter 8 Removing and replacing a FRU 75 ...
Страница 90: ...Overall 1 2 4 5 7 9 13 18 14 15 19 8 12 11 17 16 10 6 3 84 Hardware Maintenance Manual ...

