Lake Shore Model 218 Temperature Monitor User’s Manual
Remote Operation
6-11
6.2.7 Serial Interface Basic Programs
Two BASIC programs are included to illustrate the serial communication functions of the instrument.
The first program was written in Visual Basic. Refer to Paragraph 6.2.7.1 for instructions on how to
setup the program. The Visual Basic code is provided in Table 6-4. The second program was written
in Quick Basic. Refer to Paragraph 6.2.7.2 for instructions on how to setup the program. The Quick
Basic code is provided in Table 6-5. Finally, a description of operation common to both programs is
provided in Paragraph 6.2.7.3. While the hardware and software required to produce and implement
these programs not included with the instrument, the concepts illustrated apply to almost any
application where these tools are available.
6.2.7.1
Visual Basic Serial Interface Program Setup
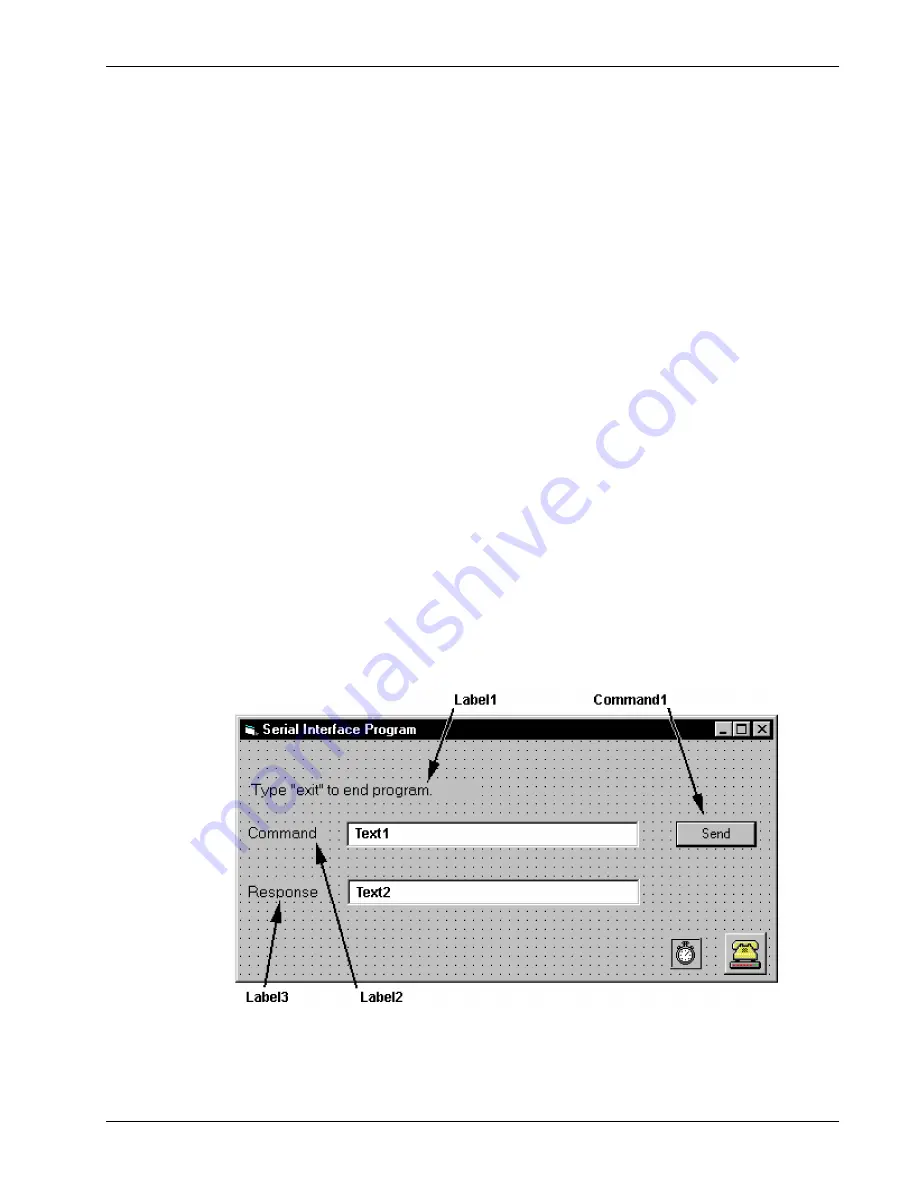
The serial interface program (Table 6-3) works with Visual Basic 6.0 (VB6) on an IBM PC
(or compatible) with a Pentium-class processor. A Pentium 90 or higher is recommended, running
Windows 95 or better, with a serial interface. It uses the COM1 communications port at 9600 Baud.
Use the following procedure to develop the Serial Interface Program in Visual Basic.
1. Start
VB6.
2. Choose Standard EXE and select Open.
3. Resize form window to desired size.
4. On the Project Menu, click Components to bring up a list of additional controls available in VB6.
5. Scroll through the controls and select Microsoft Comm Control 6.0. Select OK. In the toolbar at
the left of the screen, the Comm Control will have appeared as a telephone icon.
6. Select the Comm control and add it to the form.
7. Add controls to form:
a. Add three Label controls to the form.
b. Add two TextBox controls to the form.
c. Add one CommandButton control to the form.
d. Add one Timer control to the form.
8. On the View Menu, select Properties Window.
9. In the Properties window, use the dropdown list to select between the different controls of the
current project.
10. Set the properties of the controls as defined in Table 6-3.
11. Save the program.


