4. Using The LaCie Ethernet Disk mini Via USB
page 16
LaCie Ethernet Disk mini
User’s Manual
4.2. Configuring The LaCie Ethernet Disk mini
There are two different options for changing or checking the IP address of
the LaCie Ethernet Disk mini, based upon the method being used to
connect the LaCie Ethernet Disk mini. The Ethernet method is covered in
section
6.4.1. IP Configuration
.
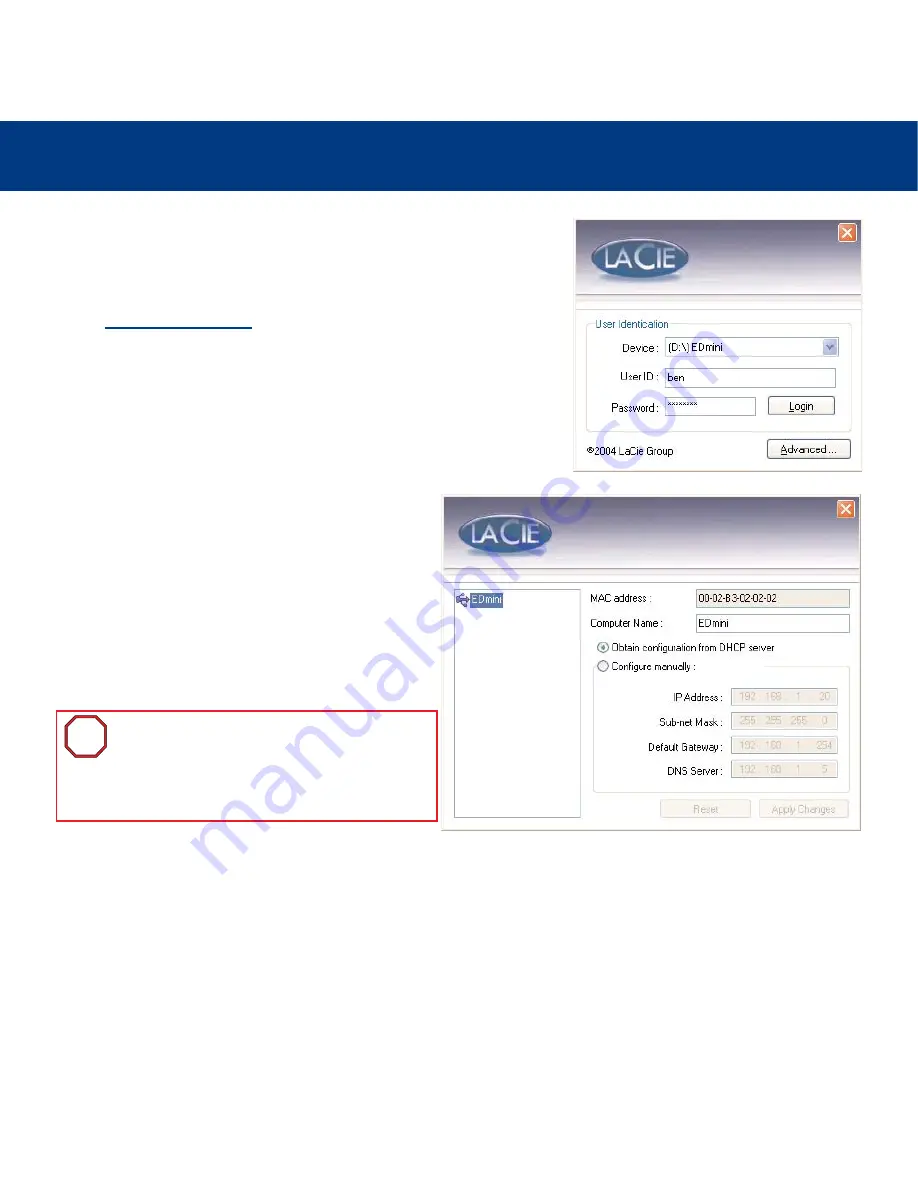
When using the USB interface, the
LogOn
window will automatically
appear at the first connection. If it does not display on first connection or
you want to open the program later, simply open the LaCie Ethernet Disk
mini and start the EDmini LogOn application.
From this window, press the
Advanced
button, which will launch the
Advanced
window.
The
Advanced
window will allow you to verify or modify
the LaCie Ethernet Disk mini’s network configuration. The
left-side of the
Advanced
window will display a list of all
of the LaCie Ethernet Disk minis that are detected on the
local USB bus (if there are other LaCie Ethernet Disk minis
attached via Ethernet, they will not be detected. Only
LaCie Ethernet Disk minis attached via USB will be
detected by the EDmini LogOn application).
The right-side of the
Advanced
window will display the network configuration information of the LaCie Ethernet Disk minis
that are attached:
MAC Address –
This represents the Media Access Control (MAC) address of the LaCie Ethernet Disk mini’s unique hardware
number.
Computer Name –
This is the name that is used to identify the LaCie Ethernet Disk mini over the network. The default name is
“EDmini,” but you may modify the name.
Important Info:
If DHCP is enabled, but there is
not a DHCP server available on the network, the
LaCie Ethernet Disk mini will use the IP
configuration that is specified in the
Configure
manually:
section.
i
i


