LaCie Ethernet Disk mini
User’s Manual
4. Using The LaCie Ethernet Disk mini Via USB
By utilizing the USB interface, you can connect the LaCie Ethernet Disk mini directly to a single computer, and access it and
use it as you would any direct-attach external hard drive.
4.1. Getting Connected
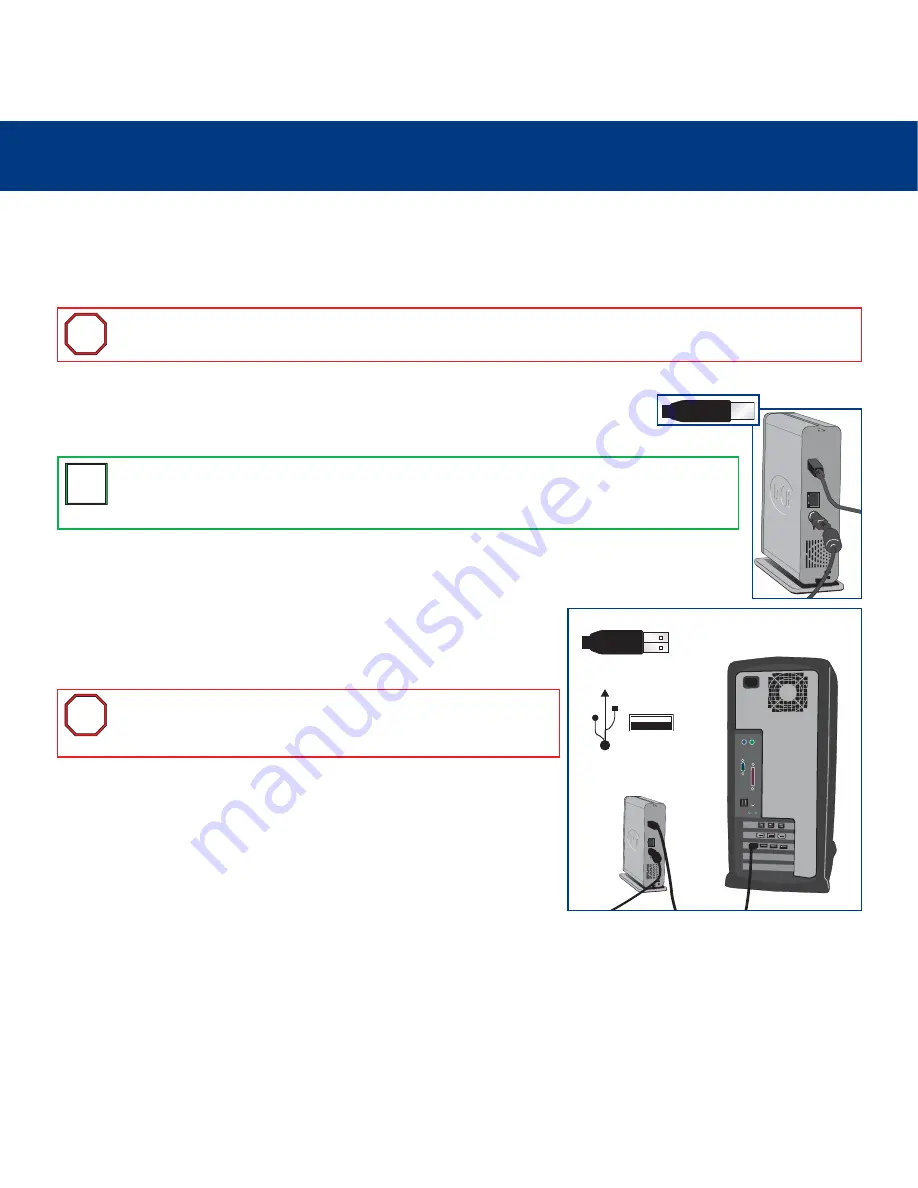
1) Connect the Hi-Speed USB 2.0 cable into the Hi-Speed USB 2.0 port on the back of the
LaCie Ethernet Disk mini.
2) Connect the other end of the Hi-Speed USB 2.0 cable into an available USB port* on your computer.
Your drive should power on automatically after connecting the USB cable.
3) It may take a few seconds for your computer to recognize the drive and for
it to appear on the desktop or in
My Computer
. Once it appears, the LaCie
Ethernet Disk mini’s
LogOn
tool should start automatically.
Enter a valid user name and password, then click on the
Log In
button to
continue.
If there are no registered users (which will be the case if the LaCie Ethernet Disk
mini has not been connected via Ethernet and User accounts created through
the Web Administration Page), just click on the
Log In
button to access the
LaCie Ethernet Disk mini.
Otherwise, enter your
User Name
and
Password
and click on the
Log In
button to access the drive.
4. Using The LaCie Ethernet Disk mini Via USB
page 15
Important Info:
When using the USB interface, the LaCie Ethernet Disk mini can not be accessed by the Web
Administration Page.
Tech Note:
To achieve Hi-Speed USB 2.0 data transfer rates you need to be connected , either
directly to the computer or through a hub, to a Hi-Speed USB 2.0 host interface. Otherwise, you
will be limited to USB 1.1 speeds.
i
i
Important Info:
If the
LogOn
tool does not start automatically,
double-click on the icon for the LaCie Ethernet Disk mini and then
double-click on the
LogOn
tool’s icon.
i
i
T
T
N
N


