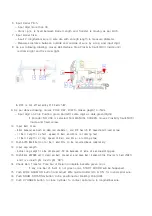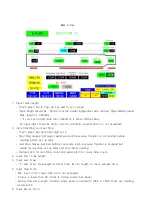
- Input digit more than 30.
- Drum r.p.m. is fixed between Barrel Length and Transfer is moving as per pitch.
7. Input Spigot Size.
- Insert 2 longitudinal wire in wire die with enough length to measure diameter.
- Measures distance between outside and outside of wire by a tap, and input digit.
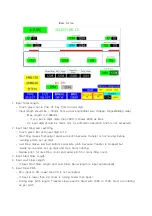
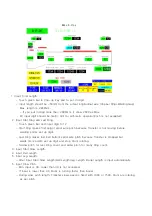
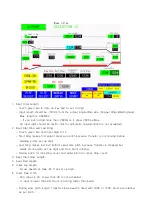
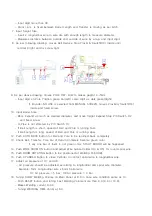
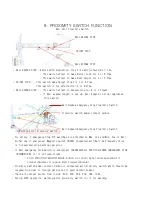
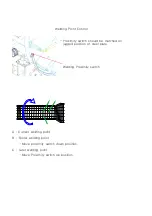
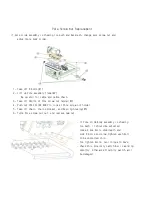
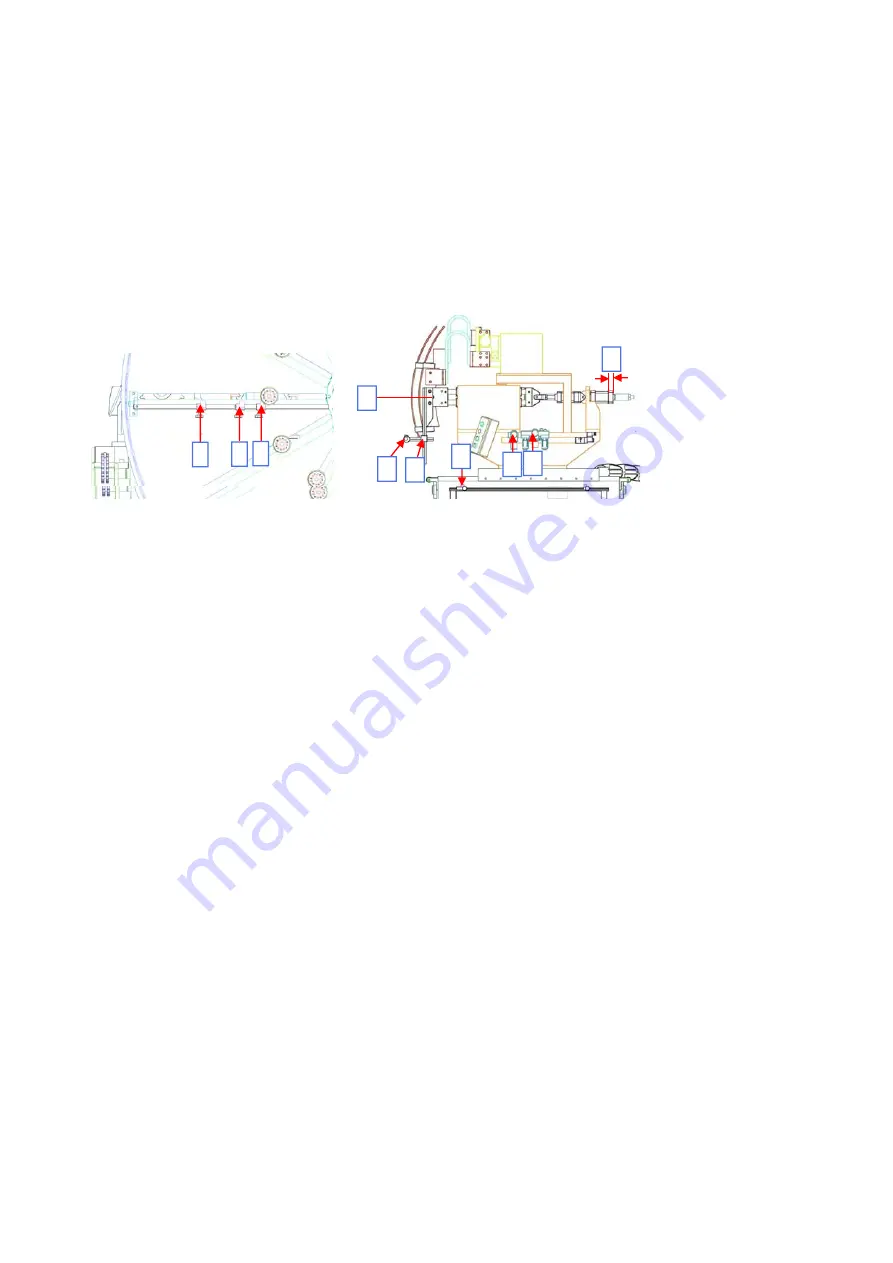
8. As per following drawing, moves Bell Reduce Stop Proximity Switch(#3) inside until
red lamp light and fix screw tight.
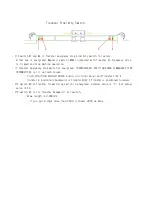
9. As per above drawing, moves POLE F/W, B/W to makes gap(A) 4~5mm.
- Input digit on Pole Position green bar(Left) same digit as dark green(Right)
※ If Encoder NO USE is selected from MANUAL SCREEN, moves Proximity Switch(#6)
inside and fixed screw.
10. Input Barrel Size.
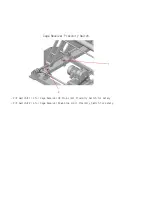
- BELL Expand as much as desired diameter, and move Spigot Expand Stop P/X Switch #2
and fixed screw.
- D-Pipe is not effected by P/X Switch #1.
- If Bell Length is short, speed of Bell and Pole is running fast.
- If Bell Length is long, speed of Bell and Pole is running slow.
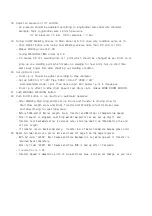
12. Push AUTO BACK button for Bell and Pole to be returned back completely.
13. Check Bell, Transfer, Pole bar of Return Complete became green color.
※ If any one bar of them in not green color, START ERROR will be happened.
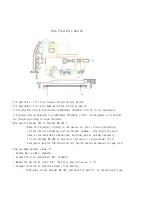
14. Push WIRE DRUM ON button and adjust Wire Guide Holder (#4 & #5) for round spiral wire.
15. Push DRUM ROTATING button to be positioned at Welding Point(#B).
16. Push CYLINDER button to close Cylinder to contact spiral wire to longitudinal wire.
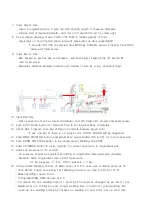
17. Adjust air pressure of #7 and #8.
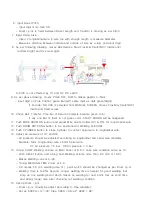
- Air pressure should be adjusted according to longitudinal and spiral wire diameter.
Example: 5mm Longitudinal wire x 6mm Spiral wire
#7 Air pressure = 5 bar #8 Air pressure = 3 bar
18. Tuning SLOW Welding Volume on Main Panel at 8.0 in case wire condition same as 14.
- Push RESET button and tuning Fast Welding Volume more than 8.0 (9.0 or 10.0).
- Makes Welding current 0~30.
- Tuning WELDING TIME Volum at 6.0
1
2 3
A
4
5
6
7 8
B
Содержание KN-1248-G3
Страница 3: ......
Страница 4: ......
Страница 5: ......
Страница 6: ......
Страница 54: ......
Страница 55: ......
Страница 57: ......
Страница 61: ......
Страница 62: ......
Страница 63: ......
Страница 64: ......
Страница 65: ......
Страница 66: ......
Страница 67: ......
Страница 68: ......
Страница 69: ......
Страница 71: ......
Страница 73: ......
Страница 75: ......
Страница 77: ......
Страница 78: ......
Страница 79: ......
Страница 80: ......
Страница 81: ......
Страница 82: ......
Страница 90: ...MANUAL OF WIRE CUTTING MACHINE MODEL KN 2CT ...
Страница 107: ......
Страница 108: ......
Страница 109: ......
Страница 110: ......
Страница 111: ......
Страница 112: ......
Страница 113: ......
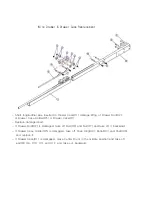
Страница 123: ... 10 NO PART NUMBER PART NAME QT Y 1 WIRE COVER 1 2 WIRE GUIDE RACK 4 3 CT 06 08 TABLE PLATE 1 4 CT 06 09 BEARING 6212 1 ...

