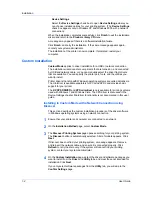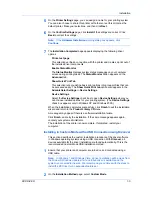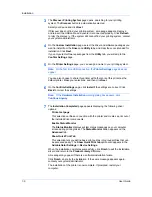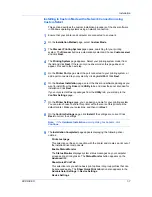
Device Settings
2
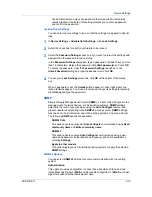
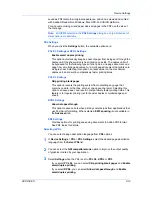
Select a
Job accounting
option:
Use specific account ID
Prompt for account ID
The remaining
Job accounting
options become available when you create an
account ID list.
If you select the
Use specific account ID
or
Prompt for account ID
option,
proceed to step 5.
3
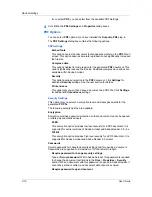
Select
Account ID List
to create and manage account ID lists.
4
Select from the remaining
Job accounting
options:
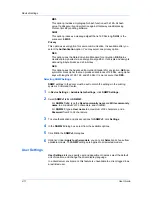
Prompt for account ID and validate
Display account ID list
5
Click
OK
in all dialog boxes.
6
Print the document from the application.
7
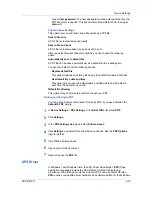
For some options, when the
Print Options
dialog box appears, type or select
an account ID, and click
OK
.
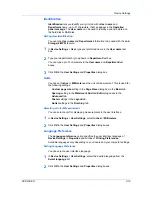
Show Quick Print Tab
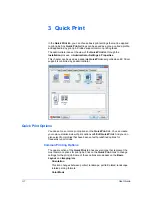
This option lets you control the display of the
Quick Print
tab. You can define
basic print options into group profiles that can be accessed quickly and easily.
With a cleared
Show Quick Print tab
check box, the tab does not appear in the
Printing Preferences
dialog box.
To enable this feature, in
Device Settings
, click
Administrator
>
Show Quick
Print tab
.
With a selected
Show Quick Print tab
check box, the tab appears in the
Printing Preferences
dialog box. When you select the
Show Quick Print tab
check box, you can access additional check boxes:
Selecting
Hide other tabs
displays only the
Quick Print
tab to the user.
Selecting
Set Quick Print tab as default
opens to this tab when you access
Printing Preferences
.
Selecting
Hide Edit Quick Print control
prevents users from customizing
the
Quick Print
tab.
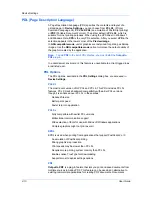
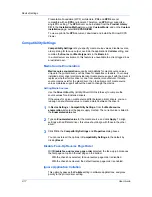
Send Count Information
This option lets you embed count information in the print job, which can be used
by some applications for accounting purposes. Count information includes the
number of copies produced as well as duplex printing, multiple pages per sheet,
color mode, color page count, and paper size values.
When
is selected in the
PDL settings
dialog box, only color page count
information is sent with PDF.
To enable this feature, in
Device Settings
, click
Administrator
>
Send Count
information
.
User Guide
2-7

