ROTEX
®
Operating/Assembly instructions
KTR-N
Sheet:
Edition:
40210 EN
12 of 22
22
Please observe protection
note ISO 16016.
Drawn:
2017-09-06 Pz/Bru
Replacing:
KTR-N dated 2017-01-02
Verified:
2017-09-06 Pz
Replaced by:
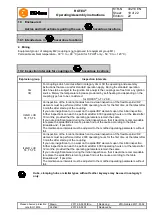
Disassembly of taper clamping sleeve:
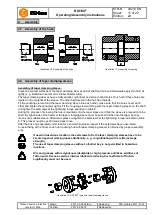
The taper clamping sleeve is released by removing the setscrews. Afterwards one of the setscrews used as
forcing screw is screwed in the thread of the sleeve and tightened.
The coupling hub detached in this way can be manually removed from the shaft with the taper clamping sleeve.
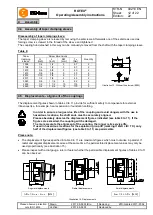
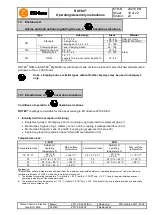
Table 8:
Taper
clamping
sleeve
Screw dimensions
Quantity
Illustration 13: Withworth setscrew (BSW)
G
[inch]
L
[inch]
SW
[mm]
T
A
[Nm]
1008
1/4
1/2
3
5.7
2
1108
1/4
1/2
3
5.7
2
1610
3/8
5/8
5
20
2
1615
3/8
5/8
5
20
2
2012
7/16
7/8
6
31
2
2517
1/2
7/8
6
49
2
3020
5/8
1 1/4
8
92
2
3535
1/2
1 1/2
10
115
3
4545
3/4
1 3/4
12
170
3
The displacement figures shown in tables 9 to 11 provide for sufficient safety to compensate for external
influences like, for example, heat expansion or foundation settling.
!
In order to ensure a long service life of the coupling and avoid dangers with the use in
hazardous locations, the shaft ends must be accurately aligned.
Please absolutely observe the displacement figures indicated (see table 9 to 11). If the
figures are exceeded, the coupling will be damaged.
The more accurate the alignment of the coupling, the longer is its service life.
If used in hazardous locations for the explosion group IIC (marking II 2GD c IIC T X), only
half of the displacement figures (see table 9 to 11) are permissible.
Please note:
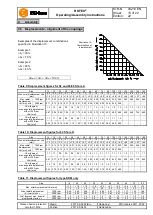
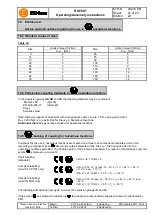
The displacement figures specified in table 9 to 11 are maximum figures which must not arise in parallel. If
radial and angular displacements arise at the same time, the permissible displacement values may only be
used proportionally (see illustration 15).
Please inspect with a dial gauge, ruler or feeler whether the permissible displacement figures of tables 9 to 11
can be observed.
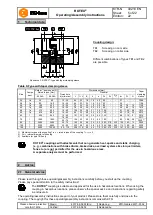
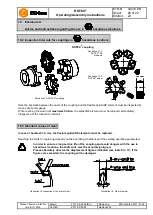
Angular displacements
Radial displacements
Axial displacements
K
w
= L
1max.
- L
1min.
[mm]
L
max
= L +
K
a
[mm]
Illustration 14: Displacements
4
Assembly
4.4 Assembly of taper clamping sleeve
4.5 Displacements - alignment of the couplings


