RADEX
®
-N
Operating/Assembly instructions
KTR-N
Sheet:
Edition:
47110 EN
21 of 31
24
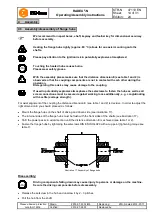
Please observe protection
note ISO 16016.
Drawn:
2019-07-23 Pz/Wb
Replacing:
KTR-N dated 2018-07-17
Verified:
2019-07-26 Pz
Replaced by:
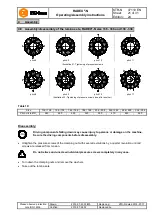
pitch 8
pitch 9
pitch 10
pitch 11
Illustration 31: Tightening of pressure screws
pitch 8
pitch 9
pitch 10
pitch 11
Illustration 32: Tightening of pressure screws (one after another)
Table 10:
Size
136 / 138
156 / 158
166 / 168
186 / 188
206 / 208
246 / 248
286 / 288
336 / 338
Pitch circle Ø D
1
240
260
290
320
350
410
480
550
Disassembly:
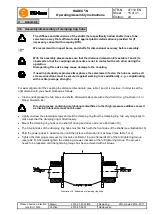
STOP
Driving components falling down may cause injury to persons or damage on the machine.
Secure the driving components before disassembly.
•
Untighten the pressure screws of the clamping nut with several revolutions by a quarter revolution until all
screws are released from tension.
!
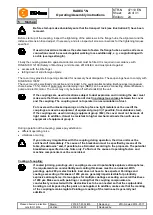
Do not relieve and unscrew individual pressure screws completely in any case.
•
Turn down the clamping nuts and remove the washers.
•
Take out the lamina sets.
4
Assembly
4.8 Assembly/disassembly of the lamina sets, RADEX
®
-N size 136 - 336 and 138 - 338


