Installation and operating instructions
IFC 020
6/4
IFC 020 E
Changes on amplifier PCB,
see Fig. in Sect. 8.9.
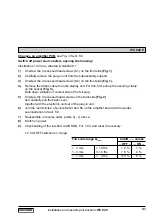
Switch off power source before opening the housing!
Illustrations 1 till 3 are situated in Section 8.1
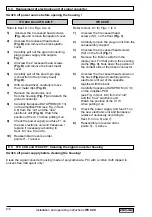
1)
Unscrew the 4 recessed head screws (S1) on the front side
(Fig. 1)
.
2)
Carefully remove the plug-in unit from the subassembly support.
3)
Unscrew the 4 recessed head screws (S2) on the front side
(Fig. 1).
4)
Remove the ribbon cable from the display unit. For this, first pull up the securing clamp
on the socket
(Fig. 3)
.
Note down situation of contact side of the foil plug.
5)
Unscrew the 4 recessed head screws on the back side
(Fig. 2)
and carefully pull the back cover
together with the electronic unit out of the plug-in unit.
6)
Join the “semicircles” of points S2,S3 and S4 on the amplifier board with tin solder,
see illustration in Sect. 8.9.
7)
Reassemble in reverse order, points 5) - 1) above.
8)
Switch on power.
9)
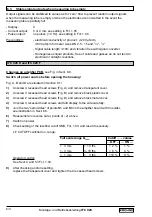
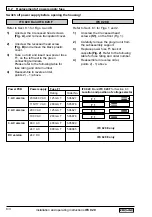
Check setting of the low-flow cutoff SMU, Fct. 1.03, and reset if necessary:
L.F.CUTOFF switched on, range:
Full scale range Q
100%
Cutoff ...... values
... OFF ... ... ON ...
> 3 m/s
> 10 ft/s
>
0
2 %
1 %
1 - 3 m/s
3 -10 ft/s
>
0
6 %
4 %
< 1 m/s
<
0
3 ft/s
>10 %
8 %


