33
3
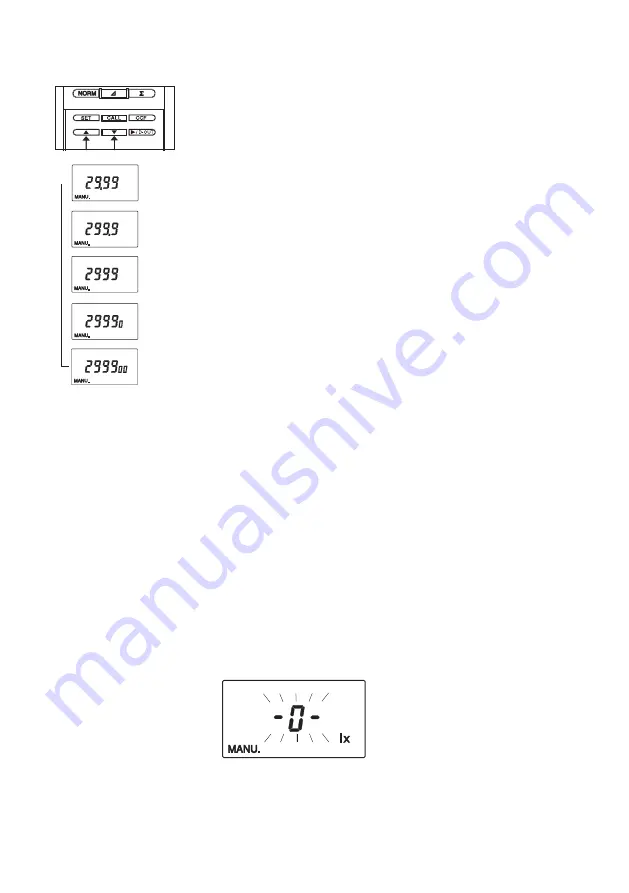
Open the slide cover and select the desired range using the
[
▲
] and [
▼
] keys.
The range will be set immediately when it is selected.
z
Each time the [
▲
] or [
▼
] key is pressed, the range
switches from one to another in the following order and the
maximum value for te selected range is displayed.
* In the above example, the [
▲
] key is pressed to change the display. The display will change in
opposite direction if the [
▼
] key is pressed.
z
If the power switch is set to “I” (ON) with the mini plug inserted into the analog output terminal, the “0
to 2.999 lx” range will be selected automatically.
z
If the mini plug is inserted while measurement is in progress in AUTO range mode, the range used in
AUTO range mode will remain effective.
z
Once a range is selected manually, it will remain unchanged even if the power switch is switched from “O”
(OFF) to “I” (ON).
z
If CCF mode is set, the measuring range that does not cause the color correction factor (CCF) to affect
the measured value will be selected in the case of MAN range mode.
Over-range Error
If the measured illuminance exceeds the range during MAN range mode, “-0-” will blink to inform that an
over-range error has occurred.
↓
↓
↓
↓
→
lx
lx
lx
lx
lx
Содержание T-10A
Страница 1: ...ILLUMINANCE METER T 10A T 10MA INSTRUCTION MANUAL Before using this instrument please read this manual...
Страница 9: ...7 Basic Operations...
Страница 28: ...26...
Страница 29: ...27 Advanced Operations...
Страница 47: ...45 Accessories...
Страница 51: ...49 Explanation...
Страница 60: ...9222 A58U 11 BHJFKK Printed in Japan 2012 KONICA MINOLTA INC...


